 Andrew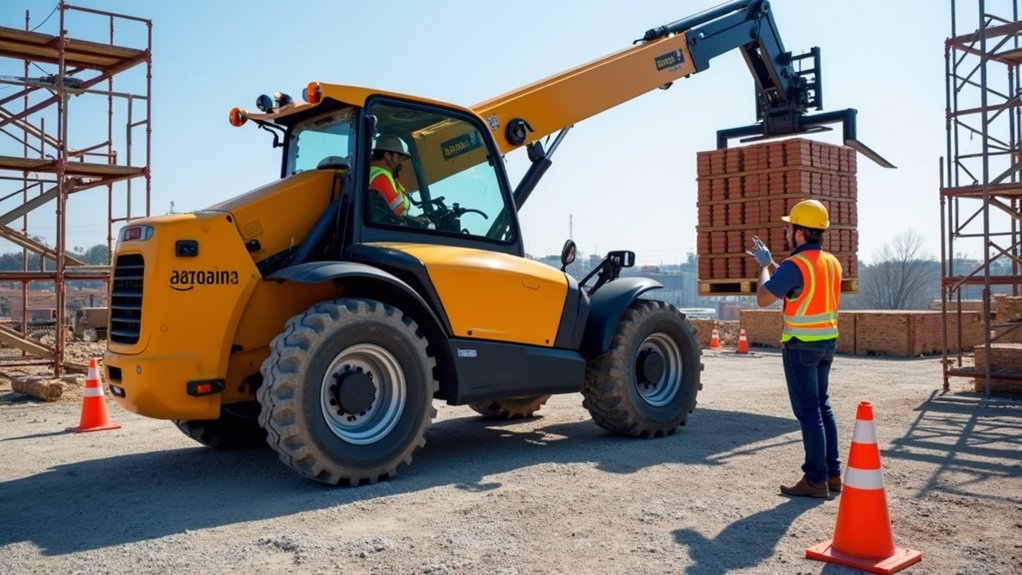
If you’re new to telehandlers, you can’t rely on “seat time” to keep lifts safe and on schedule. You’ve got to scan the load chart fast, set up on ground that won’t shift, and match the attachment to the job—not the other way around. You also need a lift plan that accounts for travel routes, blind spots, and overhead lines, plus daily checks that catch problems early. The real difference shows up when you put it all together…
Read the Telehandler Load Chart Fast
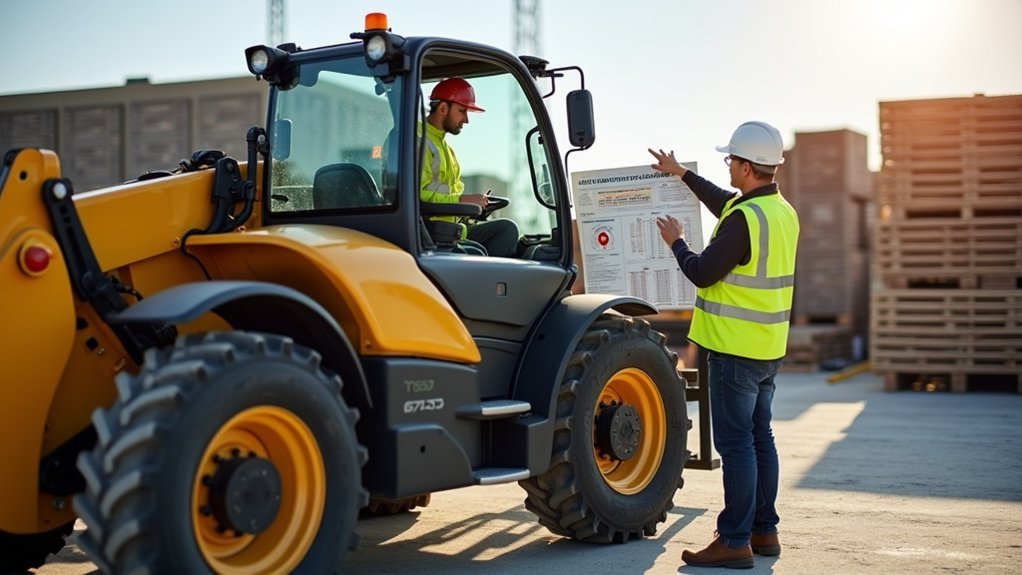
How do you read a telehandler load chart fast without guessing? Start with the three inputs the chart is built on: boom angle/extension, attachment type, and load center.
Match your current boom position to the correct column, then read across to confirm rated load capacity at that reach.
Next, sanity-check stability: as you extend, capacity drops fast—so treat every inch of boom as a pricing lever that “costs” pounds.
Verify you’re on the right side of the chart for forward vs. 360° ratings if your model lists both.
Tie it to maneuvering techniques: plan your approach to keep the boom shorter, carry loads low, and reposition the machine instead of telescoping farther.
If numbers don’t match, don’t lift.
Set Up the Telehandler on Solid Ground
Before you even think about telescoping the boom, set the telehandler on ground that can actually carry the combined load of the machine, attachment, and material without settling or shifting. Treat this as a non-negotiable Site ground assessment: check for soft fill, recently backfilled trenches, wet clay, hidden voids, and undermined edges near excavations.
Confirm Foundation stability by looking for cracking, pumping, or rutting under your tires and outriggers, and stop if you see any movement. Level the machine within the manufacturer’s limits, using cribbing or mats rated for the pressure you’re applying.
Keep the chassis square to the work, maintain clear swing and travel paths, and recheck the surface after rain, thaw, or repeated passes.
Pick the Right Telehandler Attachment
Where most telehandler mishaps start isn’t the boom—it’s the attachment choice. You’ve got to match the job, the load, and the machine’s rated charts, not what “usually works.” Start by confirming Attachment compatibility: coupler type, hydraulic flow/pressure, electrical connections, and any OEM-approved adapters.
Then verify the attachment’s own rating and how it derates your lifting capacity at reach—forks, buckets, jibs, truss booms, and personnel platforms all change the numbers. Choose forks sized for the pallet, with a locked carriage and correct backrest.
Use a jib only when you need lift points and controlled hook load. For loose material, pick a bucket with the right volume so you don’t overload by density.
Inspect pins, latches, hoses, and decals before you couple up.
Plan Lifts, Travel Routes, and Spot Hazards
Picking the right attachment sets your capacity, but your lift plan keeps that capacity intact once the machine starts moving. Map each pick: load weight, boom angle, reach, set-down point, and required clearances.
Confirm ground conditions and slope along the entire path, not just at the lift zone, and keep the boom low while traveling.
Establish a travel route that avoids soft shoulders, excavations, overhead powerlines, and congested pedestrian corridors.
Use a spotter with clear hand signals or radio protocol, and pause operations when communication breaks.
Operator training matters here: you must know how small changes in reach, speed, or grade cut stability.
Build Weather considerations into the plan—wind, rain, ice, and visibility drive go/no-go decisions.
Do Daily Telehandler Checks and Safe Shutdowns
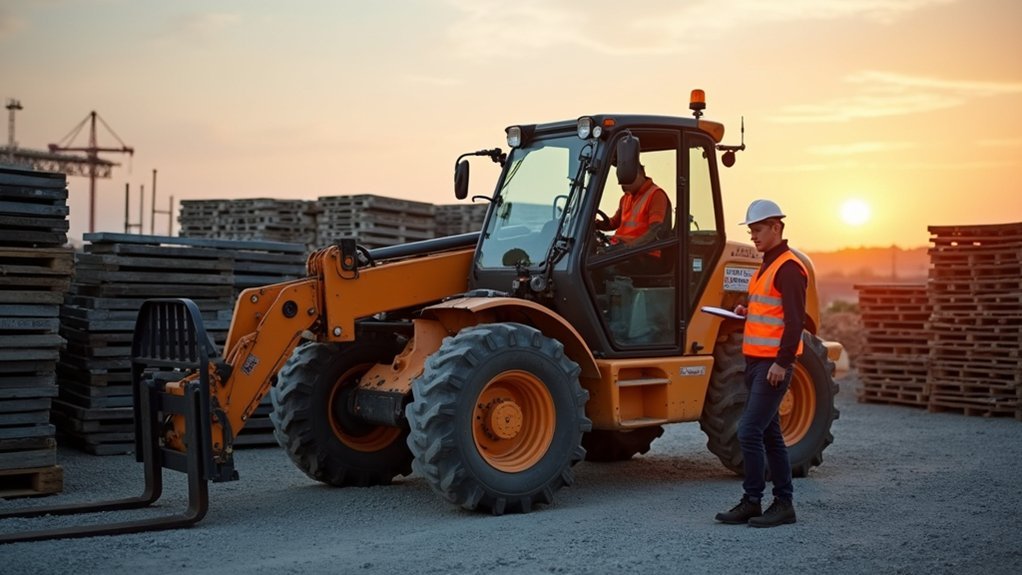
Even if you ran the same telehandler yesterday, start every shift with a documented walk‑around and function check, because small leaks, worn forks, or a weak brake can turn a routine pick into a tip-over or dropped load.
Check tires, pins, chains, hydraulics, lights, alarms, seat belt, and capacity chart; verify attachments lock and forks aren’t cracked.
Cycle boom, steer, brakes, and service controls at low speed, then log defects and tag out immediately.
Keep operator communication tight: confirm hand signals, radio channel, and spotter roles before you lift.
At shutdown, lower the boom, retract, neutralize controls, set the brake, chock if needed, remove the key, and secure the site.
Review emergency procedures and report near misses.
Frequently Asked Questions
What License or Certification Is Required to Operate a Telehandler on Site?
You’ll need an accredited telehandler operator certification or site license (e.g., CPCS/NPORS/OSHA-compliant), plus your employer’s authorization. Complete operator training, follow safety protocols, and carry proof onsite to meet audits, insurers, and contract requirements.
How Do I Choose Between Renting or Buying a Telehandler for My Project?
Choose renting if you’ve got a short timeline, variable loads, or want flexibility for telehandler attachments; choose buying if utilization’s high and resale’s strong. Weigh leasing vs. buying by cash flow, maintenance, downtime risk.
What Personal Protective Equipment Is Required When Operating a Telehandler?
You’ll wear hard hat, hi-vis vest, steel-toe boots, gloves, and eye/ear protection as required. Add fall protection when warranted. Your protective gear must match site hazards, and you can’t skip safety training.
How Should Telehandlers Be Transported Safely Between Job Sites?
Transport telehandlers on rated trailers, secure booms low, lock attachments, and use proper tie-downs. Follow Transport safety and Loading procedures: inspect ramps, balance axle loads, chock wheels, and verify permits, escort requirements.
When Should a Telehandler Be Taken Out of Service and Reported for Repair?
You take a telehandler out of service immediately when your Safety inspection finds leaks, cracked forks, steering/brake faults, alarms inoperative, or instability—because surprises are fun. If it misses its Maintenance schedule, you report it for repair.