
 Andrew
You probably don’t know that most “generator problems” on site actually start in the distribution gear, not the engine. You keep projects moving when you size the unit from real load data, match voltage with the right panels and breakers, and build a layout that won’t nuisance-trip under motor starts. Add proper GFCI protection, safe cables and connectors, and planned changeovers, and you cut downtime fast—but only if you address one overlooked weak point first.
What Powers Does Your Site Generator Need?
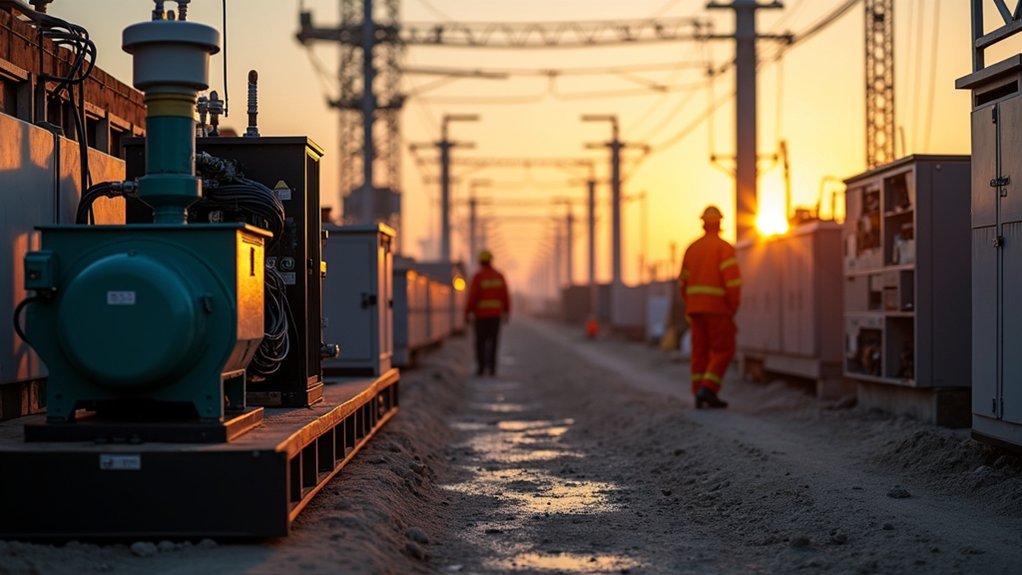
Before you choose a site generator, you need to pin down the exact power profile of the tools and systems you’ll run—because “watts” on a spec sheet isn’t the whole story. List every load by type: resistive heaters, inductive motors, and sensitive electronics.
Check starting surge needs for compressors, saws, and pumps, and confirm whether you require single-phase or three-phase output. Verify voltage options (120/240V, 208V, 480V) and plug/receptacle compatibility so you don’t rely on unsafe adapters.
If you’re running variable-speed drives or IT gear, you’ll want cleaner power and tighter voltage regulation. Match engine speed and alternator design to your priorities: fuel efficiency at partial load and noise reduction via lower RPM and better enclosures.
Size a Site Generator From Real Load Data
Once you’ve logged what actually runs on-site, you can size a generator from measured demand instead of nameplate guesses. Pull interval data from temporary meters or a power logger, then identify peak kW, average kW, and duty cycles by shift.
Add starting kVA for motors, welders, and compressors, and confirm whether soft starters or VFDs reduce inrush. Apply a realistic diversity factor, then reserve 15–25% headroom for growth and temperature derating so you don’t run at unstable, smoky low load.
Right-sizing improves Site safety by preventing nuisance trips, overheated cables, and voltage sag that can stall tools. It also lowers environmental impact by cutting run hours, fuel burn, and noise, while keeping power quality within spec.
Pick the Right Site Generator Fuel Option
Although diesel still dominates temporary power, you should pick a site generator fuel based on logistics and risk, not habit: verify what fuel you can reliably source and store (on-site tank rules, spill containment, theft exposure), how long you need to run between refuels, and what the engine will see for load factor and ambient temperature.
If you’ll run high hours at steady load, diesel’s Fuel efficiency and broad service support usually win.
If local rules tighten emission standards, consider ULSD with aftertreatment compatibility, or natural gas where a firm utility drop eliminates refueling risk.
Propane can simplify storage compliance, but you must model consumption and cold-weather vaporization limits.
For remote sites, evaluate dual-fuel for resilience, but confirm derate, maintenance intervals, and fuel quality controls.
Match Power Distribution Equipment to Voltage
A mismatch between your generator output voltage and your distribution gear creates avoidable heat, nuisance trips, and unsafe touch conditions. Confirm the generator’s selectable voltage matches the distribution input rating (120/240, 120/208, or 277/480) before you energize anything.
Check phase (single vs three), frequency, and neutral configuration, and verify the gear’s bus, breakers, and receptacles are listed for that system. Don’t rely on adapters to “make it fit”; they mask misapplication and defeat labeling.
Review the generator’s Voltage regulation performance under expected load steps so downstream equipment sees stable RMS voltage, not sagging or overshoot.
If you’re feeding VFDs, welders, or LED drivers, use power harmonization practices—K-rated components, filtering where specified—to reduce distortion and overheating.
Build a Power Distribution Layout That Won’t Trip
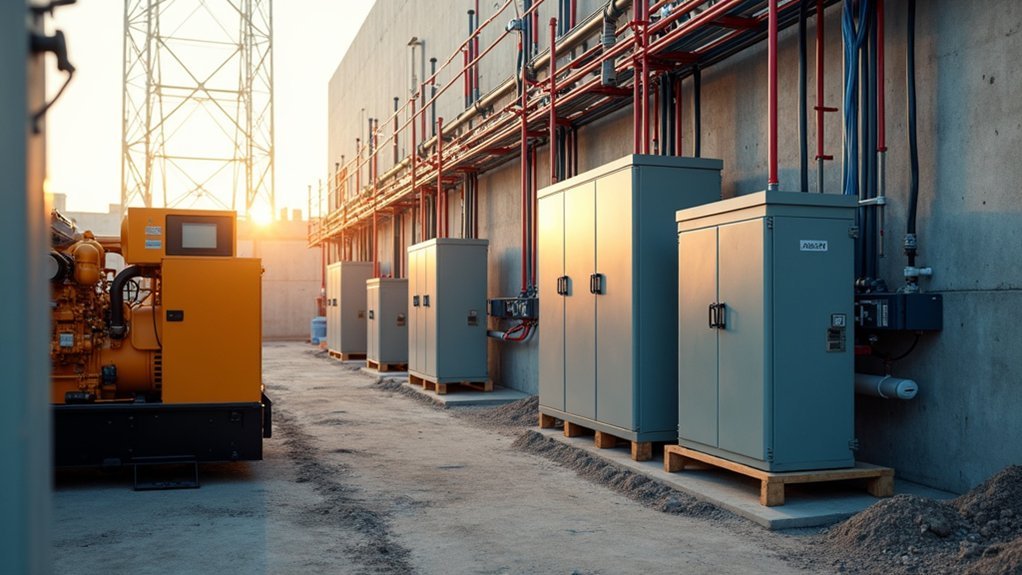
Before you start landing feeders, map the entire distribution path so every breaker and cable sees predictable current—not surprises that cause nuisance trips. Build a one-line that shows source, transfer points, distribution nodes, and every major load with starting and running amps.
Balance phases by grouping similar motors and heaters, and keep neutral loading visible when you’ve got harmonics from VFDs or LED drivers. Size conductors to limit voltage drop on long runs, because sag makes inrush worse and trips more likely.
Separate dirty and sensitive circuits, and route temporary cords to avoid damage and hidden splices. If you’re doing solar integration with renewable sources, document backfeed paths and operating modes so load priorities stay stable.
Then verify with clamp readings under realistic peak use.
Choose Panels, Breakers, and GFCI Protection
Once your one-line and load math show where current actually flows, you can select panels and protection that match the real fault energy, duty cycle, and environments on site.
Start with panel selection: size the bus and main to the calculated demand, not nameplate totals, and verify SCCR/interrupt ratings exceed available fault current at that location.
Choose breakers with proper frame, trip curve, and adjustable settings so motor starts don’t nuisance-trip while branch circuits still clear quickly.
Coordinate upstream and downstream devices to preserve selective tripping and keep critical loads energized.
Add GFCI protection where personnel exposure is likely—temporary receptacles, damp areas, outdoor tools—and pick the right class and sensitivity for the circuits you’re serving.
Test functions, label circuits, and document settings for inspections.
Select Power Distribution Cables and Connectors Safely
Because your distribution cables become both the largest continuous load path and the most likely point of handling damage, you need to select them for ampacity, voltage drop, and fault withstand—not just what “fits” the panel.
Size conductors to continuous current, then verify voltage drop over the longest run so tools and controls don’t brown out at peak demand.
Choose cable insulation rated for the environment: sunlight, oil, abrasion, and wet locations, and confirm temperature rating matches your load profile.
Standardize connector types and check connector compatibility across panels, adapters, and cord sets so you don’t create improvised, high-resistance joints.
Use listed, keyed connectors with strain relief, and match phase, neutral, and ground identification to prevent mis-mating during fast tie-ins.
Inspect before every energization.
Maintain Site Generators to Prevent Downtime
Even if your load plan looks perfect on paper, a generator that’s overdue for basic service will trip on temperature, fuel, or sensor faults and take the whole site down.
Build a Preventive maintenance schedule around run-hours, not calendar guesses: oil and filter intervals, coolant concentration checks, belt tension, and air restriction gauges.
Test batteries under load, clean terminals, and verify charger output so you don’t lose cranking power after a cold start.
Inspect exhaust flex, mounts, and leaks that can trigger shutdowns or unsafe conditions.
Practice tight fuel management: sample tanks for water and microbial growth, change filters, drain separators, and confirm transfer pump flow rates.
Log alarms and trends daily, then act before derates turn into stoppages.
Plan Site Generator Redundancy and Changeovers
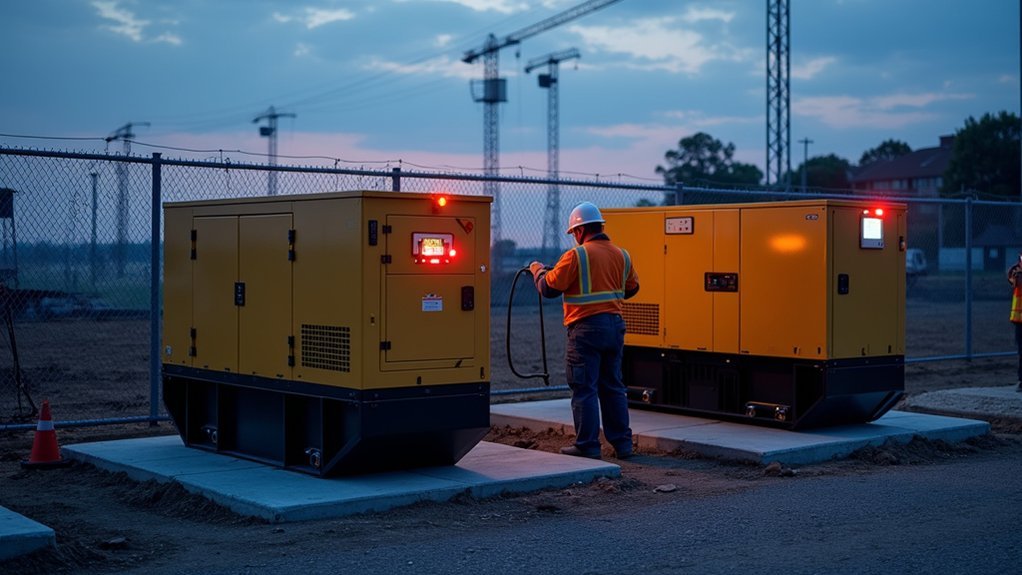
You can’t treat a single generator as a single point of failure, so you plan N+1 redundancy that covers your critical load with one unit offline.
You also specify automatic transfer switches that match fault current, switching time, and load-shed priorities so changeovers happen predictably.
Then you validate the whole chain with scheduled load bank changeover testing to confirm capacity, transient response, and ATS behavior under real stress.
N+1 Generator Redundancy
How do you keep critical loads online when a generator fails or needs maintenance? You design N+1 redundancy: size N units to carry peak demand, then add one fully capable spare.
You parallel generators so any single set can drop out without exceeding remaining capacity, and you confirm kW, kVA, surge, and harmonic limits under worst-case motor starts.
You also plan load blocks so you can shed noncritical circuits first and protect mission loads.
For Renewable integration, you treat solar-plus-storage as a controllable block, validate ride-through, and prevent reverse power on gensets.
For Noise mitigation, you distribute smaller units, use acoustic enclosures, and schedule run hours to avoid stacking loud events.
Keep maintenance windows predictable and documented.
Automatic Transfer Switches
When does generator redundancy actually pay off—during a failure or a planned outage? It pays off when you can shift power without stopping work, and that hinges on how you specify and place Automatic transfer switches.
You’ll use ATSs to sense loss of utility or a generator, command start/stop sequences, and transfer feeders to the healthiest source within your coordination plan.
Choose open-transition if brief interruption is acceptable, or closed-transition if you must avoid a break and your sources can synchronize.
Size the switch for continuous current, inrush, and fault duty, and confirm selective coordination with upstream breakers.
If you’re running multiple sets, align ATS logic with your paralleling gear so load balancing stays stable and you don’t overload the surviving unit.
Load Bank Changeover Testing
An ATS can prove that a source will transfer, but it won’t prove the generator set can carry and share real load under the exact changeover sequences you’ve programmed. Run load bank changeover testing to validate kW/kVAR response, voltage and frequency recovery, and how paralleled units split load during step changes.
You should script worst-case handovers: utility loss, generator start, closed/open transition timing, and retransfer. Verify governor and AVR tuning, fuel system stability, and breaker interlocks. Confirm Emergency shutdowns don’t trip from overspeed, high temp, low oil pressure, or nuisance E-stop wiring when the load ramps.
Measure harmonics and neutral currents on your distro. Track exhaust backpressure and coolant temps. If you need noise mitigation, test with actual enclosures, barriers, and site layout to confirm compliance.
Frequently Asked Questions
Do I Need Permits or Inspections for Temporary Power on Site?
Better safe than sorry: you usually do need permits and inspections for temporary site power. You’ll confirm local Permitting requirements, then schedule Inspection protocols for grounding, GFCI protection, load calculations, and panel labeling.
How Much Does Renting a Site Generator and Distro Equipment Typically Cost?
You’ll typically pay $200–$1,500/day for a site generator and $50–$400/day for distro. Cost considerations include kW size, runtime, delivery, cables, and permits. Compare rental options: weekly/monthly discounts, service, fuel.
What Noise Limits Apply, and How Can Generator Sound Be Reduced?
Noise limits vary by city and jobsite permits, often 55–65 dBA at property lines overnight. You’ll cut noise via Noise mitigation: place sound barriers, add acoustic enclosures, increase distance, orient exhaust away, schedule daytime.
How Do Weather and Temperature Affect Generator and Cable Performance?
Weather impact reduces generator output in heat, increases cold-start strain in freezing conditions, and moisture risks corrosion and shorts. Temperature effects change cable ampacity: hotter reduces capacity, colder stiffens insulation. You’ll mitigate with derating, heaters, covers.
Who Is Qualified to Install and Sign off on Temporary Power Systems?
You’ll use qualified electricians—typically licensed electrical contractors or master electricians—who hold required safety certifications and comply with local codes. They’ll install, test, document, and sign off after inspections, load checks, and grounding verification.