 Andrew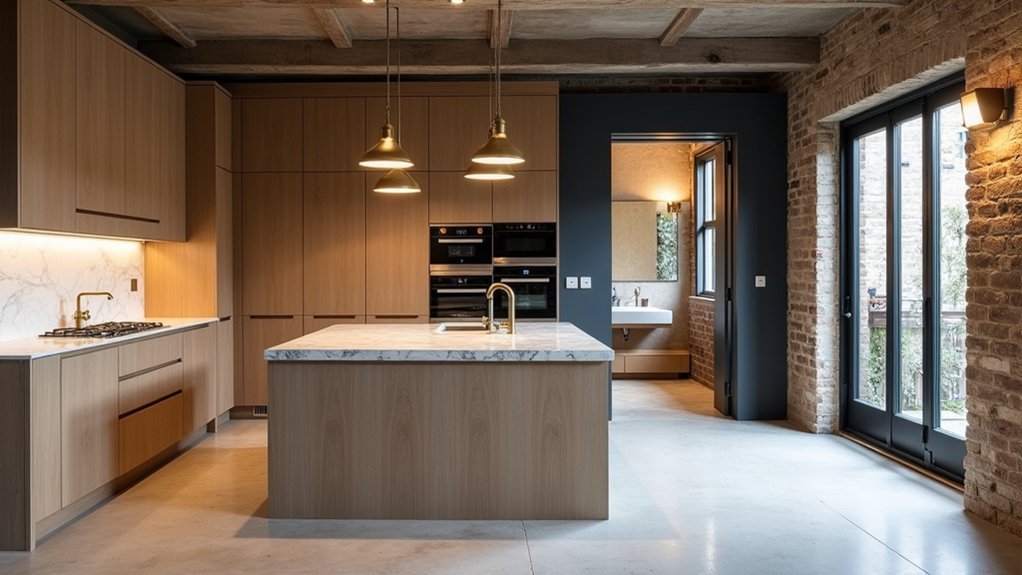
When you refurbish a mews home, updated kitchens and bathrooms must work harder without erasing the building’s original character. You’ll need to balance compact layouts, durable finishes, ventilation, storage, and energy efficiency with conservation constraints and neighbouring properties. Early decisions about plumbing routes, lighting, and permissions can prevent costly changes later. The right approach starts with knowing which improvements add value—and which details deserve protection.
Plan Your Mews Home Refurbishment Budget
Start by setting a realistic budget that reflects your mews home’s condition, layout, and refurbishment goals. Review survey findings, damp risks, roof repairs, electrics, plumbing, and access constraints before pricing finishes.
Accurate Cost estimation should separate essential repairs from kitchen and bathroom upgrades, professional fees, permissions, and temporary accommodation if needed.
Create a clear Budget allocation for each workstream, including demolition, labour, materials, fixtures, lighting, heating, decoration, and contingency. Reserve 10–15% for unforeseen issues, particularly in older properties where hidden defects can emerge.
Obtain itemised quotations from contractors, compare specifications rather than headline totals, and confirm whether VAT, waste removal, and project management are included.
Track commitments against your approved budget weekly. This lets you make informed choices early, protect cash flow, and avoid expensive changes once work starts.
Protect Character Before You Change Layouts
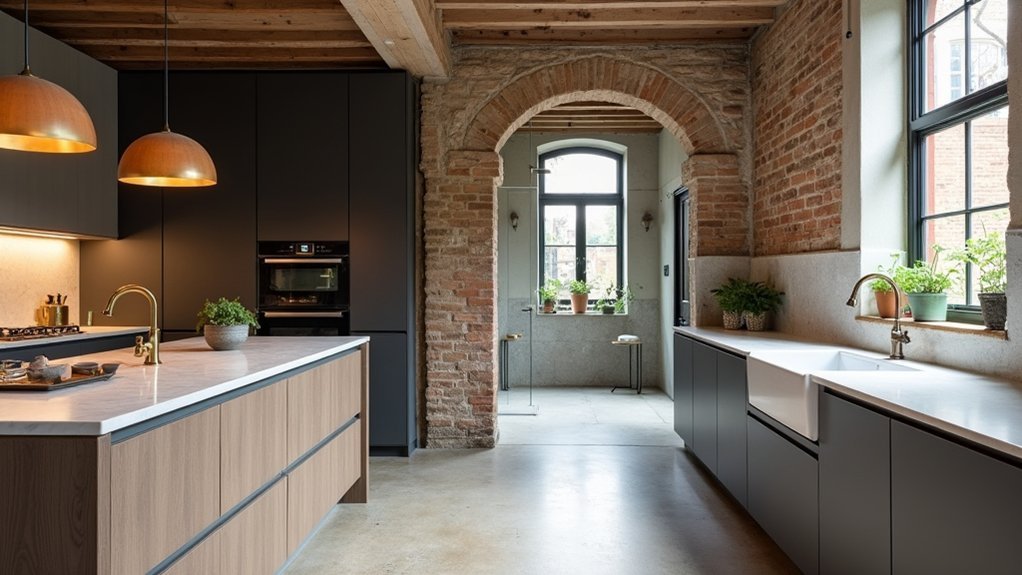
Before moving walls or opening up rooms, identify the features that give your mews home its character, such as original brickwork, timber beams, cast-iron details, sash windows, fireplaces, or stable-style doors. Photograph and measure them, then note their condition and whether local planning controls affect alterations.
Historical preservation doesn’t require freezing every room in time; it means retaining the details that explain the building’s origins.
Test proposed layout changes against those features. Avoid removing structural partitions without checking how they support floors, roofs, or retained chimney breasts. Where you must introduce new openings, align proportions with existing doors and windows.
Repair rather than replace whenever practical, using compatible materials and finishes. This approach protects aesthetic consistency, helps you avoid costly reversals, and ensures alterations feel considered rather than imposed.
Design a Mews Kitchen That Works Harder
A mews kitchen often has to serve as a cooking space, storage hub, and social room within a compact footprint, so every cabinet and appliance needs a clear job. Start by mapping your daily route from fridge to sink to hob, then keep those points close enough to reduce unnecessary steps.
Choose integrated appliances where possible to maintain clean sightlines, and specify durable worktops that tolerate heavy use. A slim peninsula can define the cooking zone while giving you prep space and casual seating.
Use layered lighting: bright task lighting over work areas, softer pendants for dining, and discreet under-cabinet strips for evening use.
Preserve Vintage charm through timber details or aged brass hardware, but introduce Art deco geometry in tiles, fluted glass, or lighting.
Guarantee ventilation is effective without dominating the room.
Maximise Storage in a Compact Mews Kitchen
Make every wall work by fitting full-height cupboards, open shelves, or slim pull-out units that use vertical space without crowding the room. You’ll gain easier access with deep drawers, corner carousels, and tailored cabinet inserts that organise cookware, dry goods, and cleaning supplies.
Choose multi-functional features, such as a storage bench, pull-out worktop, or island with drawers, so each element earns its footprint.
Vertical Storage Solutions
When floor area is tight, use the full wall height to create storage that keeps your compact mews kitchen clear and efficient. Install open shelving above worktops for everyday glasses, bowls, and dry goods, keeping frequently used items within easy reach.
Add slim wall rails with hooks for utensils, mugs, and small pans, freeing valuable prep space. Vertical organization also suits narrow gaps: fit a tall freestanding shelf beside the fridge or use a wall-mounted magnetic strip for knives and spice tins.
Choose shelves with raised edges to prevent items slipping, especially in busy cooking zones. Use matching jars and labelled containers to make supplies easy to identify and visually calm.
Stacking solutions, such as tiered racks for plates or risers for tins, help you use each shelf level without creating clutter.
Smart Cabinet Configurations
Smart cabinet configurations turn awkward kitchen footprints into efficient, accessible storage.
In a compact mews kitchen, specify deep drawers instead of low cupboards so you can see pans, plates, and dry goods at a glance. Fit full-extension runners, soft-close hardware, and internal dividers to prevent wasted space and keep essentials organised.
Use narrow pull-out larders beside appliances, corner drawers rather than blind-corner units, and integrated bin drawers near the sink or prep area.
Plan cabinet depths around your actual cookware and groceries, not standard assumptions.
You can also connect discreet lighting or motorised opening systems to Home automation controls, improving visibility and access without adding clutter.
Smart cabinet configurations should support daily routines, leave clear circulation space, and make every concealed centimetre work harder.
Multi-Functional Kitchen Features
In a compact mews kitchen, multi-functional features let each element earn its footprint without compromising daily usability. Choose a pull-out pantry beside the fridge, a slimline dishwasher, and an integrated bin system to keep preparation zones clear.
A peninsula can combine worktop space, concealed storage, and casual seating, while a fold-down table provides dining space only when you need it.
Specify Smart appliances with compact dimensions, such as combination ovens, induction hobs with built-in extraction, or fridge-freezers with flexible shelving. You’ll reduce the need for separate bulky equipment and simplify daily routines.
Eco friendly fixtures, including low-flow taps and LED task lighting, lower water and energy use without reducing performance.
Add charging drawers or pop-up sockets so devices stay accessible but off the counter.
Use adjustable interior fittings to adapt storage as your household needs change.
Choose Durable Kitchen Finishes for Mews Homes
Because mews homes often have compact, hard-working kitchens, choose finishes that resist moisture, scratches, and frequent cleaning without making the space feel heavy. Specify quartz or sintered-stone worktops for reliable stain resistance, and select a honed or matte surface to reduce visible fingerprints.
Use quality porcelain tile, sealed engineered wood, or durable luxury vinyl underfoot; each handles spills better than untreated timber. For cabinetry, choose factory-lacquered fronts, high-pressure laminate, or wood veneer with a tough clear coating.
Keep grout lines narrow and use epoxy grout behind sinks and hobs, where splashes collect. Eco-friendly materials, such as recycled-glass surfaces or FSC-certified timber, can add responsible character.
Pair them with vintage fixtures in solid brass or stainless steel, ensuring fittings have robust protective finishes that withstand daily use.
Update Mews Bathrooms Without Losing Space
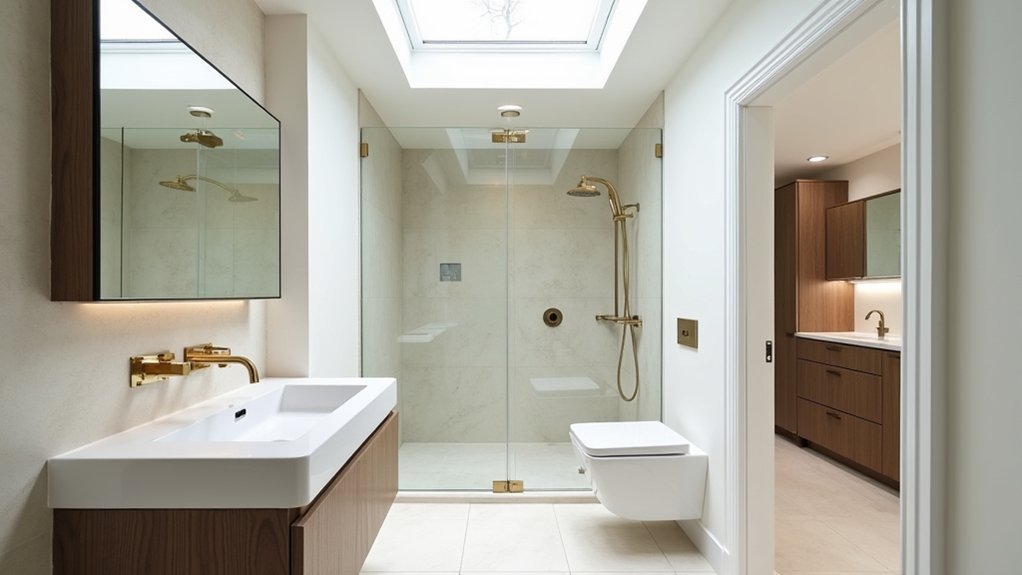
Although mews bathrooms are often compact, you can improve comfort and function without sacrificing valuable floor area. Start by keeping the existing plumbing layout where possible, since moving waste pipes can consume budget and complicate a tight plan.
Choose a wall-hung WC and a slimline basin to expose more flooring and create a lighter visual impression. Replace a bulky bath with a level-access shower and clear glass screen, which preserves sightlines and makes the room feel wider.
Use large-format tiles with minimal grout lines to reduce visual clutter, and continue the same finish across floors and walls for cohesion. Specify moisture-resistant eco-friendly materials, including recycled-glass surfaces or low-VOC finishes.
Well-chosen luxury fixtures, such as thermostatic shower controls and concealed taps, add daily comfort while keeping the design streamlined.
Add Smart Storage to Small Mews Bathrooms
Smart storage lets you keep a small mews bathroom orderly without crowding the room. Start by evaluating what you use daily, then assign each item a specific, accessible place.
Fit a recessed mirrored cabinet above the basin to hold toiletries without projecting into the walkway. Choose a vanity with deep drawers, internal dividers, and pull-out trays so you can separate grooming tools, medicines, and cleaning supplies.
Use vertical wall space for slim shelves, towel hooks, or a narrow ladder rack. Add drawer inserts to prevent small items from collecting around the basin.
For Bathroom organization, keep backup products in labelled baskets inside a cupboard rather than on open surfaces.
Smart storage also includes choosing stackable containers that fit awkward corners, helping you maintain clear floors and calm sightlines.
Improve Light, Ventilation, and Energy Efficiency
Once storage clears the visual clutter, focus on making the bathroom feel brighter, fresher, and less costly to run. Maximise natural lighting with a rooflight, obscured glazing, or a larger mirror positioned to reflect daylight without compromising privacy.
Choose pale, moisture-resistant finishes and layered LED lighting: ceiling downlights for general illumination, task lights at the mirror, and low-level lighting for nighttime use.
Fit efficient ventilation systems sized for the room, ideally with humidistat controls that activate automatically after showers. Duct the extractor directly outside, keep runs short, and use insulated ducting to reduce condensation.
Select LED fittings with appropriate IP ratings and install thermostatic electric towel rails only where needed. Water-saving taps and shower valves also reduce hot-water demand, helping you lower energy use while maintaining a comfortable, well-dried bathroom.
Navigate Planning Rules and Party Wall Issues
Before you finalise designs, check whether your mews home needs planning permission, listed-building consent, or approval for changes to its exterior, roof, or use.
You’ll also need to identify works covered by the Party Wall etc. Act 1996, such as structural alterations to shared walls or excavations near neighbouring foundations.
Serve the correct notices early, keep drawings precise, and allow time for neighbour consent or surveyor appointments.
Understanding Planning Permissions
Planning rules shape nearly every alteration to a mews home, from roof extensions and rear additions to replacement windows and changes in use. Before you finalise kitchen layouts or bathroom plumbing routes, check whether your property sits in a conservation area, has listed status, or faces local design restrictions.
Historic preservation policies may limit materials, façade changes, roof profiles, and visible flues.
Review local zoning regulations and permitted-development rights carefully; mews properties often have unusual boundaries, prior conversions, and restricted access that affect what you can build. Submit scaled drawings, site plans, material specifications, and heritage statements where required.
You should also confirm building regulations approval separately, as planning consent doesn’t cover structural safety, ventilation, drainage, or fire protection.
Early advice from your planning authority helps you identify constraints, revise proposals efficiently, and avoid costly enforcement action later.
Managing Party Wall Agreements
Approval from the planning authority doesn’t remove your duties to adjoining owners when refurbishment affects a shared wall, boundary, or structure. If your kitchen or bathroom work involves cutting into a party wall, excavating near foundations, or altering a shared chimney, serve the correct Party Wall Act notice before work begins.
Give neighbours adequate notice, include drawings and schedules, and allow time for consent or a dispute response.
If they dissent, appoint an agreed surveyor or separate surveyors to prepare an award defining access, safeguards, working hours, and damage procedures. Document existing conditions with photographs, particularly where garden landscaping requires excavation beside neighbouring walls.
In a conservation setting, coordinate party wall details with historical preservation requirements, approved materials, and restricted methods. Your contractor should follow the award precisely, protect adjoining finishes, and address any damage promptly.
Hire the Right Team for Your Refurbishment
A successful mews home refurbishment depends on appointing a team that understands the constraints of these compact, often historic properties. Prioritise contractor selection early: seek designers, builders, and specialists with proven experience in tight-access London sites, listed settings, and complex kitchen and bathroom installations.
Ask for comparable project photographs, client references, insurance details, and a clear programme.
Your team should respect Mews heritage while improving performance. They’ll need to coordinate deliveries around narrow lanes, protect shared access, manage neighbours, and sequence plumbing, electrics, ventilation, and finishes precisely.
Confirm who handles building control, structural input, and party wall responsibilities. Request an itemised quotation that separates provisional sums, fixtures, labour, and contingency.
Choose a project manager who communicates weekly, records decisions, and resolves site issues before they affect cost, quality, or completion dates.
Frequently Asked Questions
How Long Does a Typical Mews Home Refurbishment Take?
You can expect a typical mews home refurbishment to take 4–9 months. Historic preservation requirements, planning approvals, structural surprises, and Architectural modernization complexity can extend timelines. You’ll reduce delays by finalizing designs, permits, and specifications early.
Can I Live in My Home During the Refurbishment?
You can live there, but temporary living may be wiser during disruptive phases. You’ll need clear renovation permissions, safe access, working utilities, dust control, and a phased schedule; otherwise, daily routines can become impractical.
What Insurance Should I Arrange Before Building Work Begins?
Arrange specialist renovation Insurance coverage before work starts, including existing structure, materials, theft, and public liability. Confirm your contractor carries builder’s liability and employers’ liability, then notify your home insurer to avoid invalidating cover.
How Can I Reduce Disruption to Neighbouring Properties?
Want fewer complaints? Prioritise neighbor communication: share schedules, access needs, and contacts early. Use noise mitigation through limited working hours, quieter equipment, dust barriers, tidy deliveries, and prompt responses when neighbours raise concerns.
Will Refurbishment Work Increase My Home’s Resale Value?
Yes, you can increase your home’s resale value when improvements align with local Market trends. Obtain a Property valuation before work, prioritise durable upgrades, efficient layouts, and quality finishes that appeal to likely buyers.