 Andrew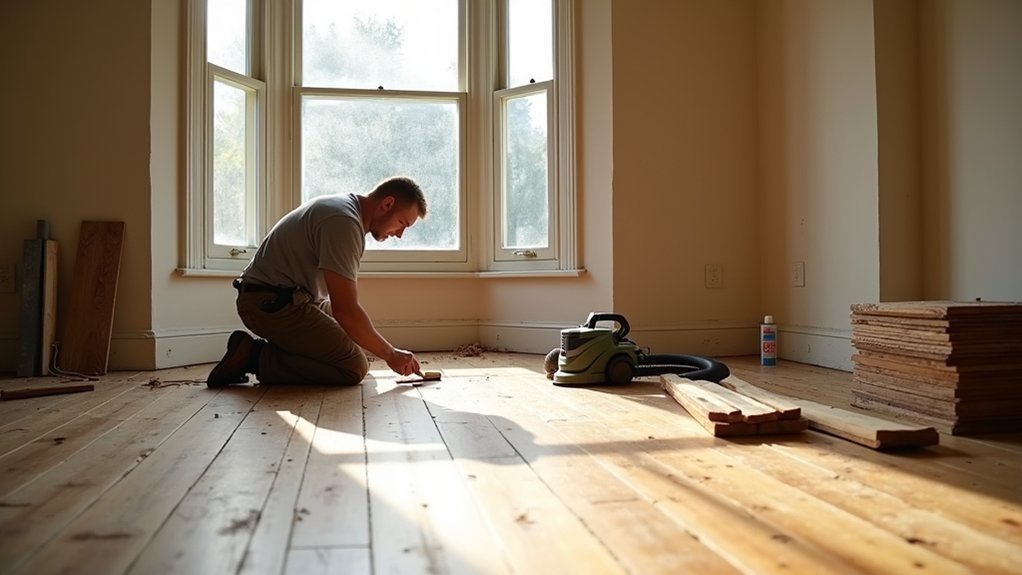
You’re in the process of restoring original floorboards. Start by evaluating, you’re repairing, you’re finishing—and you’re doing it without erasing the history underfoot. Start by deciding if restoration makes sense, then identify the timber and fixings so you don’t cause avoidable damage. You’ll check for rot and woodworm, lift boards without snapping tongues, and stabilise joists to stop squeaks and bounce. The final look depends on sanding, sealing, and the right period finish—but one misstep early can undo it all…
Are Your Original Floorboards Worth Restoring?
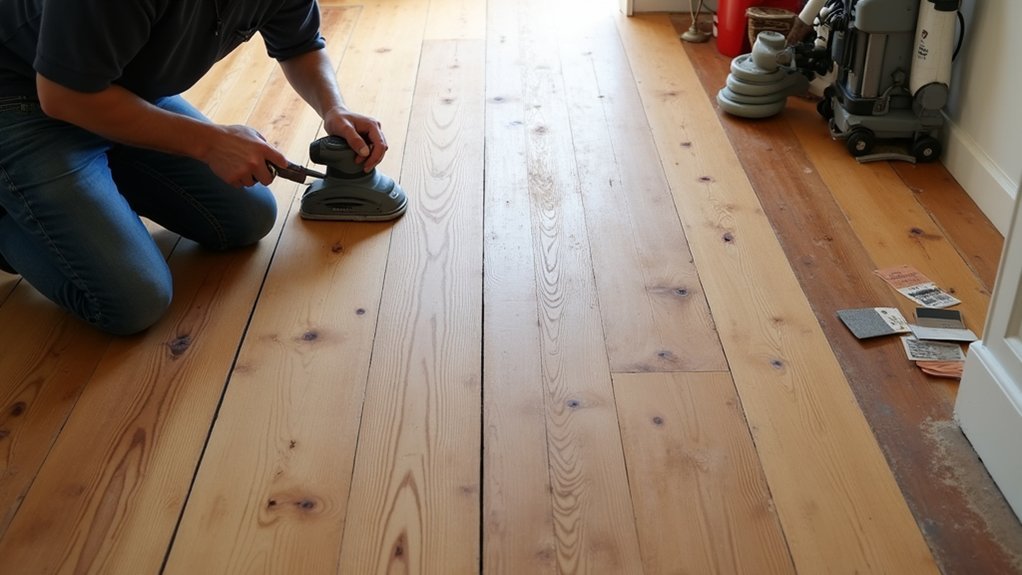
Before you rent a sander or pry up a single board, ask one practical question: do your existing floorboards have enough sound timber left to justify the work? Start with a close inspection.
Probe suspect areas with an awl; if it sinks easily, rot may be too advanced. Check for active woodworm (fresh dust, crisp holes), persistent damp, and widespread splitting or cupping that won’t flatten.
Walk the room and listen: excessive bounce can signal failed joists or fixings, raising costs beyond sensible repair.
Balance Historical accuracy against performance—original boards matter when they’re largely intact and repairable.
Use Modern techniques like moisture meters, boroscope checks, and epoxy consolidants, but don’t “save” boards that are structurally compromised.
Identify Your Period Floorboards and Timber Type
Although floorboards can look broadly similar once they’re painted or stained, you’ll restore them more effectively if you first pin down their period and timber species. Start by measuring board width and thickness: Georgian and early Victorian boards are often wider, while later Victorian/Edwardian boards tend to be narrower and more regular. Check the fixing method—hand-cut nails suggest earlier work; wire nails usually indicate later 19th-century installations.
For Timber identification, examine end grain and growth rings. Pine and deal show pronounced early/latewood bands and resinous scent; oak has visible medullary rays and a heavier feel. Look for saw marks: straight up-and-down pit-saw kerfs point to older stock, while circular saw arcs indicate later milling.
Record your findings to guide finishes and protect Historical accuracy.
Inspect Original Floorboards for Rot and Woodworm
Once you’ve identified the likely age and species, inspect each board methodically for decay and infestation so you don’t sand or seal problems in.
Start by clearing the floor: adjust your Furniture arrangement and roll up Decorative rugs to expose traffic lanes and damp-prone edges. Use a strong torch at a low angle to spot cupping, dark staining, and soft patches.
Probe suspect areas with an awl; sound timber resists, while rot feels spongy and breaks into fibres. Check for woodworm with 1–2mm round exit holes, fresh pale frass, and weakened edges around nail lines.
Tap boards with a mallet: dull thuds can indicate voids or decay. Mark faults with chalk and photograph them for later repairs decisions.
Lift Original Floorboards Without Splitting Tongues
When you lift original tongue-and-groove boards carefully, you’ll save the tongues and grooves that make relaying tight and draught-free.
Start by finding the last board laid (often nearest a wall). Remove skirting if needed, then cut paint lines with a sharp knife to prevent edge tear-out.
Drive a wide bolster into the joint over a joist, not mid-span, and lift a few millimetres at a time along the board.
For Nail extraction, expose heads with an awl, then pull with end-cutting nippers, rocking on a scrap pad. If nails won’t budge, cut them flush and lift anyway.
Avoid Tongue removal unless a board’s trapped; then saw the tongue off cleanly and label it for re-fit.
Stack boards flat, in order.
Fix Squeaks, Springy Spots, and Uneven Joists
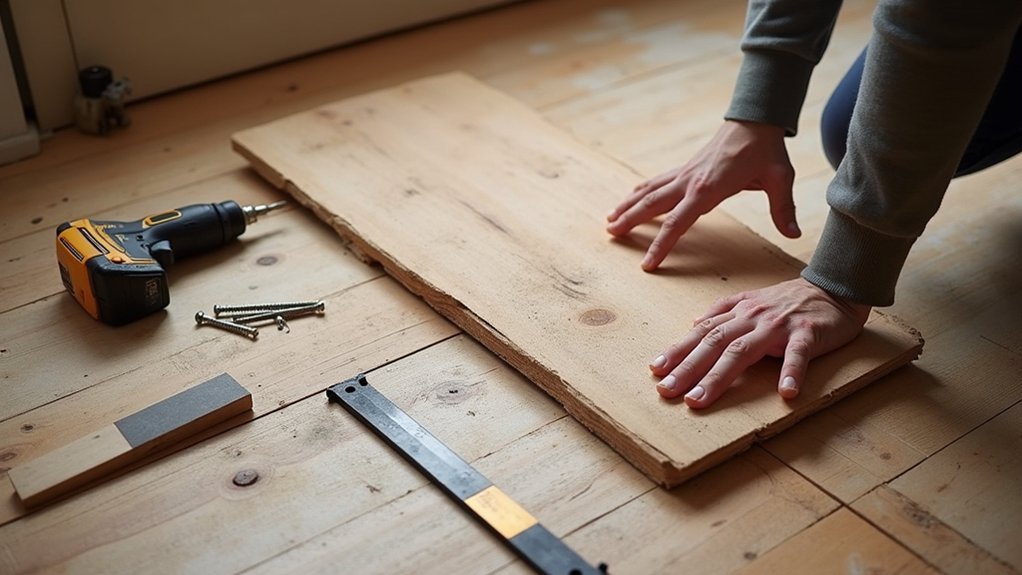
Before you refit the original boards, you’ll locate squeaks by walking the span and marking noisy nails, loose boards, and rubbing joints. Then lock them down with screws, cleats, or adhesive where appropriate.
Next, you’ll check joists for crowns, dips, and twist with a straightedge and level. Then plane high spots or sister and shim low ones to bring the run true.
Finally, you’ll reinforce springy areas with blocking or bridging and tighten any loose fixings so the restored floor feels solid and quiet.
Locate And Stop Squeaks
Although old floorboards can look solid, the noise and bounce usually come from movement where the boards meet the joists—so your first job is to pinpoint exactly which layer is shifting.
Walk the room slowly and mark every squeak with tape; then repeat while a helper listens from below to confirm the joist line.
If the squeak happens at a nail, drive it home with a nail punch, or add a slender lost-head nail beside it; pre-drill to prevent splitting.
If boards rub edge-to-edge, dust graphite or talc into the seam and work it in.
Where a board lifts, refix it with countersunk screws and tapered plugs.
These targeted fixes support Soundproofing methods and preserve original boards over modern flooring options.
Level Joists And Reinforce Floors
Tracked down the squeaks at the board and nail level, you can now tackle the bigger cause of noise and bounce: joists that sit low, crown high, or flex under load. Lift boards as needed and sight each joist with a straightedge.
For joist leveling, plane high crowns, pack low joists with tapered hardwood shims, and secure shims with construction adhesive plus screws. Don’t rely on soft wedges that compress.
Next, add floor reinforcement where deflection persists. Sister a matching joist alongside the weak one, bearing fully on walls or hangers, then bolt or screw at staggered intervals.
Fit solid blocking or herringbone strutting between joists to stop twist and spread loads. Re-fix floorboards into joists, not old nail holes, to lock everything tight.
Repair Damaged Original Floorboards With Matching Wood
To repair damaged original floorboards properly, you’ll start by sourcing reclaimed timber that matches the species, grain orientation, thickness, and patina of what’s already down.
Cut out only the compromised section back to sound wood, then splice in a precisely milled patch with tight end joints and staggered seams so the repair won’t telegraph through the finish.
Once it’s fixed, you’ll plane or sand the insert flush and pre-tone it as needed to blend before final finishing.
Source Matching Reclaimed Timber
Where do you find timber that truly matches your original floorboards? Start with architectural salvage yards, reclamation dealers, and local demolition contractors; ask for boards from similar-era houses and the same species (often pine, oak, or elm). Prioritise long, slow-grown stock with tight growth rings, comparable thickness, and matching edge profiles.
For reliable color matching, don’t judge fresh faces. Request weathered boards or offcuts, then compare against your floor after cleaning a small test area. Check for prior finishes, nail holes, worm, and hidden splits; you want sound fibres, not just patina.
Buy 20–30% extra reclaimed timber to allow for defects and grading. Store it indoors, stickered, for a week so moisture equalises before you cut.
Splice Repairs Seamlessly
Once you’ve sourced reclaimed boards that match species, thickness, and profile, the next job is making repairs disappear in plain sight. Mark rot or splits back to sound wood, then cut a clean, square-ended pocket across the full board width.
For timber splicing, mill a donor piece with identical grain direction and growth-ring orientation, then cut a long scarf or stepped joint so the glue line isn’t a straight cross-grain break. Dry-fit until the splice sits flush with no rocking.
Use exterior-grade PVA or PU glue, clamp firmly, and add lost-head nails or screws into joists, not just the old board. Plane or scrape level, lightly sand, and keep edges crisp. Done right, you’ll get seamless repairs that vanish after finishing.
Sand, Seal, and Finish Floorboards for a Period Look
Before you reach for stain or varnish, you’ll need to sand your floorboards flat, seal them properly, and choose a finish that suits the age and character of the room. Start with 40–60 grit to remove ridges, then 80 and 120 grit for a clean, even surface; edge-sand along skirtings.
Vacuum thoroughly and wipe with mineral spirits to spot scratches before you continue.
Seal knots and resinous patches with shellac knotting, then apply a compatible primer or sanding sealer to control suction and prevent blotching.
For a period look, favour historical finishes: hardwax oil for a low-sheen, breathable surface, or shellac/French polish for warm depth in formal rooms.
Use proven finishing techniques—thin coats, denib between, and keep the grain direction consistent. Let it cure fully.
Frequently Asked Questions
What Permissions Do I Need in a Listed Building Before Restoring Floorboards?
You’ll usually need Listed Building Consent before lifting, replacing, or sanding floorboards, and sometimes planning permission for structural changes. Check with your conservation officer early, document Historical authenticity, and confirm compliant Material sourcing before work starts.
How Do I Safely Remove Old Bitumen Adhesive or Lead-Based Paint Residues?
Pretend you’re a hazmat influencer: you’ll test first, ventilate, wear P3 respirator, gloves, and goggles, then use wet methods for Lead removal and low-heat, solvent-free Adhesive stripping; bag waste, HEPA-vac, and avoid sanding.
What Underfloor Insulation Options Preserve Breathability in Period Properties?
You’ll preserve breathability by using wood fibre boards, sheep’s wool, or hemp-lime between joists, plus a vapour-open membrane. Choose Insulation materials with Historical accuracy; avoid PIR/foil barriers, and keep ventilation paths clear.
How Can I Reduce Airborne Dust During Sanding in Occupied Homes?
Test the theory: seal the room and watch dust disappear. You’ll cut airborne dust by running Air filtration (HEPA scrubber), taping Dust barriers at doors/vents, vacuum-sanding, misting lightly, and cleaning hourly.
What’s the Best Way to Maintain Restored Floorboards Long-Term?
Maintain restored floorboards by vacuuming weekly, damp-mopping sparingly, and renewing finish before wear-through. Prevent Floorboard staining with mats and prompt spill cleanup. Use felt pads and coasters for furniture protection, and control humidity year-round.