 Andrew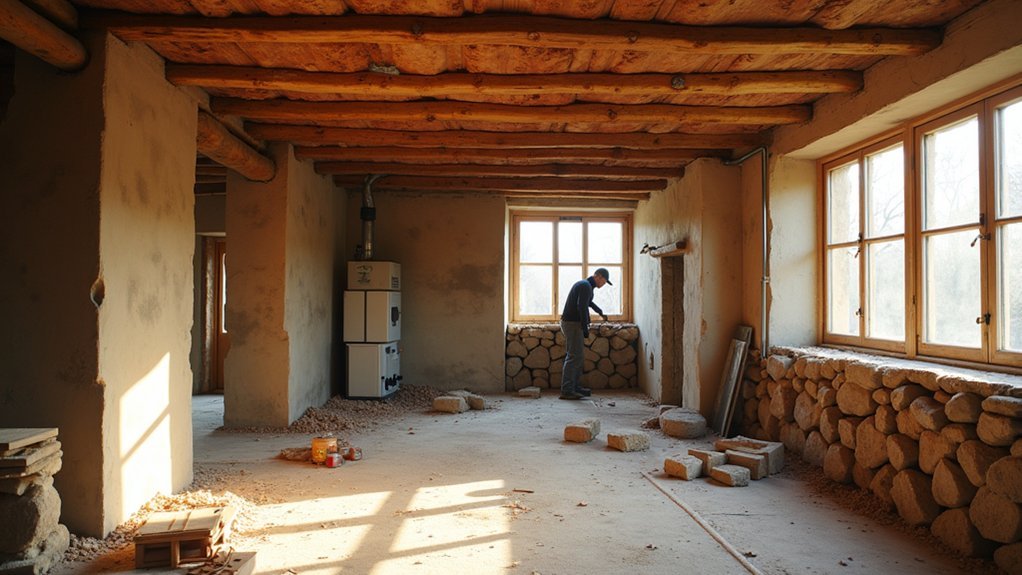
A cottage can hold heat like a sieve holds water unless you tackle its weak points carefully. You’ll need to assess damp, draughts, roof losses, wall construction, and the limits of your existing heating before choosing upgrades. Breathable insulation, sensible air sealing, and well-sized controls can improve comfort without harming original fabric. The key is knowing which improvement should come first—and which seemingly efficient option could create costly problems.
Start With a Cottage Energy Assessment
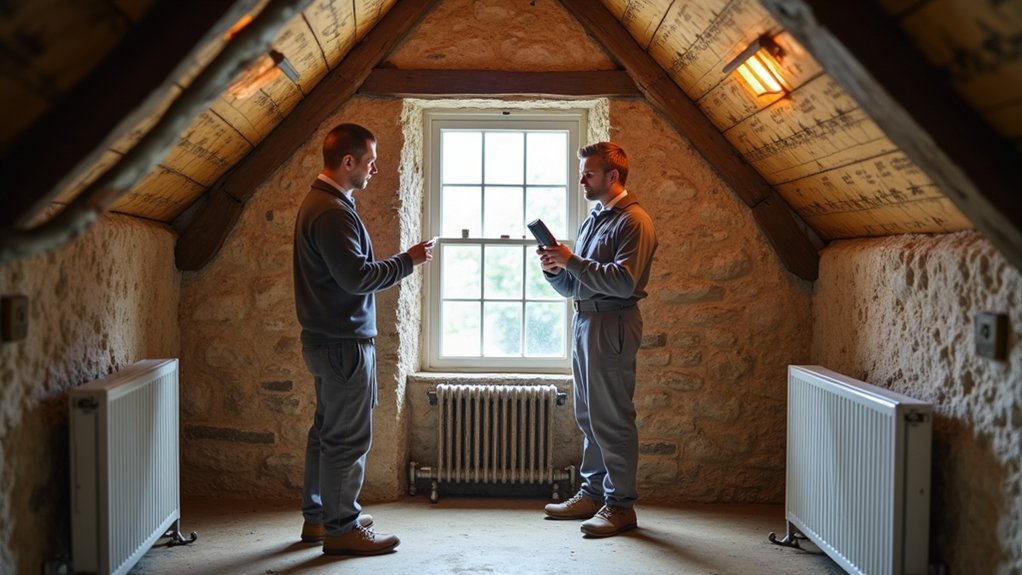
Before you choose new heating equipment or add insulation, assess how your cottage currently uses and loses energy. Record room temperatures at different times, note draughts around doors, windows, loft hatches, and floorboards, and inspect for damp patches or condensation.
Check the boiler’s age, controls, fuel use, radiator performance, and hot-water delivery. Review electricity bills to identify seasonal demand and compare usage with the cottage’s size and occupancy.
Examine wall construction, roof spaces, glazing, chimneys, and ventilation routes. You should also consider shade from trees, exposure to prevailing winds, and heat loss through doors facing the Cottage garden.
Keep interior decor in mind: rugs, curtains, and furniture placement can affect comfort and airflow. A qualified assessor can use thermal imaging and an EPC-style survey to pinpoint priorities accurately.
Plan a Cottage Refurbishment Budget
Price your heating upgrade by comparing equipment, installation, controls, and any required electrical or pipework changes.
Build separate allowances for insulation materials, labour, ventilation measures, and repairs to disturbed finishes.
Set aside a contingency fund—typically 10–20%—because older cottages often reveal hidden damp, timber, or access issues.
Assess Heating Upgrade Costs
Heating upgrades can take a large share of a cottage refurbishment budget, so start by comparing the full installed cost of each suitable system rather than the unit price alone. Get quotes covering equipment, labour, pipework, electrical upgrades, controls, commissioning, and removal of old units.
Ask installers whether your existing radiators, chimney, fuel storage, or electrical supply need alterations.
Compare projected running costs using local fuel prices and realistic annual demand. Include Heating system maintenance, servicing requirements, warranties, and likely replacement intervals in your calculations. A cheaper boiler may cost more over its lifespan if it needs frequent repairs or uses expensive fuel.
Check available energy efficiency incentives before signing contracts, as grants or tax relief can change the net cost substantially.
Set aside a contingency for hidden defects, access issues, or compliance work uncovered during installation.
Budget for Insulation Work
Insulation costs depend on your cottage’s construction, access, and moisture condition, so budget from a room-by-room or element-by-element survey rather than a single square-metre allowance.
Price roof spaces, suspended floors, external walls, internal linings, and draught-proofing separately, because each needs different preparation and labour.
Include surveys for damp, ventilation improvements, timber repairs, and safe access before selecting Insulation materials.
Natural fibre batts, mineral wool, rigid boards, and breathable wall systems vary widely in supply, fitting, and finishing costs.
Your Budget allocation should also cover removal and reinstatement of skirtings, floorboards, plaster, sockets, radiators, and kitchen units where access requires it.
Request itemised quotations showing material thickness, thermal performance, vapour control layers, ventilation details, waste disposal, and making-good.
Compare like-for-like specifications, not headline totals, and prioritise measures that reduce heat loss without compromising the cottage’s fabric.
Set Aside Contingency Funds
Set aside a contingency fund before work starts, as older cottages often reveal concealed defects once floors, linings, or roof coverings come away. Allow 10 to 20 percent of your planned project cost for unexpected repairs, with older or poorly maintained properties needing the higher figure.
Use emergency funds only for genuine discoveries, such as rotten joists, damp masonry, failed drains, unsafe wiring, or asbestos removal. Keep this money separate from your insulation and heating allowances so essential upgrades don’t lose funding.
Document each withdrawal, obtain written quotes, and ask your contractor to explain how repairs affect the programme. Effective contingency planning also includes prioritising work: address structural, moisture, and safety issues before finishes.
If you don’t spend the reserve, retain it for post-installation adjustments, such as balancing radiators or repairing disturbed plaster.
Upgrade Roof Insulation Before Anything Else
Before upgrading the heating system, improve the roof insulation to reduce the cottage’s largest source of heat loss. Survey the loft for uneven, compressed, damp, or missing material, then seal obvious gaps around pipes, cables, hatches, and chimney penetrations with suitable fire-rated products where required.
Aim for the insulation depth recommended by current local building standards, using materials compatible with the existing roof structure.
Don’t block Roof ventilation while adding insulation. Keep clear air paths from the eaves to the ridge, and fit ventilation baffles where insulation could obstruct airflow.
Check that attic vents remain open, secure, and free from debris. Insulate and draught-proof the loft hatch with a continuous gasket and rigid board.
If the roof shows leaks, timber decay, or persistent condensation, resolve those defects before installing new insulation.
Improve Cottage Walls Without Trapping Moisture
Before insulating the walls, identify whether you have solid stone, brick, timber frame, or cavity construction. Check for existing damp or damaged finishes.
You’ll need an insulation system that suits the wall’s moisture movement, especially in older cottages. Choose breathable materials and compatible plasters or renders so moisture can escape rather than collect within the structure.
Assess Existing Wall Materials
Start by identifying what your cottage walls contain and how they manage moisture: solid stone, brick, timber frame, cavity construction, or later blockwork all require different upgrades. Check original plans where available, but confirm them with careful inspection around openings, loft edges, and service penetrations.
Note wall thickness, mortar condition, damp patches, cracks, and signs of previous alterations. Examine external pointing, render, gutters, and ground levels, since defects outside often cause internal moisture problems.
Inside, remove only small, discreet sections of loose lining if needed, and record wall textures, plaster types, and decorative finishes before making changes. Look for impermeable cement render, vinyl wallpaper, or modern paint that may conceal dampness.
A surveyor experienced with traditional buildings can identify hidden cavities, decayed timber, salts, and structural concerns, helping you plan repairs without damaging historic fabric.
Use Breathable Insulation Systems
Choose insulation that lets moisture vapour move through the wall while reducing heat loss, especially in solid stone, brick, or timber-framed cottages. You’ll protect the building fabric by matching materials to the wall’s original construction and exposure.
Use natural fiber insulation, such as sheep’s wool, wood fibre, hemp, or cork, where appropriate. These materials buffer small amounts of moisture and help maintain more stable indoor conditions.
Fit breathable membranes on the warm side when the system requires an airtight layer, and tape laps, service penetrations, and junctions carefully.
Avoid impermeable foil-backed boards, cement-rich renders, or plastic vapour barriers unless a specialist has designed the whole build-up.
Guarantee external pointing, gutters, flashings, and ground levels already control rainwater. You should also leave suitable ventilation gaps behind cladding and inspect walls for damp before installation.
Insulate Floors and Seal Cold Draughts
Where a cottage loses heat at floor level, draughts around suspended timber floors, skirting boards, and service penetrations often play a major role. Lift selected boards to inspect joists, damp signs, and existing insulation before planning work.
Fit breathable insulation snugly between joists, supported on netting or battens, and leave a clear void beneath the floor.
Protect floor ventilation by keeping air bricks and underfloor vents open, clear, and connected to the external air. Blocking them can trap moisture and damage timber.
Seal gaps at skirtings, pipe entries, and floorboard edges with flexible, compatible materials; use removable seals where access is needed.
Effective draught proofing methods include compressible strips, timber fillets, and carefully fitted threshold seals. You’ll reduce cold air movement without compromising the cottage’s ability to dry.
Check for hidden leaks around hearths and cupboards too.
Restore Windows and Improve Thermal Performance
Repair original window frames first, addressing rot, loose joints, and poor sash operation to preserve the cottage’s character.
You can then upgrade glazing where suitable and fit quality draught seals to reduce heat loss without compromising ventilation.
For windows that can’t accept replacement units, discreet secondary glazing adds an effective insulating layer.
Repair Original Window Frames
Before replacing historic cottage windows, assess whether the original frames can be restored to improve comfort without losing their character. Begin by checking sills, jambs, joints, and lower rails for rot, distortion, loose putty, or failed paint.
Probe suspect timber with an awl; sound wood resists penetration, while decayed areas need removal. You can splice in matching seasoned timber rather than replace an entire frame, preserving original profiles and proportions.
Re-secure loose mortise-and-tenon joints, consolidate minor decay with suitable repair resin, and guarantee the frame sits square in its opening.
Strip failing coatings carefully, especially where lead paint may be present, then prime exposed timber promptly.
Good window restoration supports frame preservation, keeps workable historic fabric in place, and prepares the window for later thermal improvements without unnecessary disruption.
Upgrade Glazing and Seals
Once the restored frames operate smoothly and sit square, improve their thermal performance with discreet glazing and draught-proofing upgrades.
Retain sound original glass where possible, but replace cracked, loose, or poorly fitted panes with slim units that match existing glazing styles and sightlines. Use putty or an appropriate traditional compound to bed glass securely, then renew external pointing to prevent water ingress.
Fit compression seals into routed grooves or narrow gaps around opening sashes, choosing profiles that allow windows to close without force. Add brush seals at meeting rails and around casement edges where movement requires flexibility.
Check that drainage paths remain clear and that seals don’t trap moisture against timber. You’ll reduce rattles, cold air, and heat loss while preserving Historic charm.
Test every sash and casement after fitting, adjusting catches and hinges for an even seal.
Add Discreet Secondary Glazing
Where original single-glazed windows must remain, discreet secondary glazing can substantially improve comfort without altering the exterior character. You fit a slim internal pane behind the existing sash or casement, creating an insulating air gap that reduces draughts, heat loss, and outside noise.
Choose units with narrow frames, clear acrylic or low-emissivity glass, and magnetic, hinged, or sliding access for cleaning and ventilation.
Measure each opening carefully, including uneven reveals common in older cottages. Seal the secondary frame to the wall lining, not the moving window, using compressible gaskets to prevent air leakage.
Avoid blocking trickle vents or trapping moisture; maintain controlled ventilation and inspect timber frames for damp before installation. This interior enhancement preserves historic joinery while improving room temperatures and reducing heating demand.
Secondary glazing also offers a reversible solution for listed properties.
Choose the Right Cottage Heating System
Choosing the right heating system starts with how often you use the cottage, its insulation level, and the fuels available on site. Calculate each room’s heat loss after fitting secondary glazing and improving loft, wall, or floor insulation. This prevents you from oversizing equipment, which wastes energy and creates uneven temperatures.
Consider your routine: a weekend retreat needs rapid, controllable warmth, while a full-time home benefits from steady, efficient background heating.
Check chimney condition, electrical capacity, fuel storage space, ventilation, and local planning restrictions before committing. Keep controls simple, with programmable timers and separate zones for bedrooms and living areas.
Position emitters to protect furnishings and support your Cottage décor, rather than obstructing windows or walkways.
If you garden, reserve outdoor space for access, deliveries, and maintenance; practical gardening tips include keeping service routes clear year-round.
Compare Heat Pumps, Boilers, and Stoves
With your heat-loss figures and usage pattern in hand, compare heat pumps, boilers, and stoves by looking beyond purchase price.
An air-source heat pump suits a well-insulated cottage, delivers steady low-temperature heat, and needs outdoor space, suitable emitters, and careful siting to limit noise and visual impact.
A boiler can reuse existing radiators and pipework, making it practical where insulation upgrades remain limited, though fuel costs and emissions vary.
A wood or pellet stove provides fast, local warmth and valuable backup during outages, but it won’t evenly heat every room without additional distribution.
Check chimney condition, flue lining, fuel storage, maintenance, and ventilation requirements.
For Historic preservation, protect original hearths, fireplaces, and exterior fabric.
Prioritize aesthetic integration by concealing services sensitively and choosing equipment that complements rather than overwhelms the cottage’s character.
Add Heating Controls for Lower Energy Bills
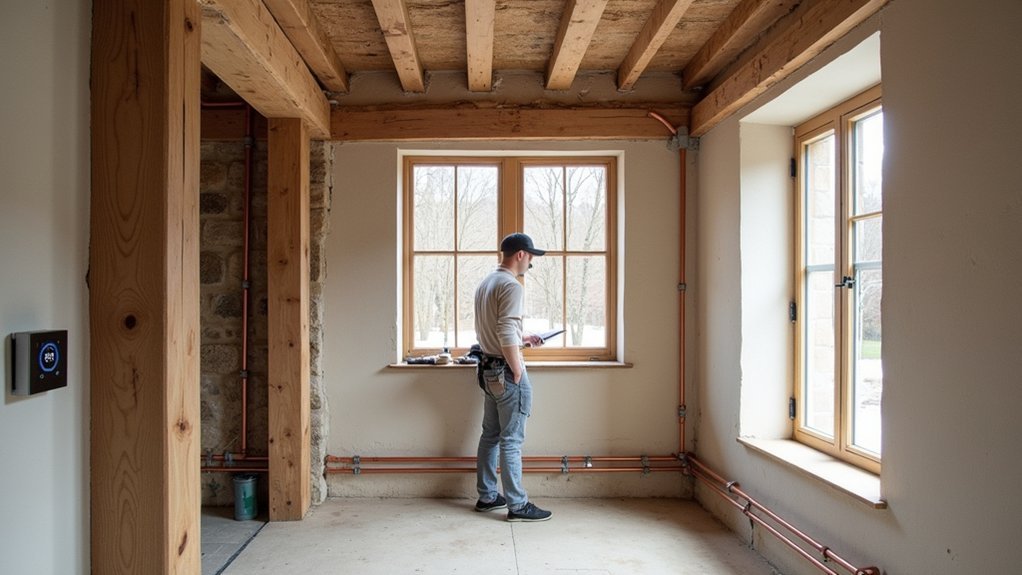
Smart heating controls cut waste by matching heat output to how you actually use each room. Install Smart thermostats that learn your schedule or let you set timed temperatures for mornings, evenings, and absences. Place the main thermostat away from fireplaces, draughts, direct sun, and kitchen heat so it reads conditions accurately.
Use zoning controls to divide the cottage into practical areas, such as bedrooms, living spaces, and rarely used rooms. Fit compatible thermostatic radiator valves or separate heating circuits, then set lower temperatures in spare rooms and overnight areas. Keep doors between zones closed when heating is active.
Choose controls that work with your boiler, heat pump, or stove-linked system, and have an installer commission them correctly. Review energy reports after a few weeks, adjust schedules, and use holiday mode when you’re away.
Protect Cottage Character During Energy Upgrades
Efficient controls reduce running costs, but energy upgrades should also preserve the features that give a cottage its character. Survey original windows, fireplaces, beams, floors, and lime plaster before work begins. Photograph details and retain sound materials wherever possible.
You can improve thermal performance with discreet measures, such as loft insulation, draught seals, secondary glazing, and breathable internal wall insulation.
Choose materials that suit the building’s age and construction. Lime mortar, wood-fibre insulation, and timber window repairs often manage moisture better than impermeable modern products. Avoid sealing walls or floors that need to dry naturally.
Work with specialists who understand Traditional craftsmanship, particularly when repairing sash windows, stonework, or exposed timber.
Position vents, pipework, and radiators carefully so they don’t disrupt Cottage aesthetics. Your upgrades should increase comfort without erasing the cottage’s historic fabric.
Frequently Asked Questions
Do I Need Planning Permission for Cottage Energy Upgrades?
You may not need planning permission for internal energy upgrades, but you’ll often need Building regulations approval. Check Historic preservation rules if your cottage is listed, in a conservation area, or involves external alterations.
Are Grants Available for Insulation or Heating Improvements?
Yes, you may access financial incentives for insulation and heating improvements through national, regional, or utility schemes. Check eligibility criteria carefully, as income, property type, energy rating, and approved installers often determine available support.
How Long Does a Typical Cottage Refurbishment Take?
How long will yours take? You’ll typically spend three to six months, while complex projects can reach a year. Interior design choices, contractor availability, permits, and Historical preservation requirements directly affect your schedule.
Can I Remain Living in the Cottage During Work?
You can usually remain, but plan around disruption. Living comfortably requires a working bathroom, kitchen access, and safe sleeping areas. Discuss renovation risks, dust control, utility shutoffs, and phased schedules with your contractor before work starts.
Which Contractors Specialise in Traditional Cottage Renovations?
Seek heritage-building contractors, conservation-accredited builders, lime plaster specialists, traditional joiners, and roofing firms experienced with historic craftsmanship. Check portfolios, references, insurance, and listed-building expertise. You’ll protect cottage preservation by choosing contractors familiar with local materials.