 Andrew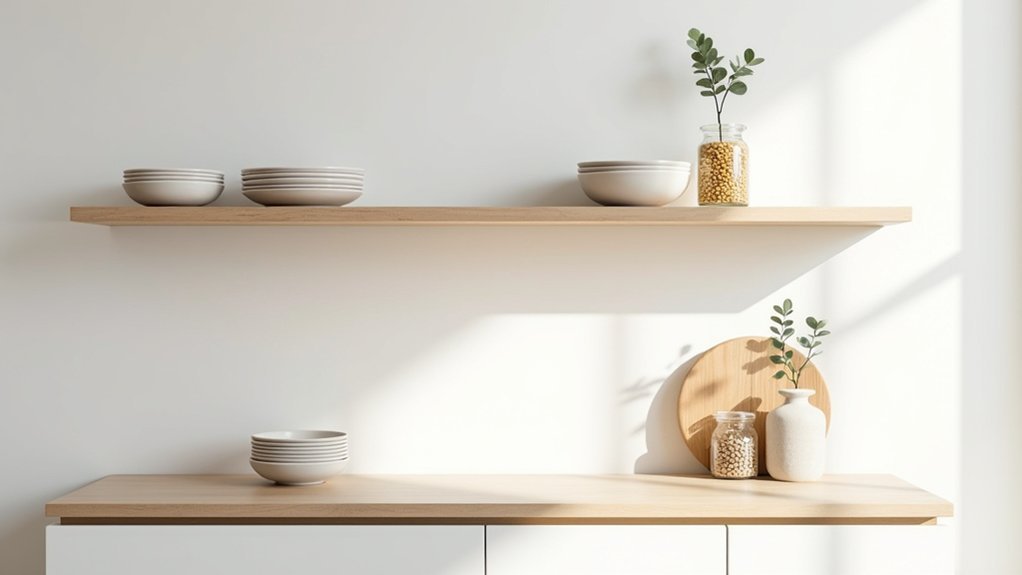
When you install open shelves in a small kitchen, your mismatched mugs and spice jars can start to look like a storefront clearance rack. You don’t fix that by buying more decor; you fix it by editing hard, choosing a tight palette, and zoning shelves for daily use versus display. Keep spacing consistent, repeat a few textures, and stash loose items in lidded canisters. Next, you’ll set a simple rule that makes every shelf look intentional…
Edit First: What Belongs on Open Shelving
Before you start styling, edit your inventory so your open shelves showcase only what earns its space. Treat every shelf like prime retail frontage: if an item doesn’t sell the look or serve daily function, it goes.
Keep essentials you reach for weekly, but limit duplicates and bulky packaging; decant staples and retire chipped, mismatched pieces. Choose Decorative accessories with clear intent—one statement vase, a tight trio of small objects, or a single sculptural bowl—rather than scattered fillers.
Curate Personal mementos the same way: display only the most meaningful, best-condition pieces, and avoid overcrowding with souvenirs. Aim for breathing room around each item so shapes read cleanly and maintenance stays simple.
If you wouldn’t re-buy it today, don’t display it.
Pick a Cohesive Color Palette for Open Shelving
Start with a core neutral (white, black, or warm wood) so your open shelving reads clean and high-end.
Keep accent colors to one or two, and choose them based on what you want to spotlight—glassware, ceramics, or pantry staples.
Then repeat the same hues and materials across multiple items to create consistency and a polished, retail-style display.
Choose A Core Neutral
Why does open shelving look polished in one kitchen and chaotic in another? It usually comes down to your core neutral. Choose one foundational shade—warm white, soft greige, light oak, or matte black—and let it dominate what’s visible. When most pieces share that base, your eye reads the shelves as a single product story, not a scattered inventory list.
Start with your largest items: dinner plates, bowls, serving platters, and canisters. Buy or swap so they land in consistent neutral tones with similar finishes (all glossy, all matte, or all stoneware). Then align glassware and cookbooks to that same temperature, warm or cool.
This approach supports minimalist decor, streamlines restocking, and makes everyday items photograph well for listings or social posts.
Limit Accent Color Count
A tight accent-color limit keeps open shelving looking curated instead of cluttered. After you’ve set your core neutral, choose no more than two accent hues that support your room’s brand: warm, modern, coastal, or classic. This isn’t about restriction; it’s about fast, reliable editing when you shop and style.
Use Accent color coordination by assigning each accent a job—one for small ceramics, one for books or glass—so your eye reads order at a glance. Apply color blocking techniques by grouping same-colored items in compact clusters rather than scattering them shelf to shelf.
Keep saturation consistent: either muted accents for an upscale feel or bold accents for high-energy spaces. Skip “one-off” novelty colors; they sell clutter, not design.
Repeat Hues And Materials
Once you’ve capped your accent colors, lock in a cohesive palette by repeating the same hues and materials across multiple shelves so the whole wall reads intentional. Choose one dominant neutral, one supporting tone, and one accent, then echo them in ceramics, book spines, framed art, and storage bins for reliable Color harmony.
Build Material consistency by committing to two to three finishes—like light oak, matte black metal, and clear glass—and distributing them evenly from top to bottom. Pair warm woods with warm whites; pair cool grays with brushed nickel. If you mix metals, keep the sheen consistent (all matte or all polished).
Repeat shapes too: a set of identical jars, matching canisters, or a trio of similar vases. You’ll create structure and calm without sacrificing variety.
Use Open Shelving Zones for Everyday vs Display
While open shelving can look effortless, it performs best when you assign clear zones for “everyday grab” items versus “display-only” pieces. Put daily dishes, mugs, and pantry staples on the lowest, most reachable shelves so you’ll keep traffic moving and reduce fussy reshuffling. Reserve upper or side shelves for items you touch less often, protecting your workflow and your investment.
Treat display zones like a curated vignette: limit decorative accessories to pieces that reinforce your brand of style—ceramic, glass, or wood—and edit anything that reads as inventory. Rotate seasonal displays in one dedicated section so change feels intentional, not scattered.
If you can’t describe why an item belongs in a zone, it doesn’t. This zoning keeps open shelving photogenic and functional.
Style Open Shelving With Repetition and Spacing
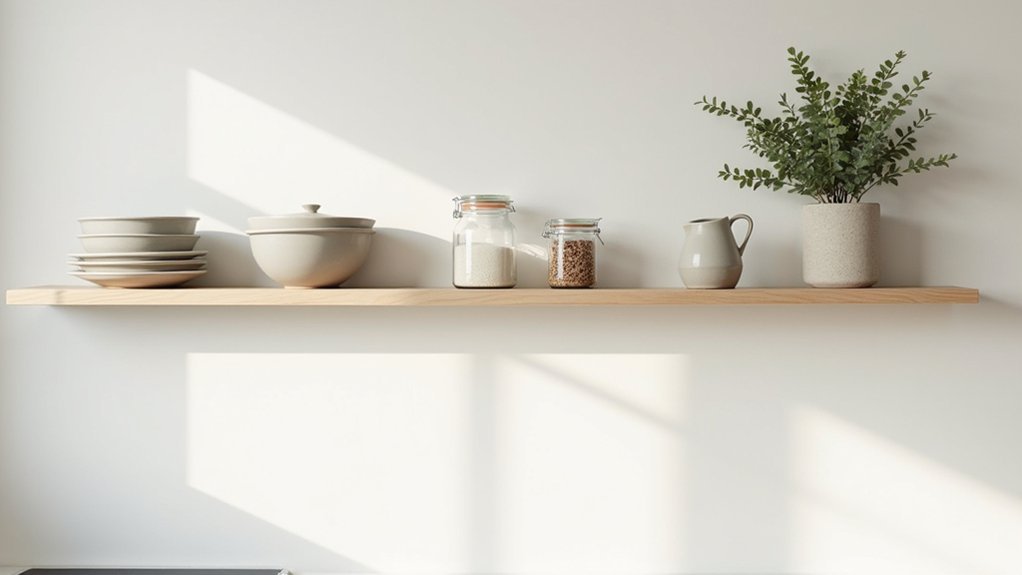
To make open shelving look intentional and high-end, you’ll repeat key shapes and materials—matching ceramics, wood tones, or metal finishes across the run.
You’ll keep consistent gaps between stacks and objects so the shelf reads clean, not crowded.
You’ll also group items in threes to create balanced, sale-ready vignettes that guide the eye.
Repeat Shapes And Materials
Because open shelves put every item on display, repeating a few shapes and materials gives the whole arrangement a clear, intentional structure. Choose two to three core forms—cylinders, low bowls, and clean-edged books—and echo them across shelves so your eye reads order, not clutter.
Lock in Material harmony by limiting finishes: pair warm wood with matte white ceramics, or mix clear glass with brushed metal for a retail-ready look.
Use Symmetry balance strategically: mirror matching vases at the ends, then vary height with a single sculptural piece at center.
Repeat a signature accent—black frames, rattan baskets, or amber bottles—to connect zones without overstyling.
When you shop, buy in sets and stick to one shape family per shelf for consistent visual rhythm.
Keep Consistent Gaps
Even if you’ve nailed a repeatable set of shapes and finishes, uneven spacing can still make open shelving read as cluttered. Set a gap standard and stick to it: 2–3 inches between small decorative accessories, 4–6 inches around taller pieces, and a consistent 1–2 inch margin from shelf edges. Use a ruler or your hand as a quick spacer so every shelf reads intentional.
Treat negative space like a product feature—buyers notice order before they notice objects. Align item bases to a shared front line, then leave breathing room behind for depth.
If you’re using lighting arrangements, keep fixtures centered over the same visual lanes and avoid crowding objects into hot spots. Step back, scan for “tight” areas, and reset gaps.
Group Items In Threes
Once your gaps look consistent, use grouping to give the shelves a clear rhythm. Group items in threes because odd-number sets read as intentional, not accidental.
Start with one anchor piece (a tall vase or framed art), add a medium element (a bowl or canister), then finish with a small accent (a candle or sculptural object). Keep one unifying trait—color, material, or function—so the trio sells as a curated set.
Repeat this structure across shelves to build cohesion without sameness. Leave breathing room around each trio so the eye can reset.
When you’re grouping items, vary heights and silhouettes, but keep widths aligned to avoid jagged edges. This approach delivers visual balance and makes open shelving look styled, not stocked.
Add Texture (Not More Stuff) to Open Shelving
When your shelves already hold the essentials, the fastest way to make them look styled (not stuffed) is to layer in texture instead of adding more objects. Swap smooth, matching surfaces for contrast that reads intentional from across the room.
Start with Layered textiles: fold a linen napkin stack under a tray, drape a slim runner along the back, or add a small woven basket to warm up hard lines.
Then introduce Textured ceramics—a ribbed canister, matte-glaze mug set, or speckled bowl—so light catches subtle variation without increasing visual noise.
Keep your palette tight (two neutrals plus one accent) and repeat one texture on multiple shelves for cohesion. You’ll get depth, softness, and a curated finish—without buying “one more thing.”
Keep Open Shelving Clutter-Free With Quick Resets
Texture gives open shelving depth, but it only reads “styled” if the surfaces stay clear. Build a 60-second reset into your routine: straighten one stack, wipe one shelf, and return every item to its assigned zone. You’ll maintain a curated look without constant re-styling.
Define hard limits: one display row, one functional row, and a small “buffer” bin for overflow. Use storage solutions that hide the messy middle—lidded boxes, matching baskets, and labeled canisters—so you can reset fast and keep sightlines clean.
Cap each shelf with a deliberate trio: a book stack, a vessel, and one of your decorative accessories. If something doesn’t fit that template, rotate it out. You’ll protect margins, reduce visual noise, and keep your shelves retail-ready.
Frequently Asked Questions
How Do I Secure Open Shelves Into Drywall or Plaster Safely?
You’ll secure shelves by locating studs; if none, you’ll use rated toggle bolts/anchors for drywall or masonry screws/anchors for plaster, then level, predrill, and tighten brackets. Finish with Decorative accessories and Shelf organization.
What Shelf Depth Works Best for Kitchens Versus Living Rooms?
Like a tailored suit, you’ll choose 10–12 inches deep for kitchens to fit plates and appliances, and 8–10 inches for living rooms for decor styling and shelf organization. You’ll maximize clearance and showcase products cleanly.
How Much Weight Can Floating Shelves Realistically Support?
You can realistically support 30–75 lbs per floating shelf when you hit studs; heavy-duty brackets reach 150+ lbs. You’ll protect Decorative accessories and Shelf organization by spreading loads, avoiding point weight.
How Do I Light Open Shelving Without Highlighting Dust?
Use soft, angled lighting so your shelves glow while “unwanted guests” stay discreet. Choose diffused LED strips in channels, aim 30–45° downward, and avoid bare spots. Balance Decorative accents with Lighting techniques to boost appeal.
Are Open Shelves Practical in Homes With Pets or Toddlers?
Yes, you can make open shelves practical with pets or toddlers, but you’ll need Pet proof storage and toddler safe materials. Mount shelves high, anchor them, use lidded bins, and avoid breakables.