
 Andrew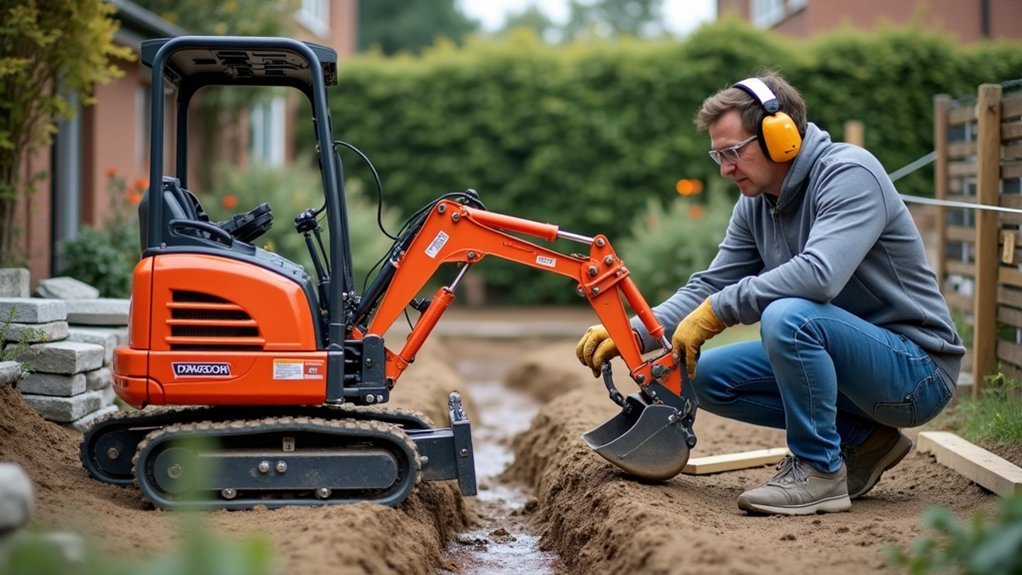
UK utility strikes hit over 60,000 buried cables and pipes each year, and most incidents start with “just a quick trench.” If you’re hiring a mini digger for home groundworks, you need to match machine weight and dig depth to the job, confirm access through gates and over slopes, and choose buckets or attachments that won’t waste time. Plan spoil storage, mark services, and set levels before you touch the controls—because the first cut decides everything…
What Can a Mini Digger Do at Home?
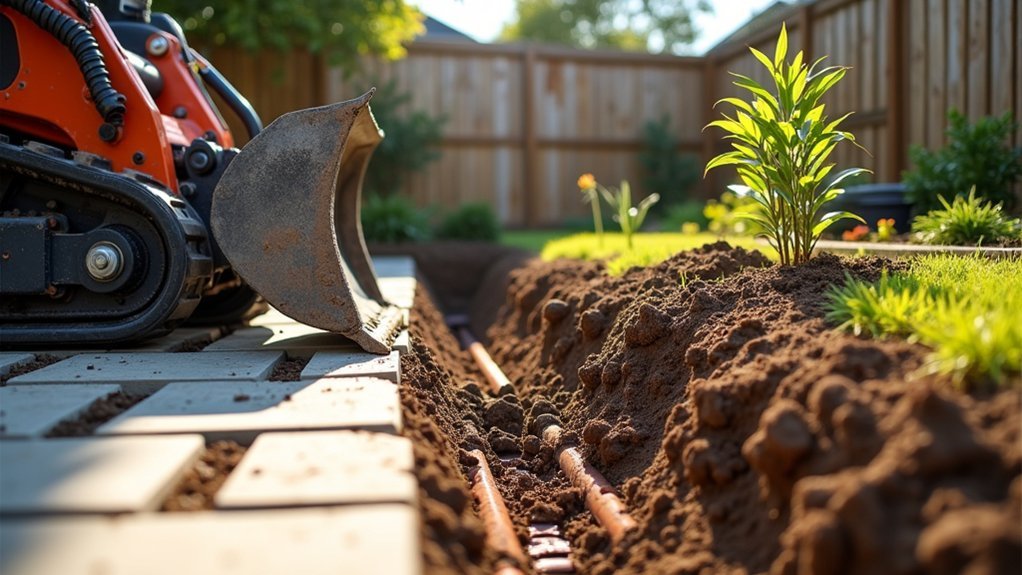
Ever wonder how much heavy lifting a mini digger can take off your weekend list? You can trench for drainage and irrigation, excavate footing pads for sheds, dig post holes, and strip turf or topsoil for regrading.
You can backfill and compact in lifts, then shape swales and berms with the blade for controlled water runoff. With the right Mini digger accessories—grading bucket, trenching bucket, auger, ripper tooth, and hydraulic thumb—you’ll handle rock prying, log placement, and material sorting without hand tools.
Keep productivity high by treating Mini digger maintenance as part of the job: check hydraulic hoses, grease pins, track tension, coolant, and daily filter pre-cleaning. Operate within stable ground conditions and mark utilities first.
Choose the Right Mini Digger Size (Weight & Depth)
Choose your mini digger size by matching machine weight to the work you’re doing, because heavier units deliver more breakout force but demand more access space and ground support.
Check your required digging depth and reach against the spec sheet so you can hit trench or footing targets without constant repositioning.
If the weight and depth don’t align with the job, you’ll lose efficiency and risk site damage.
Match Machine Weight To Task
Because mini diggers scale up quickly in weight and digging depth, you’ll get better results by matching the machine class to the job’s breakout force, reach, and site access—not by guessing “bigger is better.” A heavier unit typically digs deeper and lifts more, but it also needs firmer ground, more clearance, and a trailer that can legally haul it.
Start with your heaviest planned lift and soil type: dense clay, roots, and compacted fill demand more breakout force and machine mass for stability.
For tight gardens and gates, choose a lighter zero-tail unit with rubber tracks to reduce surface damage and simplify positioning.
Check ground bearing pressure on lawns or paving; oversize machines rut quickly, raising environmental considerations.
Budget time for mini digger maintenance—pins, bushings, track tension, and hydraulic leaks—since larger units amplify wear and repair costs.
Check Digging Depth Needs
Before you pick a machine class, pin down the maximum digging depth you actually need, since depth drives both boom geometry and operating weight. Start with your landscaping design and list every excavation: fence posts, footing pads, pond shelves, drainage trenches, and stump removal. Measure finished grades, not today’s surface, and include bedding layers and fall for pipes. Then confirm assumptions with Soil testing so you don’t underestimate depth in loose fill or over-excavate in competent clay.
If your deepest cut is under 1.8 m, a 1–2 ton mini digger typically covers it with good reach and stability. For 2.0–2.6 m trenches, step up to 2.5–3.5 tons or a long-dipper option. Keep at least 200 mm clearance below target depth.
Measure Access for a Mini Digger (Gates & Slopes)
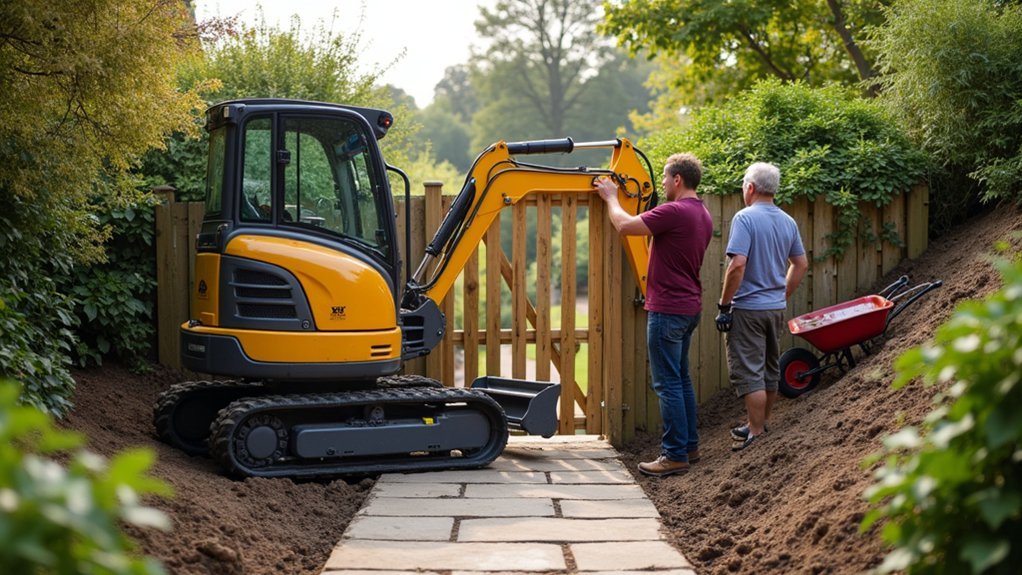
Before you book a mini digger, you’ve got to confirm it can physically reach the work area. Measure every gate and pinch point for clear width (including hinges and latches), then compare it to the machine’s track width and any attachments.
Next, assess slopes and grades along the access route so you don’t exceed the manufacturer’s limits for safe travel and operation.
Check Gate Widths
How wide is the narrowest point a mini digger must pass through to reach your work area? Measure every restriction from hard surface to hard surface, not just the gate opening. Record the tightest dimension and compare it to the machine’s transport width with tracks retracted, plus any mirrors or attachments.
Check gate clearance at ground level and at mid-height; posts often taper or bow inward. Don’t forget hinge clearance: open the gate fully and measure from the hinge knuckle, latch hardware, and any protruding bolts to the opposite post.
Confirm the digger can turn through the approach, not merely pass straight through. If you’re within 50 mm, plan for temporary post protection or an alternate access route.
Assess Slopes And Grades
Next, assess slopes and grades along the entire access route, because a mini digger’s traction, stability, and braking margin drop quickly on uneven or inclined ground. Measure gradient with a digital level or 2 m straightedge and tape; note side-slope (crossfall) as well as up/down slope. Compare readings to the digger’s rated maximum grade and your attachment weight.
Identify changes in elevation, cambers, and soft verges that can tip tracks or overload final drives.
Check ground conditions after rain: saturated topsoil reduces shear strength and increases slip risk. Plan for rainwater runoff paths; avoid routing across ruts and drains that concentrate flow and accelerate soil erosion.
If you can’t re-route, lay track mats, build a compacted ramp, or reduce load and travel speed.
Mini Digger Hire vs. Buy: Costs and Timing
Although a mini digger can look like a one-time purchase that “pays for itself,” the hire-vs.-buy decision comes down to hard numbers: total hours of use, project scheduling, transport and storage logistics, and the real cost of downtime when you’re waiting on parts or a free weekend.
If you’ll use it under 80–120 hours a year, hiring usually wins because you avoid financing, depreciation, and mini digger maintenance. Hire also lets you align machine size to each job and hand back problems to the rental yard.
Buying makes sense when your work is frequent, weather-independent, and you can store securely and transport legally. Budget for insurance, servicing, consumables, and replacement pins/hoses.
Keep a basic kit of mini digger accessories to reduce delays.
Pick Mini Digger Buckets and Key Attachments
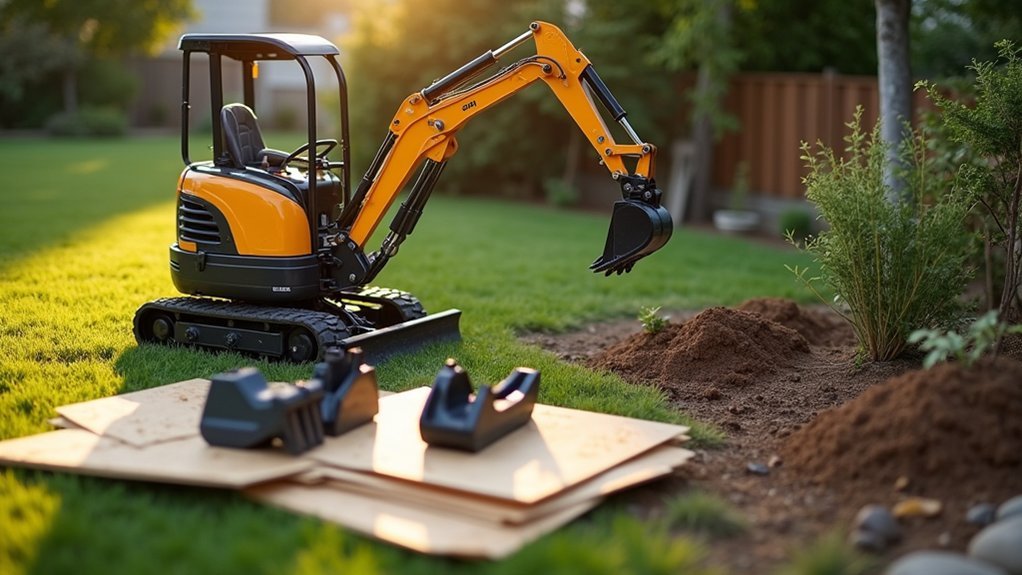
If you match the bucket and attachment to the soil type, trench width, and lift/reach limits of your mini digger, you’ll work faster and avoid overstressing the boom, dipper, and hydraulics.
Start with Mini bucket options: a narrow trenching bucket for utilities, a grading (ditching) bucket for shaping, and a toothed digging bucket for compacted ground. Keep bucket width within the machine’s breakout force and stability envelope.
For attachments, check attachment compatibility at the hitch: pin-on versus quick-coupler, pin diameters, centre-to-centre spacing, and dipper width. Confirm auxiliary hydraulic flow/pressure for augers, breakers, and grabs, and fit correct hose sizes and flat-face couplers.
Use a ripper tooth for roots and hardpan before switching back to a bucket.
Plan Your Dig: Spoil Piles, Levels, and Services
Once you’ve chosen the right bucket and attachments, lay out the job so the machine can work efficiently without rehandling material or risking a strike. Mark the excavation footprint with paint and stakes, then set datum points for finished levels using a laser, stringline, and grade rod.
Plan spoil piles on firm, accessible ground, leaving a clear route for barrows, skips, or a trailer, and position piles where you won’t contaminate topsoil needed for soil preparation.
Before you break ground, locate and mark services: use utility plans, a cable avoidance tool, and trial holes where required. Keep a no-dig buffer around marked lines and hand-dig for exposure.
Confirm drainage falls and stockpile separate layers. Finally, schedule equipment maintenance checks so downtime doesn’t disrupt sequencing.
Operate a Mini Digger Safely on Uneven Ground
Where do mini diggers tip first—on slopes, soft shoulders, or the edge of an excavation? They tip when your centre of gravity shifts outside the track width.
Keep the blade downhill, travel straight up or down slopes, and avoid side-hilling whenever you can. If you must traverse, keep the boom tucked in, bucket low, and loads minimal.
Set track width to maximum, use rubber tracks suited to the surface, and don’t turn on a gradient. Probe for voids and soft fill before you load a corner.
Maintain three-point contact when mounting, and fasten the seatbelt; ROPS only works if you’re restrained.
Get operator training, and wear safety equipment: boots, gloves, eye and hearing protection.
Get Clean Results: Trenches, Footings, and Drainage
Safe machine setup keeps you upright; clean digging keeps your project accurate. Set out lines with spray paint and stakes, then check levels with a laser or string line before you cut.
For trenches, match bucket width to pipe, keep the boom square, and take shallow passes so your base stays flat.
For footings, step the cut to reach uniform depth, then trim the last 25–50 mm with curl control for crisp edges.
For drainage, shape consistent fall, remove soft spots, and keep spoil on the downhill side to avoid sloughing back.
Use Landscaping tips: mark services, plan spoil storage, and leave access for bedding.
Prioritise Equipment maintenance: sharp teeth, tight pins, and clean tracks reduce smear and overbreak.
Avoid Common Mini Digger Mistakes (and Fixes)
Skip spinning tracks; it chews turf and strains final drives—use low throttle and mats.
For Mini digger maintenance, grease daily, inspect hoses, and clear debris from the slew ring.
Apply environmental considerations: manage spoil, protect drains, and contain fuel spills immediately.
Frequently Asked Questions
Do I Need a Licence to Operate a Mini Digger on My Property?
You usually don’t need a licence on your property—think of it like a power tool with teeth. Still, check local licence requirements, follow safety precautions, get operator training, and verify insurance coverage.
Will a Mini Digger Damage Paving, Lawns, or Underground Irrigation Lines?
Yes, you can cause Paving damage, Lawn disruption, or hit irrigation lines. You’ll reduce risk by using tracks mats, keeping bucket low, marking utilities, probing depths, and operating slowly. Don’t turn sharply.
How Do I Transport a Hired Mini Digger to and From My Home?
You transport it on a rated trailer or the hire firm delivers it; secure with chains, set ramps, and check tie-down points. Like guiding a wary mule, follow Mini digger safety and Equipment rental tips.
What Maintenance Checks Should I Do Before Starting Each Day?
Start each day with a daily inspection: check engine oil, coolant, hydraulic fluid, leaks, filters, tracks, pins, grease points, battery, lights, horn, and controls. Verify ROPS, seatbelt, guards, and manual for Equipment safety.
How Loud Are Mini Diggers, and What Are Typical Neighbour Noise Limits?
Mini digger noise levels typically run 80–95 dB(A) at the operator, less at boundaries. Neighbour noise regulations often restrict work to daytime hours and set limits around 50–65 dB(A) at property lines. Check local ordinances.