 Andrew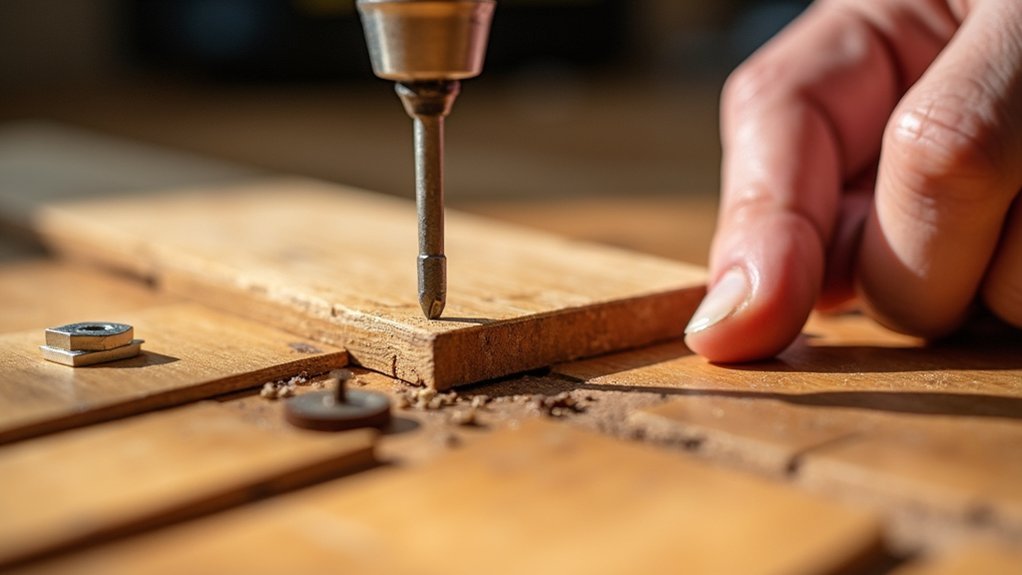
You can stop most floorboard squeaks without lifting the whole floor if you pinpoint what’s moving and secure it correctly. Start by locating the noise, then decide whether the board is rubbing, flexing between joists, or pulling away from its support. With a few basic tools, you can fix many squeaks from above or below—but choosing the wrong fastening point can create a more visible problem.
Find the Source of the Floorboard Squeak
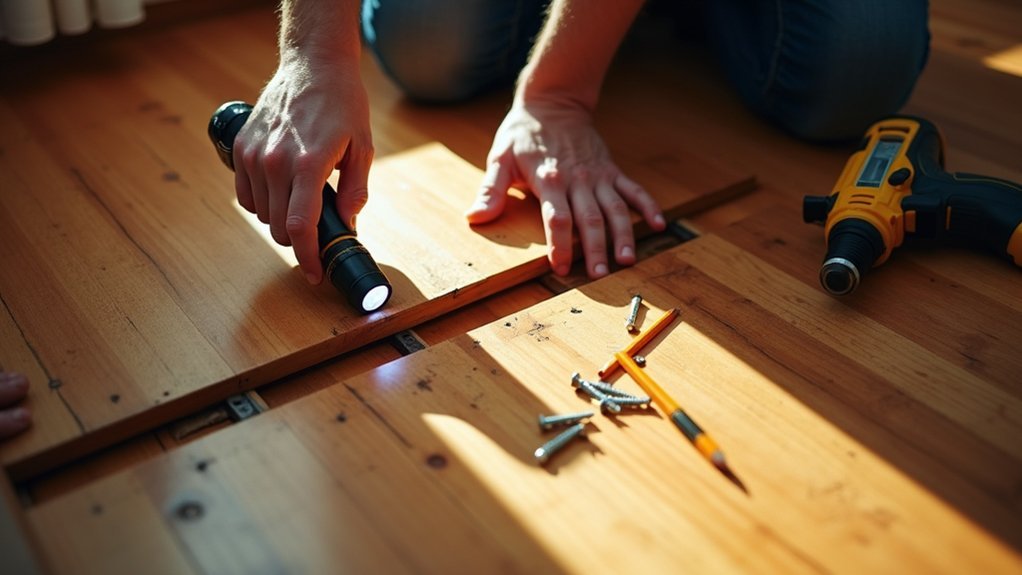
Before you attempt a repair, pinpoint exactly where the squeak occurs and what triggers it. Walk slowly across the room, shifting your weight from heel to toe, and mark each noisy spot with removable tape.
Test the area from several directions; a board may squeak only when pressure lands near one edge or over a joist. Listen for whether the sound comes from rubbing boards, a loose plank, or movement beneath the surface.
Check if the noise changes with humidity, temperature, or furniture placement. These clues narrow down common floor squeak causes, including gaps between boards, loose fasteners, subfloor movement, and friction at joists.
For accurate identifying creaks, have someone walk while you listen from below, if access exists. Record which boards move, flex, or produce noise.
Gather Tools to Fix Squeaky Floorboards
Gather a drill/driver, hammer, pry bar, utility knife, tape measure, and stud finder before you start.
Keep suitable screws, finishing nails, construction adhesive, and wood shims ready for the repair method you’ll use.
Wear safety glasses and gloves, and use a helper or weight to test the floor after each fix.
Basic Hand Tools
Start with a basic set of hand tools so you can locate and secure the source of the squeak without damaging the flooring. Keep a claw hammer, nail set, flat pry bar, utility knife, tape measure, and combination square within reach.
Use the pry bar gently to test movement at board edges, protecting finished surfaces with a thin scrap of cardboard. A pencil lets you mark noisy joints and identify recurring floorboard gaps before you begin work.
Use the nail set to countersink raised wooden nails cleanly, rather than striking the board face directly. A narrow chisel can remove old filler or debris from joints, while a stiff putty knife helps clear dust along seams.
Wear knee pads and safety glasses, especially when working close to splintered boards. Check each tool’s condition first; dull blades and bent edges can scar timber.
Fasteners and Adhesives
Choose fasteners and adhesives that match the floor’s construction, since the wrong product can split boards, miss the subfloor, or create a repair that later fails.
For timber boards over joists, use finish screws or purpose-made floor repair screws long enough to bite securely into the joist without piercing services below. Pre-drill near board edges to prevent splitting, especially in older, dry timber. Avoid ordinary nails; they can loosen again as the floor moves.
Keep suitable Flooring adhesives for gaps, loose tongues, and minor movement between boards and the subfloor. Select a flexible, construction-grade product that bonds wood without becoming brittle.
Apply adhesive sparingly with a nozzle so it reaches the void rather than spreading across the finished surface. Use impact screws only where your driver can control depth; overtightening can pull boards down unevenly.
Safety and Testing Gear
Before you drill or fasten anything, set up basic safety and testing gear to locate the squeak accurately and avoid damaging hidden services. Wear personal protective equipment: safety glasses, hearing protection when using power tools, a dust mask for drilling debris, and sturdy footwear.
Keep a torch or inspection light handy to check gaps, fastener heads, and board movement along edges and joints. Use a pencil or low-tack tape to mark the exact squeaky spot while someone walks over it.
A stud finder with live-wire detection helps you identify joists and reduce the risk of striking cables or pipes.
Test the area methodically, applying pressure from different directions to pinpoint movement.
Follow sensible safety procedures: isolate nearby electrical circuits if uncertain, clear trip hazards, and keep children and pets away.
Secure Loose Boards From Above
If you can access the floor from above, secure squeaky boards by driving trim-head screws through the flooring and into the joist beneath.
First, locate the joist by checking nail lines, using a stud finder, or making a small test hole near the board edge. Mark its centre carefully to avoid missed fasteners and hidden pipes or cables.
Pre-drill a pilot hole to reduce splitting, especially in older timber or narrow boards. Countersink the screw head slightly below the surface, then test the area by walking across it slowly.
If the flooring has a finished surface, conceal the repair with colour-matched filler. For carpeted rooms, replace the carpet and use the pile as an aesthetic covering.
Decorative trim can also hide repairs near skirting boards or room edges.
Use Screws to Stop Floorboard Movement
Screws provide a lasting fix because they pull loose floorboards tightly against the joists and prevent the rubbing that causes squeaks. Locate the joist line with a stud finder or by checking existing nail positions, then mark it clearly.
Drill a small pilot hole to reduce splitting, especially in older timber. Drive countersunk wood screws through the board and into the joist, stopping when the head sits just below the surface.
Don’t overtighten, as this can damage the board or create a visible dip. Choose screw lengths that penetrate the joist securely without reaching pipes or cables below.
Check for Underfloor heating before drilling. Match screw heads and fill recesses neatly to protect Floorboard aesthetics.
Test the area underfoot, adding screws only where movement remains.
Fill Gaps Between Joists and Floorboards
Even firmly fixed floorboards can squeak when gaps between the boards and joists allow them to flex under load. Locate the affected area, then check whether the board sits unevenly over the joist.
For small gaps, slide in a thin hardwood shim coated lightly with construction adhesive. Trim the shim flush once the adhesive cures, ensuring it supports the board without forcing it upward.
Avoid packing large voids with rigid filler, which can crack or create new pressure points. Use flexible, purpose-made shims where seasonal movement is likely. Allow for wood expansion by keeping repairs snug rather than excessively tight.
Before fitting any packing material, address damp conditions and improve moisture control, as repeated swelling and shrinkage can reopen gaps. Test the floor immediately afterward, walking across the repaired section to confirm the movement and squeak have stopped.
Fix Squeaky Floorboards From Below
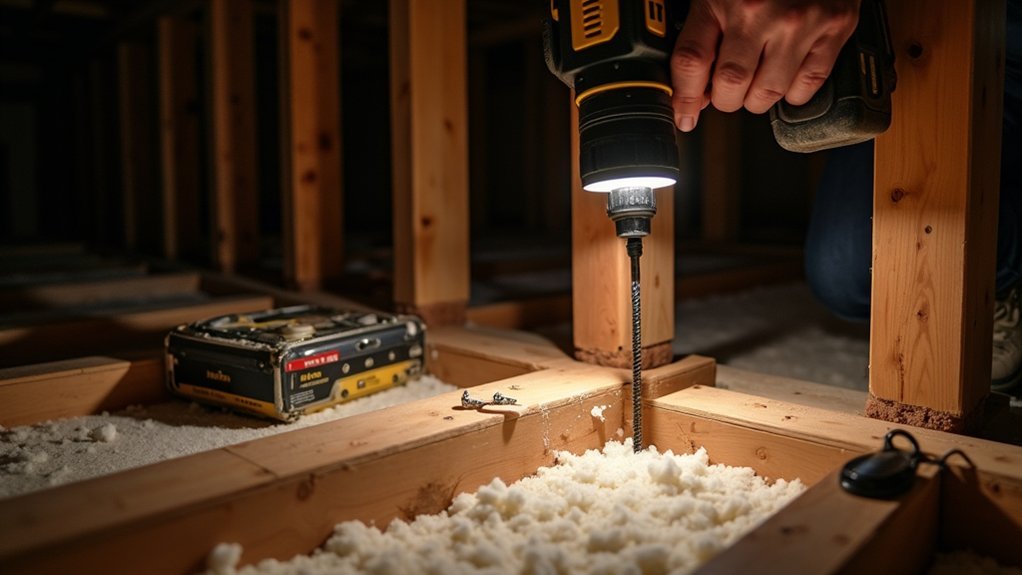
Access from below lets you reinforce squeaky floorboards without disturbing the finished floor surface. Ask someone to walk above while you listen beneath, then mark the moving board, joist, or loose fixing.
Drive short screws upward through the joist into the board, checking their length carefully so they can’t pierce the finished surface. Where a board has separated slightly from a joist, apply construction adhesive along the contact edge and hold it tight with a timber brace until cured.
Add blocking between joists if the floor flexes over a wide span. Tighten or replace any accessible nails that have worked loose.
These alternative repair methods target movement at its source and suit suspended timber floors. Inspect nearby sections too, as early reinforcement supports long-term floorboard squeak prevention and reduces repeat repairs.
Lubricate Rubbing Timber Without Removing Boards
When timber boards rub at their edges or against fixings, you can often quiet the squeak without lifting them. First, locate the moving joint by walking slowly over the area while listening for the exact contact point.
Vacuum dust from the gap, then work a dry lubricant into the seam using a soft brush. Graphite powder or talcum powder can reduce friction between bare timber edges; avoid oil-based products, which can stain finishes and attract dirt.
For gaps beside visible nail or screw heads, apply a small amount of powdered graphite around the fixing, then gently flex the board to distribute it. Use only enough lubricant to coat the rubbing surfaces.
This approach allows for normal timber expansion while improving noise reduction without altering the board’s position or damaging the finished floor.
Test the Repair and Prevent New Squeaks
After completing the repair, walk slowly across the treated area in several directions and apply your weight near the board edges and fixings that previously squeaked. Listen for clicks, rubbing, or movement underfoot. If noise remains, mark the exact spot with masking tape and check whether a loose fixing, board gap, or subfloor movement is responsible. Identifying floor squeak causes accurately prevents unnecessary extra work.
Recheck screws after a few days, especially where timber may settle following tightening or lubrication. Keep indoor humidity reasonably stable to limit seasonal expansion and shrinkage. Avoid soaking floors during cleaning, and repair leaks promptly so moisture doesn’t loosen fixings or distort boards.
Add felt pads beneath heavy furniture and avoid dragging it across the floor. Include a follow-up inspection in your repair timeline to confirm the treated boards remain secure and quiet.
Frequently Asked Questions
Can Humidity Changes Make Floorboards Squeak Seasonally?
Yes, humidity changes can make your floorboards squeak seasonally. Humidity impact causes Seasonal expansion and contraction, loosening fasteners or increasing friction. You’ll often notice squeaks during damp summers or dry winters as wood shifts.
Will Fixing Squeaks Affect Underfloor Heating Systems?
Like threading a needle, you can fix squeaks safely around underfloor heating if you locate pipes or cables first. Avoid deep screws and adhesives that trap movement; humidity fluctuations may cause recurring noise.
Are Squeaky Floors Covered by Home Insurance?
Insurance coverage rarely includes squeaky floors caused by wear, settling, or poor installation. Check your policy exclusions and documentation. You may receive cover only when sudden insured damage, such as a burst pipe, causes the squeaking.
Can Carpets or Rugs Cause Floorboards to Squeak?
Yes, carpets and rugs can worsen squeaks by adding pressure or trapping moisture. Check carpet padding and rug thickness, then remove coverings temporarily to pinpoint movement. You’ll often find loose boards, subfloor friction, or uneven support beneath.
When Should I Hire a Professional Floor Repairer?
Hire a professional floor repairer if squeaks persist after a DIY repair, boards feel loose, or moisture damage appears. They’ll identify structural issues safely. Consider cost considerations when repairs require joist work or extensive replacement.