 Andrew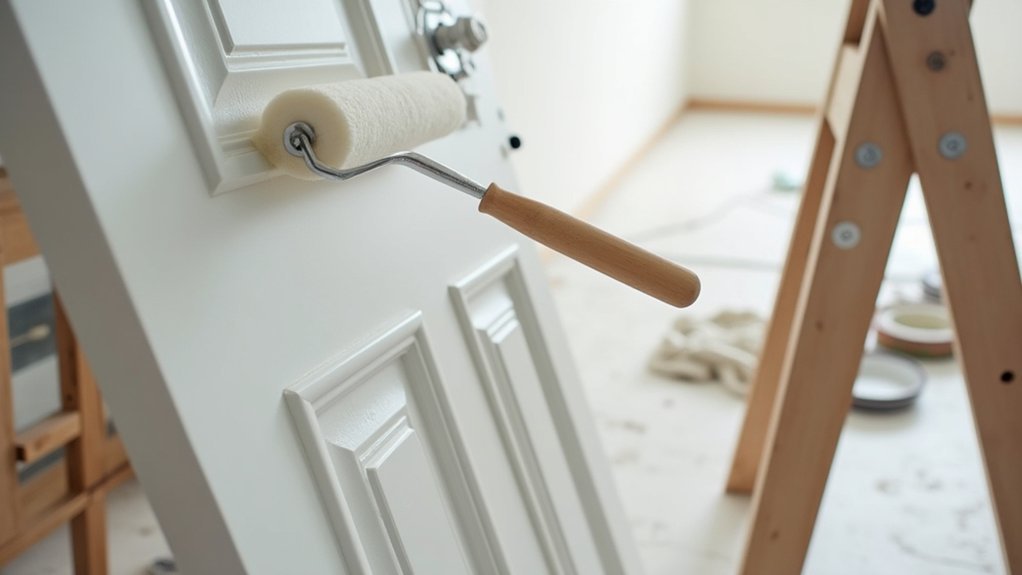
Painting an interior door can quickly refresh a room, but the finish depends on careful preparation and the right technique. You’ll need to decide whether to remove the door, select an appropriate paint and sheen, and protect nearby trim and hardware. From sanding and priming to applying smooth, thin coats, each step affects the final result—and one overlooked detail can leave visible brush marks or peeling paint.
Decide Whether to Remove the Interior Door
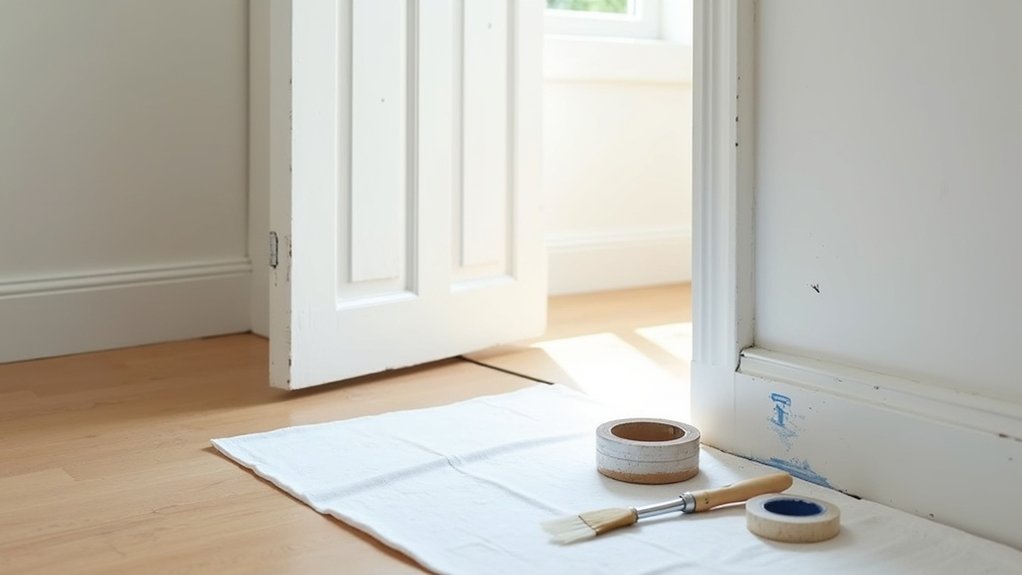
Before you start painting, decide whether removing the door will give you better access and a cleaner finish. Door removal lets you reach edges, panel profiles, and the bottom rail without masking surrounding trim. It also reduces the risk of paint drips on hinges, flooring, or jambs.
Remove the door if you have a stable, clean area where you can support it flat or upright during painting and drying.
Leave the door installed if space is limited or if you need to keep the opening functional. Open it wide, protect adjacent surfaces, and paint one side at a time.
For hinges disassembly, support the door’s weight before pulling hinge pins, starting at the bottom hinge. Label hardware and note each hinge location so you can reinstall everything correctly afterward.
Gather the Best Tools for Painting Doors
Before you start, gather essential supplies such as paint, primer, a tray, drop cloths, painter’s tape, and clean rags.
Choose a high-quality angled brush for edges and panels, plus a small foam or microfiber roller for smooth flat areas.
Keep sandpaper, a sanding block, wood filler, and a putty knife on hand so you can create a clean, even surface.
Essential Painting Supplies
Good results start with the right supplies, so gather your paint, primer, angled sash brush, foam roller, roller frame, paint tray, painter’s tape, drop cloths, sanding sponge, tack cloth, screwdriver, and a clean cloth for wiping dust.
Choose a high-quality interior paint suited to your door material and room traffic, plus a compatible primer for bare wood, stains, or previously glossy surfaces.
Use painter’s tape to protect hinges, hardware, trim, and nearby walls, while drop cloths shield flooring from drips.
Remove knobs and plates with a screwdriver for cleaner coverage.
Keep extra sanding sponges nearby to smooth minor imperfections between coats.
Confirm your color schemes under the room’s lighting before opening the can.
If you plan decorative techniques, such as contrasting panels or subtle glazing, add the required glaze, measuring tools, and masking materials before you begin.
Choosing the Right Brushes
Choose a high-quality angled sash brush for cutting in around panels, edges, and hinge areas, since its tapered bristles give you better control than a wide flat brush.
Select synthetic bristles for water-based latex or acrylic paints; they hold their shape, release paint evenly, and minimize visible strokes. For oil-based coatings, use a natural-bristle or solvent-resistant synthetic brush rated for the product.
Keep a 1½- to 2-inch sash brush for detailed sections and a 2½-inch brush for broad rails and stiles.
Look for securely set bristles, a comfortable handle, and a crisp chisel edge.
Load only the lower third of the bristles, then use steady brush techniques that follow the wood grain.
Maintain a wet edge to support smooth paint blending and prevent lap marks.
Prep Tools for Smoothness
Smooth door paint starts with thorough surface prep, so gather tools that remove defects without damaging the profile. Use a sanding block with 120- or 150-grit paper to flatten old brush marks, followed by 220-grit paper for a refined surface.
Keep a flexible putty knife and paintable wood filler nearby for dents, nail holes, and chipped edges. A vacuum with a brush attachment removes sanding dust from panels and grooves; finish with a tack cloth or damp microfiber cloth.
Use painter’s tape to protect hinges, glass, and adjacent trim. Check repairs under angled light before priming.
For color matching, save a labeled sample of the existing finish or take the door hardware to the paint store. Seal leftover paint tightly for proper paint storage and future touch-ups.
Choose Paint and Sheen for Interior Doors
The right paint and sheen determine how well your interior doors resist scuffs, clean up, and complement the room. Choose a durable interior enamel formulated for trim, cabinets, or doors; it levels well and withstands frequent handling. Water-based acrylic or urethane-modified paints dry quickly, resist yellowing, and produce less odor. Consider eco-friendly options with low or zero VOCs if you want to reduce indoor fumes.
For sheen, satin offers a soft, practical finish that hides minor imperfections while remaining washable. Semi-gloss provides stronger stain resistance and suits busy hallways, bathrooms, and children’s rooms, though it highlights flaws more easily. Gloss creates a bold, reflective look but demands precise application.
Coordinate the door color with your existing color schemes: match trim for a classic effect or use contrast to create a focal point. Test samples under room lighting.
Clean, Repair, and Sand the Door Surface
Before you paint, remove dust, grease, and fingerprints with a mild degreasing cleaner, then let the door dry completely.
Inspect the surface under bright light for dents, chips, cracks, and loose paint. Fill small imperfections with a suitable wood filler or patching compound matched to the door material. Let repairs cure fully, then sand them level with fine-grit sandpaper.
Sand the entire door lightly to dull the existing finish and create a uniform surface for adhesion. Use 120- to 180-grit paper for rough areas, followed by 220-grit paper for final smoothing.
Sand in the direction of the grain on wood doors, and avoid cutting through veneers. Vacuum sanding dust from panels and edges, then wipe the door with a tack cloth.
This preparation improves paint compatibility and helps the finish look even, durable, and professional.
Protect Hardware, Hinges, and Surrounding Trim
Once the cleaned and sanded door is dust-free, protect any areas you don’t want painted. Remove knobs, levers, locksets, and strike plates when possible for the cleanest result. Store screws and small parts in a labeled bag so you can reinstall everything easily.
If removal isn’t practical, wrap hardware tightly with painter’s tape and press the edges down to prevent paint seepage. This hardware protection step saves cleanup time later.
Use hinge masking carefully. Cover exposed hinge leaves with painter’s tape, trimming it closely along the edges with a utility knife. Don’t tape over hinge gaps or moving joints, since trapped paint can cause sticking.
Apply painter’s tape along the surrounding jamb, casing, and baseboard where they meet the door. Burnish tape edges with a putty knife, then check for loose corners before you continue.
Prime Interior Doors for Better Paint Adhesion
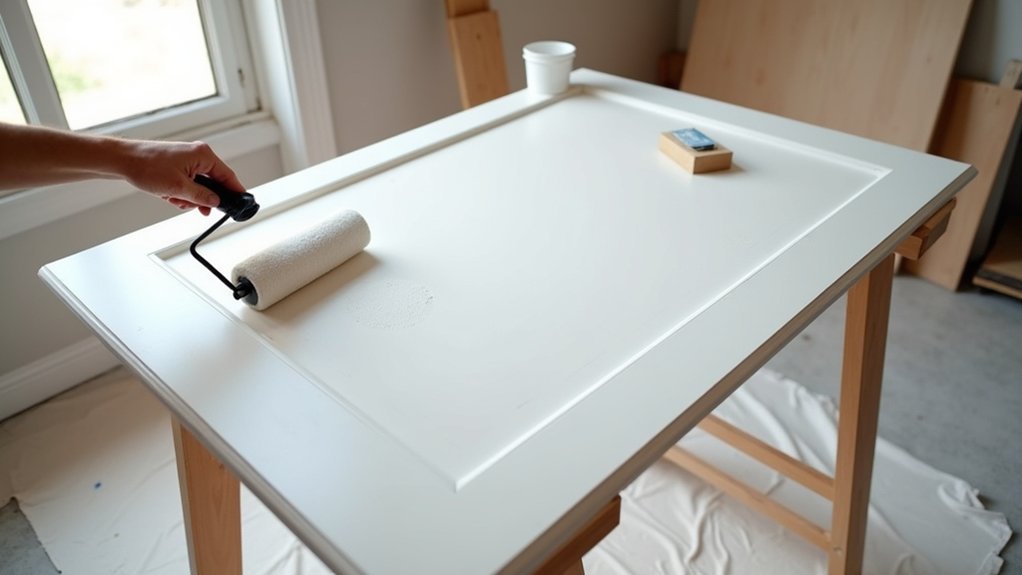
Choose a primer suited to your door’s material and the paint you’ll use.
Clean, sand, and remove dust from the surface before priming so it can bond properly.
Apply a thin, even coat with a quality brush or roller, and let it dry fully before painting.
Choose the Right Primer
A quality primer gives your finish coat a clean, stable surface to grip, especially on glossy paint, bare wood, or repaired areas. Choose a bonding primer for previously painted doors with slick or semi-gloss finishes.
Use a stain-blocking primer when knots, water marks, smoke damage, or tannins could bleed through the new color. For bare wood, select a wood primer that seals uneven absorption and supports an even sheen.
Match the primer base to your paint system whenever possible. Water-based primers dry quickly, produce less odor, and offer Eco friendly options for occupied homes.
Shellac or oil-based products provide stronger stain control but require more ventilation and cleanup care. Consider Color matching when applying a dramatic topcoat: a tinted primer can improve coverage and reduce the number of finish coats you’ll need.
Prepare Doors Before Priming
Proper prep determines how well your primer bonds and how smooth the final paint looks. Remove the door from its hinges when possible, then take off handles, locks, and strike plates. Label hardware and store screws together. Protect nearby floors and trim if you’ll work with the door in place.
Clean both sides thoroughly with a degreasing cleaner to remove fingerprints, oils, dust, and residue. Repair dents, cracks, and old hardware holes with an appropriate filler for the door material. Let repairs dry fully, then sand them flush.
Lightly sand the entire door to dull glossy finishes and even the surface texture. Use fine-grit sandpaper and avoid rounding crisp panel edges. Vacuum sanding dust, then wipe the door with a tack cloth or damp microfiber cloth. Let it dry completely before priming.
Apply Primer Smoothly
Once the cleaned, sanded door is fully dry, apply a thin, even coat of primer matched to its material and the paint you’ll use. Use a high-quality angled brush for panels, edges, and recessed details, then roll flat areas with a small foam or microfiber roller. Work from top to bottom, maintaining a wet edge to prevent lap marks.
Don’t overload the brush or roller; excess primer can pool along edges and inside panel corners.
Good primer techniques improve adhesion and help the finish coat cover evenly. Check the product label for drying time, then inspect the surface under angled light. Lightly sand any raised grain, drips, or roller texture with fine-grit sandpaper.
Remove all dust with a tack cloth before painting. Proper priming also supports consistent paint consistency and a smoother final sheen.
Paint Interior Doors in the Right Order
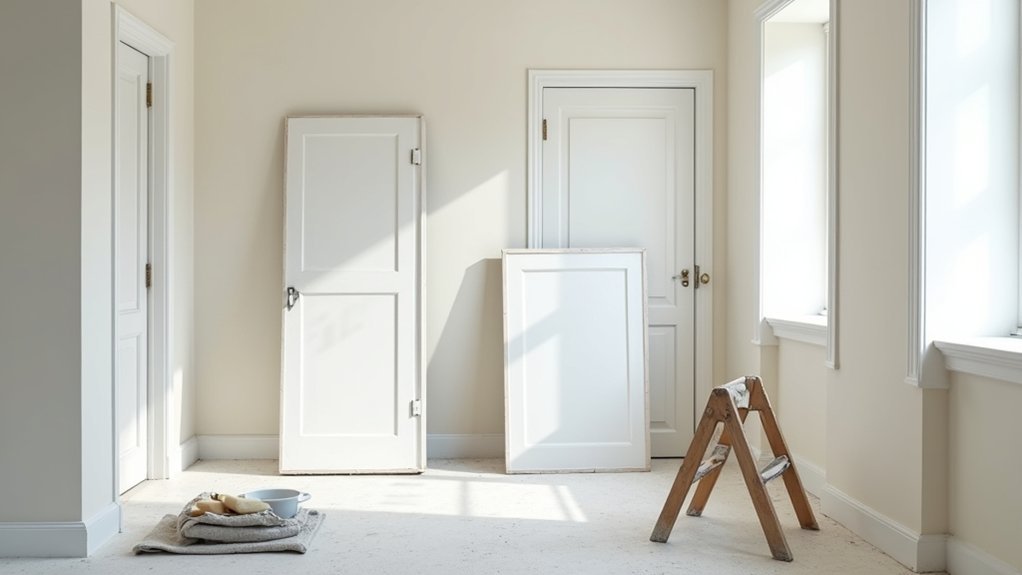
To get a smooth, even finish, paint each door in a consistent sequence rather than working randomly across the surface. Start with recessed panels, using a brush to coat corners, grooves, and moulded edges.
Next, paint the vertical center sections, followed by horizontal rails, then finish with the outer stiles. Keep your brush strokes aligned with the grain or panel direction so the paint texture looks uniform.
If your door has glass inserts, paint the surrounding muntins before larger flat areas. Maintain color coordination by using the same paint batch and stirring it regularly throughout the project.
Work from top to bottom to catch drips before they set, and check edges for missed spots. Following the same order on every door helps you maintain a professional, balanced appearance.
Apply Thin Coats for a Smooth Finish
Thin, even coats give interior doors a smoother finish and reduce the risk of drips, brush marks, and sagging paint. Load your brush or roller lightly, then spread paint across each section with controlled, overlapping strokes. Don’t press hard or keep working an area once the paint begins to set, since this can leave texture behind.
Use consistent layering techniques: apply one thin coat, let it level, and add another only after the surface has cured according to the product label. Respecting recommended drying times helps each layer bond properly and prevents the finish from pulling, wrinkling, or becoming uneven.
Check the door under angled light before applying the next coat to ensure full coverage. Two thin coats usually produce better color depth and durability than one heavy application. Keep your paint container covered between passes to maintain its workable consistency.
Fix Common Interior Door Painting Mistakes
Even with careful, thin coats, small flaws can appear as the paint dries. For drips or runs, let the paint cure fully, then sand the raised area with fine-grit paper and apply a light touch-up coat.
If you notice brush marks, sand gently with 220-grit paper and repaint using longer, consistent strokes or a foam roller.
Common painting pitfalls also include peeling, bubbling, and poor adhesion. These usually signal dirt, grease, moisture, or glossy paint beneath the new finish. Follow reliable Surface preparation tips: clean the door with a degreaser, repair damaged spots, sand glossy areas, and remove all dust before repainting.
For lap marks, maintain a wet edge and avoid overworking paint as it begins to set. If color looks uneven, apply another thin coat after the previous layer dries.
Frequently Asked Questions
How Long Should Painted Interior Doors Cure Before Closing Them?
Wait 24–48 hours before closing painted interior doors; full curing typically takes 7–30 days. Like a firm handshake, patience prevents sticking. Good Door cleaning and paint selection help, but follow your product’s label.
Can I Paint Interior Doors Without Sanding First?
You can paint without sanding if you clean, degrease, and use bonding primer on sound surfaces. For proper door preparation and durable paint finishing, lightly scuff glossy areas anyway; it improves adhesion and reduces peeling.
What Room Temperature Is Best for Painting Interior Doors?
Keep the room between 60°F and 77°F, ideally near 70°F, with low humidity and airflow. Temperature effects can cause poor leveling, while improper paint drying may leave brush marks, drips, or a tacky finish.
How Often Should Interior Doors Be Repainted?
Repaint interior doors every 5–7 years, or sooner when wear appears; think of a medieval shield. Remove Door hardware, clean thoroughly, and prioritize Color matching when you touch up scuffs, chips, fading, or stains.
Can I Paint Over Previously Stained Wood Doors?
Yes, you can paint previously stained wood doors. Clean, sand, and prime them first; complete Door stain removal only if needed. Your paint color selection should suit lighting, and you’ll get better adhesion with bonding primer.