 Andrew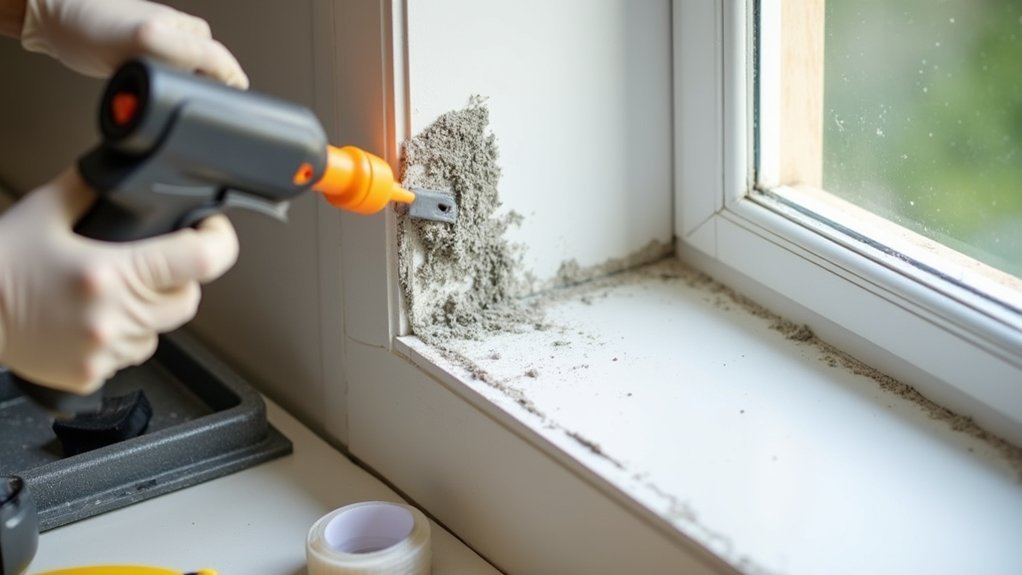
Old silicone around your windows can crack, shrink, or separate from the frame, allowing drafts and water to enter. You can replace it yourself with careful preparation, the right exterior-grade sealant, and a steady hand. Start by checking the joint’s condition and confirming there’s no hidden rot or moisture damage. The quality of the finished seal depends heavily on what you do before you load the caulk gun.
Check Whether Your Window Silicone Needs Replacing
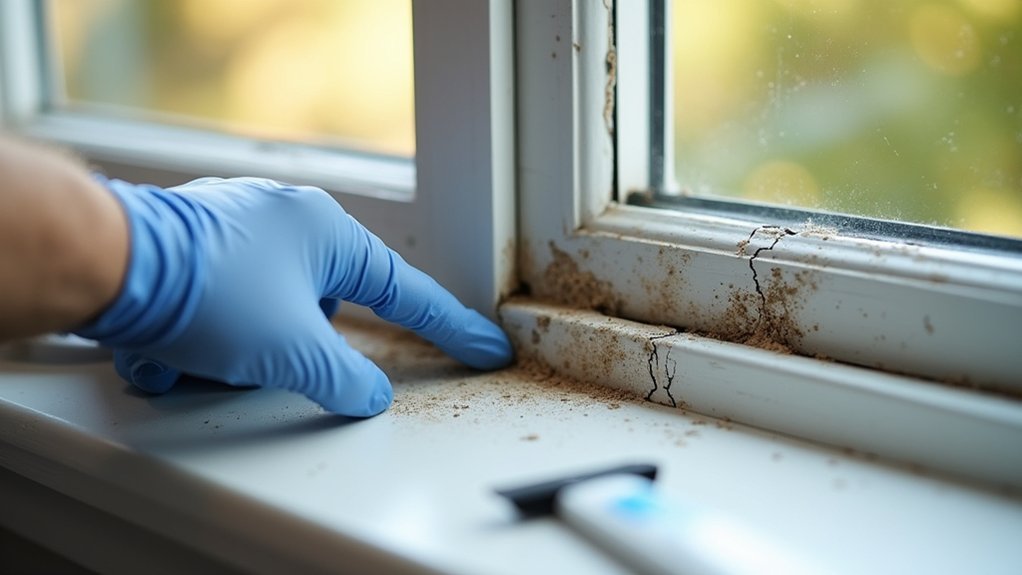
Before you remove any silicone, inspect the seal around the window frame for cracks, gaps, peeling edges, mould, or sections that feel loose to the touch. Check both indoor and outdoor joints, paying close attention to lower corners where water collects.
Press gently along the bead; sound silicone should remain firm, flexible, and securely bonded.
Look for draughts, damp patches, discoloured paint, or recurring window condensation, as these can signal failed seals rather than glazing problems.
Mould may indicate trapped moisture, so clean it safely and identify its source before resealing.
If the silicone has shrunk, hardened, split, or separated from the frame, replace it. Age alone isn’t always decisive, but reduced sealant durability leaves openings for water and air.
Don’t ignore damage near electrical fittings or rotten timber; address underlying repairs first.
Gather Tools and Silicone Sealant for Windows
Once you’ve confirmed the old seal needs replacing, gather everything so you can remove and reseal the joint without leaving the window exposed. You’ll need a sharp utility knife or sealant-removal tool, a scraper, needle-nose pliers, clean rags, a vacuum, rubbing alcohol or suitable cleaner, and disposable gloves.
Keep a caulk gun ready for the new silicone sealant, plus masking tape for neat edges. Use safety glasses when cutting or scraping old material, especially around a glass pane and window frame. Have a small waste bag nearby to collect removed silicone immediately.
Check the sealant tube’s expiry date and verify its nozzle is intact. Review the silicone properties on the label, including curing instructions and recommended cleaning products, before starting.
A stable step stool helps you safely reach higher joints without overreaching.
Choose the Right Silicone for Your Window Frame
Choosing the correct silicone starts with identifying your window frame material: uPVC, wood, aluminum, or painted metal.
Use a neutral-cure, exterior-grade silicone for most frames because it resists weather, UV exposure, and moisture without corroding metal or staining sensitive surfaces.
For wood, choose a flexible sealant rated for exterior joinery and confirm it’s paintable if you’ll finish the frame afterward.
Check the label for compatibility with glazing, plastic, and coatings before applying anything.
Match Silicone color to the frame or surrounding trim for a cleaner result; clear silicone suits discreet joints but can show dirt over time.
Prioritize sealant durability by selecting a product with strong adhesion, mold resistance, and a wide temperature range.
Wear gloves, ventilate the area, and follow the manufacturer’s curing instructions.
Remove Old Silicone Without Damaging the Frame
Soften stubborn silicone with a suitable remover or gentle heat, following the product instructions and keeping heat away from glass seals.
Use a plastic scraper or other frame-safe tool to lift the bead without gouging the surface.
Wipe away remaining residue carefully with a compatible cleaner, then let the frame dry fully before resealing.
Soften Stubborn Silicone
If old silicone resists a scraper, apply a window-safe silicone remover to the remaining bead and let it work for the manufacturer’s stated time. Ventilate the area, wear gloves, and keep the product away from painted surfaces, rubber gaskets, and glazing seals unless its label confirms compatibility. Don’t rush the dwell time; the remover needs time to break down stubborn adhesion without forcing you to use excessive pressure.
Check the silicone every few minutes. When it turns softer, gummy, or lifts at the edges, remove the loosened residue gradually.
Older sealant may retain silicone flexibility in places, so expect uneven softening along the joint. Apply a second light coat only if the first treatment leaves firm patches.
Wipe away remover residue with the cleaner recommended on the label, then let the frame dry completely before applying new silicone.
Use Frame-Safe Tools
Use plastic scrapers, nylon pry tools, and a sharp utility knife with a fresh blade to remove old silicone while protecting the window frame. Hold the knife at a shallow angle and cut along the sealant edges rather than digging into the frame.
Work in short sections, using gentle pressure to lift loosened strips. Don’t force a tool beneath stubborn material; excessive leverage can dent aluminum, gouge vinyl, or chip painted wood.
Keep the blade pointed away from your hands and glass, and wear cut-resistant gloves for added safety. Prioritize frame protection by choosing nonmetal tools wherever possible, especially on finished surfaces.
Check your tools often for burrs, cracked edges, or dull blades. Good tool maintenance prevents accidental scratches and gives you better control throughout the removal process.
Clean Residue Carefully
Once you’ve lifted the bulk of the old silicone, remove the thin residue left on the frame with a plastic scraper and a clean, lint-free cloth. Work slowly, holding the scraper at a shallow angle to avoid gouging uPVC, painted timber, or aluminium.
For stubborn spots, dampen the cloth with a frame-safe silicone remover, following the product label and testing it on an inconspicuous area first.
Effective residue removal depends on patience, not force. Don’t use metal blades, abrasive pads, or strong solvents unless the frame manufacturer approves them.
Wipe away loosened material frequently so it doesn’t smear across the surface. These careful cleaning techniques leave a smooth, contaminant-free edge for the new bead.
Finish by washing the area with mild detergent and water, then dry it completely before applying fresh silicone.
Clean and Dry the Window Sealant Gap
Before applying new silicone, clean the exposed gap thoroughly so the sealant can bond to sound, dry surfaces. Brush out loose dust, old fragments, and debris with a stiff nylon brush or vacuum nozzle. Wipe the joint with a lint-free cloth lightly dampened with rubbing alcohol or a suitable surface cleaner.
Check the manufacturer’s guidance first, especially on painted frames, uPVC, timber, or aluminium, since harsh solvents can cause damage.
Let the gap dry completely before continuing. Moisture trapped in corners or beneath the frame can weaken adhesion and reduce window insulation. Use a dry cloth to absorb remaining moisture, then allow extra drying time after rain, washing, or condensation.
Inspect the joint under good light for residue, damp patches, or cracked material. A clean, dry gap supports a durable seal and helps preserve window aesthetics.
Mask the Edges for a Neat Silicone Line
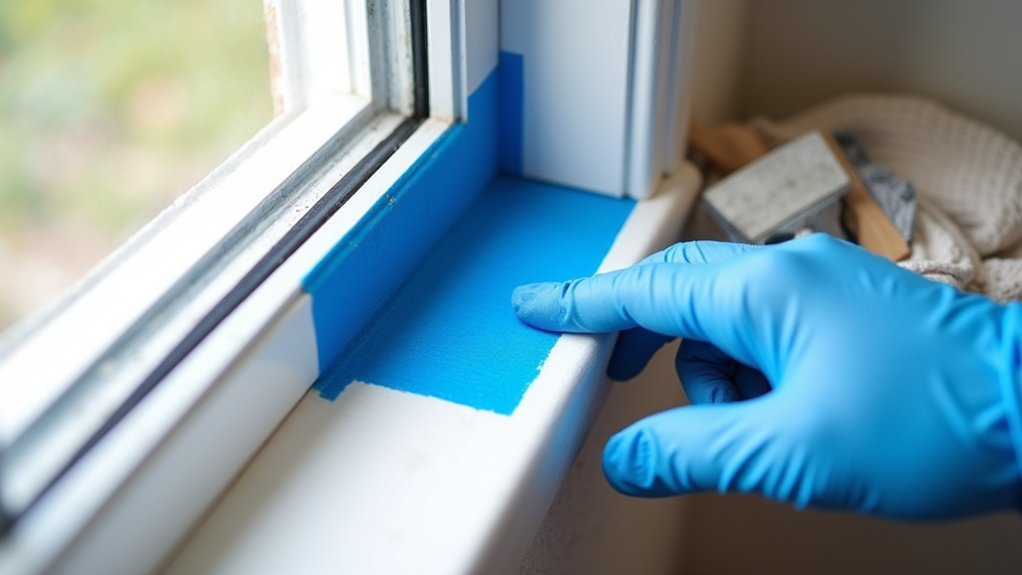
With the gap clean and fully dry, apply low-tack painter’s tape along both sides of the joint to define the silicone line and protect the frame and surrounding surface. Keep the tape parallel to the gap and press its edges down firmly with a clean finger or plastic scraper. This edge masking step helps you create neat lines and reduces cleanup on glass, paint, timber, or uPVC.
Allow enough space between the tape strips for the finished sealant bead, matching the width of the original joint where appropriate. Avoid stretching the tape, as it can lift or leave uneven borders. Check corners carefully and overlap short pieces rather than forcing one long strip around tight angles.
Use low-tack tape only, especially on freshly painted or delicate surfaces, to prevent damage when you remove it.
Apply New Silicone Around Your Windows
Choose a high-quality exterior window sealant that suits your frame material and weather conditions.
Apply a steady, continuous bead, then smooth it promptly with a suitable tool for a watertight finish.
Remove the masking tape carefully and let the sealant cure fully before exposing it to rain or cleaning.
Choose The Right Sealant
Select a high-quality, exterior-grade neutral-cure silicone that adheres to both the window frame and surrounding surface, whether you’re sealing uPVC, timber, aluminium, brick, or render. Neutral-cure products reduce the risk of corrosion on metal frames and staining on porous masonry.
Check the label for weather resistance, UV stability, flexibility, and suitability for your specific materials.
Choose from available color options to match white, brown, black, grey, or clear finishes, but don’t rely on colour alone; confirm the sealant is rated for exterior window joints.
Avoid sanitary silicone, as it’s designed for bathrooms rather than exposed outdoor movement.
If possible, select a low-VOC formula to limit fumes and reduce environmental impact.
Wear gloves, work in a ventilated area, and check the cartridge’s expiry date before use.
Apply A Smooth Bead
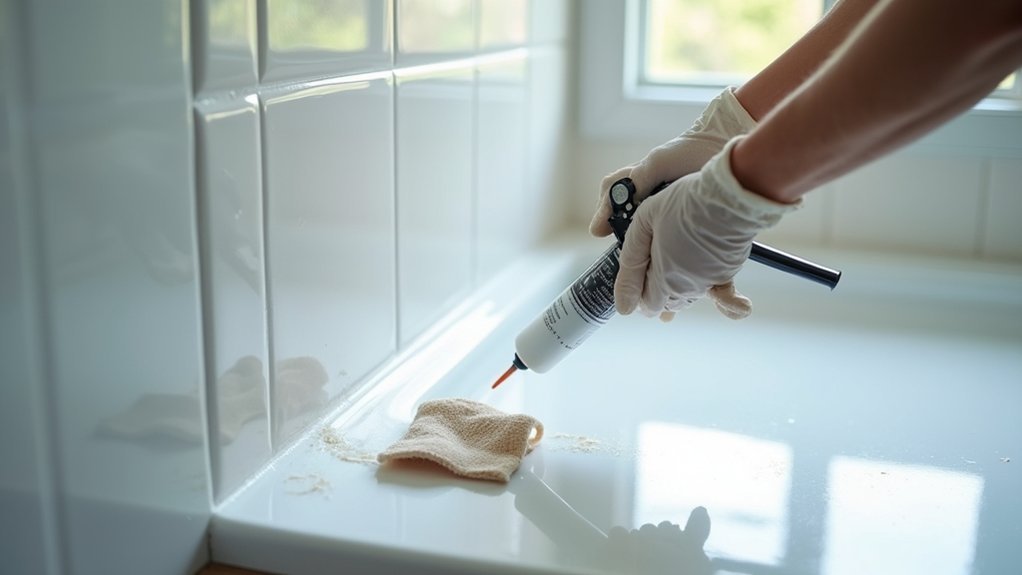
Once the joint is clean, dry, and masked if needed, cut the nozzle at a 45-degree angle to match the joint width and pierce the cartridge seal. Load the cartridge into a caulking gun and test the flow on cardboard first.
Hold the nozzle firmly in the corner, keeping it angled toward the gap. Pull the gun steadily along the joint while applying even trigger pressure. Don’t rush or overfill the gap; a controlled bead bonds better and reduces waste.
Maintain bead consistency by moving at one speed and keeping the nozzle in contact with both surfaces. Stop and release pressure before lifting the gun to prevent excess silicone from spilling.
Use enough material to accommodate silicone flexibility as the window frame expands and contracts. Work in short sections if the joint is long or awkward.
Finish And Cure Properly
Before the silicone skins over, tool the bead with a caulk-finishing tool or a gloved finger lightly moistened with soapy water. Use one smooth pass to press silicone into the joint and create a slightly concave finish. Wipe excess from the tool immediately with a disposable rag, and avoid touching the bead again.
Remove masking tape slowly while the silicone remains wet, pulling it away at a 45-degree angle. Check for gaps, pinholes, or lifted edges, then correct them promptly with a small amount of fresh silicone.
Consider silicone color options that match the frame or trim for a neat result. Follow the manufacturer’s curing time, keeping the area dry and protected from rain, dust, and disturbance.
These weatherproofing tips help guarantee a durable, watertight seal.
Smooth the Sealant Before It Starts to Skin
After applying a manageable bead, tool it immediately—silicone begins to skin over within minutes, especially in warm or dry conditions. Hold a caulk-finishing tool or gloved finger at a shallow angle and draw it in one steady pass along the joint. Use light, consistent pressure to push silicone into the gap without digging it out.
Check the sealant texture as you work: it should look smooth, continuous, and slightly concave, not flat, lumpy, or smeared across the frame. Keep a cloth and suitable cleaner nearby to remove excess from tools before it transfers to glass or trim.
Don’t repeatedly rework the same section, since this can trap debris or tear the surface. Practise controlled application techniques on a short area first, then complete each window edge in manageable lengths.
Let Window Silicone Cure and Check Your Seal
Allow the fresh silicone to cure undisturbed for the full period stated on the cartridge, keeping the window closed and protecting the joint from rain, washing, or heavy condensation.
Most products skin quickly but need longer to cure through, so don’t press, paint, or clean the bead too soon.
Keep children and pets away from the area, and ventilate the room if the product gives off an odour.
After curing, inspect the seal in good light. Check that it bonds continuously to both surfaces, with no gaps, pinholes, lifting edges, or thin sections.
Gently examine the bead without pulling it; proper silicone flexibility lets it move with the frame and glass.
Remove any cured smears carefully with a suitable scraper, avoiding scratches.
A neat, even joint improves weather resistance and Window aesthetics.
Frequently Asked Questions
Can I Paint Over Silicone Sealant Around Windows?
No, you can’t reliably paint silicone sealant; paint won’t adhere. “Measure twice, cut once”: prioritize Painting preparation, use Silicone removal techniques, wear gloves, clean surfaces thoroughly, then apply paintable caulk before painting.
How Long Does Unopened Window Silicone Sealant Last?
Unopened window silicone sealant typically lasts 12–24 months. Check the expiry date, maintain cool, dry storage conditions, and inspect packaging before use. You’ll also need to confirm sealant compatibility with your window materials.
What Should I Do if Silicone Gets on Glass?
Wipe fresh silicone from glass immediately with a dry cloth, then use Glass cleaning solvent. For cured residue, perform careful Silicone removal using a razor scraper at a shallow angle, wearing gloves and avoiding scratches.
Can I Apply Window Silicone in Cold Weather?
Yes, you can apply window silicone in cold weather if temperatures meet the manufacturer’s minimum. Check weather considerations and sealant compatibility, keep surfaces dry and frost-free, wear gloves, and allow extra curing time before exposure.
Is Silicone Sealant Safe for uPVC Window Frames?
Measure twice, cut once: you can safely use neutral-cure silicone on uPVC frames. Check Chemical compatibility, avoid solvent-based products, and follow manufacturer guidance. Consider Environmental impact by choosing low-VOC sealant and disposing of cartridges responsibly.