 Andrew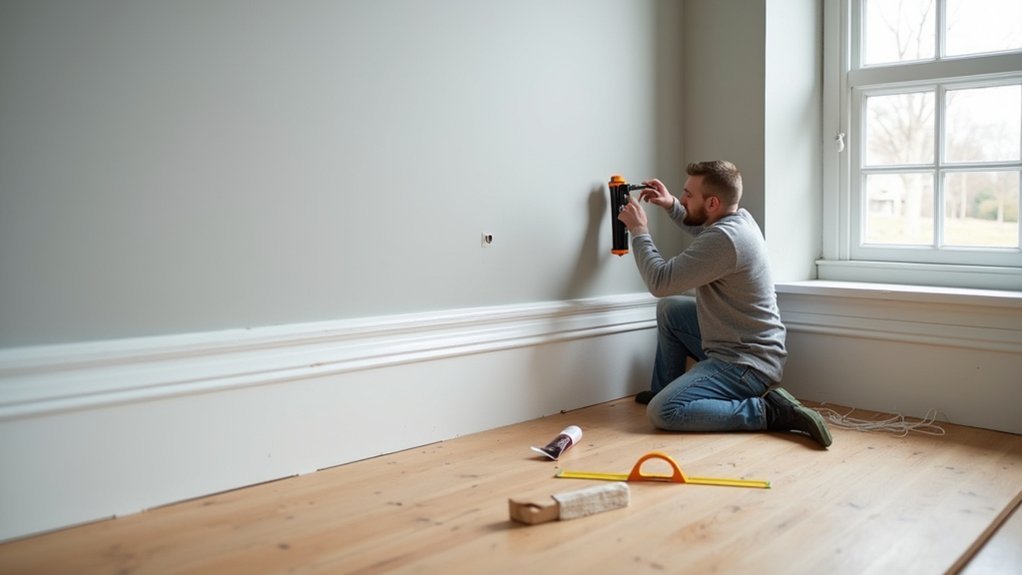
Most skirting-board gaps come from uneven walls and floors, not poor-quality timber. You’ll get a sharp, modern result by choosing the right profile, measuring each run carefully, and using scribed internal joints rather than relying on simple mitres. Secure the boards evenly, then fill, caulk and paint with care to hide every fixing. The key detail that separates a neat installation from an amateur finish comes next.
Choose the Right Skirting Board Material
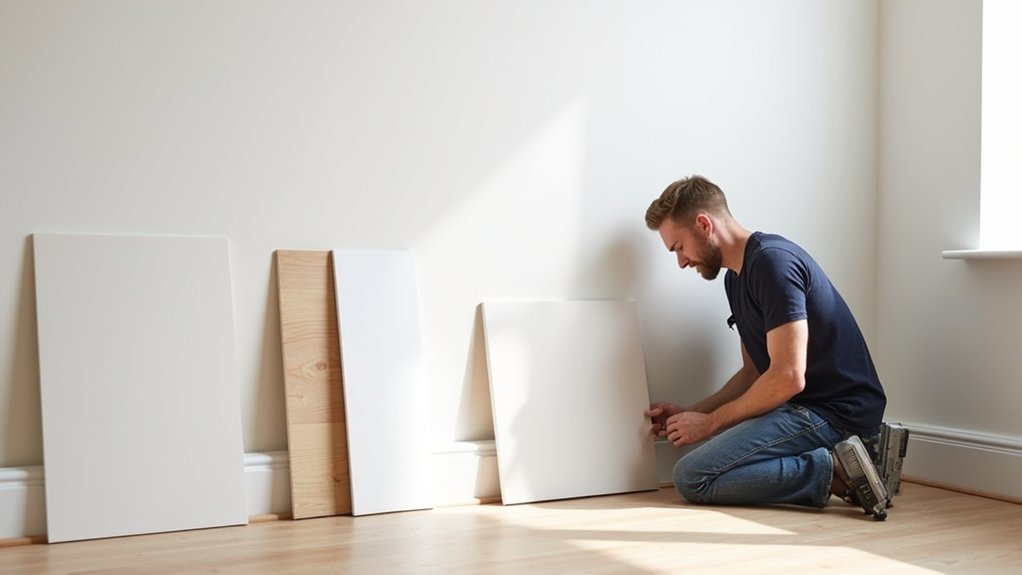
Choose a skirting board material that suits the room’s moisture levels, traffic, and finish. MDF offers a smooth, affordable option for painted interiors, but you should avoid it in damp bathrooms or poorly ventilated spaces. Moisture-resistant MDF performs better where humidity rises occasionally.
Use softwood or hardwood when you want natural grain, stronger impact resistance, or stained finishes. Hardwood costs more, yet its material durability suits hallways, stairs, and busy family rooms.
PVC skirting resists water, won’t rot, and works well in kitchens, utility rooms, and bathrooms.
Match the profile and surface to your aesthetic styles. Square-edged boards create a contemporary look, while ogee or torus profiles suit traditional rooms.
Check that your chosen material accepts paint, stain, or sealant properly, so you achieve an even, long-lasting finish.
Measure Walls and Plan Your Cuts
Measure each wall at floor level and record the exact length before cutting any skirting.
Mark internal corners for scribed joints and external corners for mitres, checking angles rather than assuming they’re square.
Plan where joins will fall so they’re neat, supported, and as discreet as possible.
Measure Each Wall Accurately
Before you cut any skirting board, record the length of every wall individually with a tape measure, working from corner to corner at floor level. Don’t rely on room dimensions from plans, as plaster, uneven corners, and built-in features can alter the actual run.
Measure twice and write each result clearly on a simple sketch of the room. Include returns around chimney breasts, alcoves, door openings, and protruding pipe boxes.
Check that your chosen board height won’t interfere with existing trims, sockets, or thresholds. When selecting decorative profiles, allow for their face depth when checking clearances near radiators and fitted furniture.
Also consider material durability: MDF, softwood, and hardwood may react differently to damp or temperature changes, so confirm that the product suits the room.
Keep measurements organised, ensuring you can identify every wall quickly when preparing boards.
Plan Mitres And Joins
Turn your wall measurements into a cutting plan, marking each board with its location, length, and the joint required at both ends. Identify internal corners, external corners, straight runs, door architraves, and any obstacles before cutting.
Allow extra length for mitres, especially on long walls, then trim gradually for a tight fit.
For internal Corner transitions, use scribed joints where possible: cut one board square, then shape the profile of the adjoining board to match it. Use 45-degree mitres for external corners, keeping each cut paired and clearly labelled.
Check that Decorative profiles align across every join, as even slight mismatches show under paint. Position scarf joints over solid fixing points, angle them away from the main viewing direction, and avoid placing them near corners.
Dry-fit every section before applying adhesive or nails.
Gather Tools for Fitting Skirting Boards
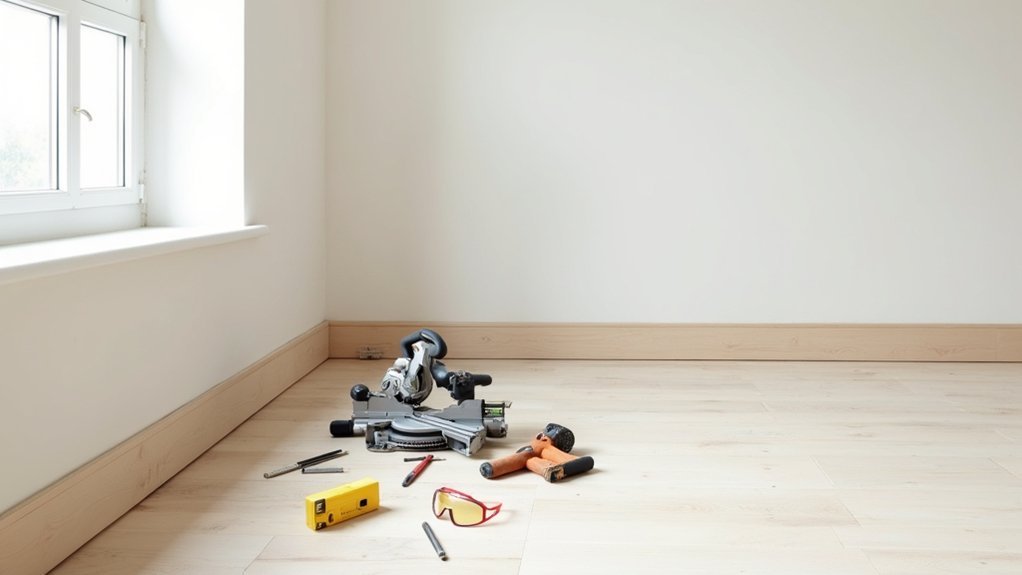
Gather all the tools and fixings you’ll need before cutting or fitting the skirting boards, so the work can proceed without interruption. Set out a measuring tape, pencil, combination square, mitre saw or mitre box, fine-tooth handsaw, and coping saw for accurate cuts and internal corners.
Keep a power drill with suitable bits ready for pilot holes and fixing points. You’ll also need a caulking gun, grab adhesive, panel pins or screws, wall plugs, hammer, nail punch, and wood filler.
Use a spirit level to check straight runs and a straightedge to identify uneven wall sections. Have sandpaper, a filling knife, and decorator’s caulk available for tidy finishing.
Choose fixings that suit your wall type and skirting thickness. Charge cordless tools, inspect saw blades, and wear eye protection before you begin work.
Remove Old Skirting Without Damaging Walls
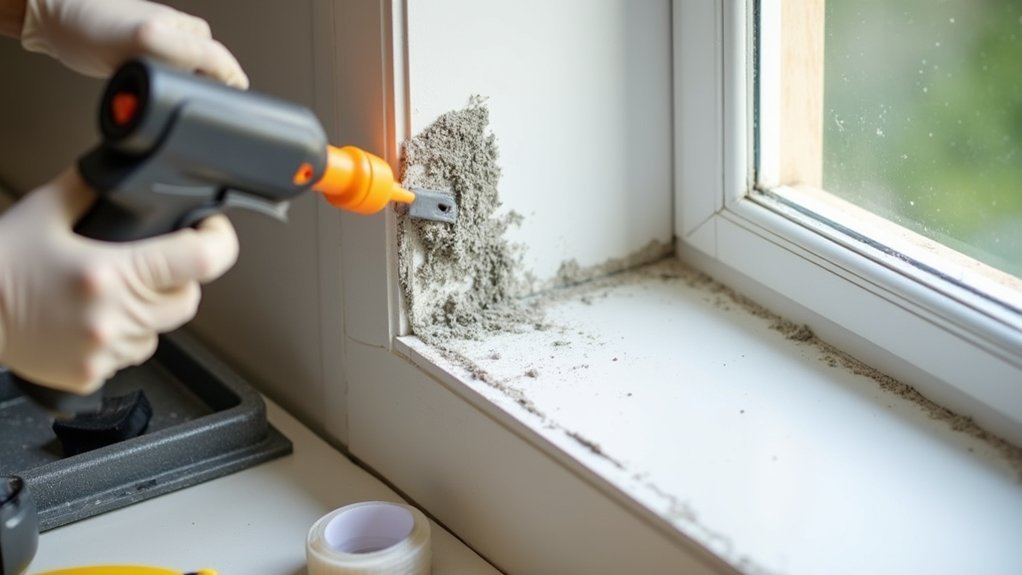
Start by scoring through any paint or caulk line along the top edge of the old skirting with a sharp utility knife, which helps prevent plaster and paint from tearing away.
Locate fixings with a stud detector if possible, then slide a wide filling knife behind the board to shield the wall.
Insert a flat pry bar against the knife, working near nails or adhesive points rather than levering from the centre.
Use controlled pressure and move along the length in small stages.
Don’t pull sharply, as this can crack plasterboard or tear surface plaster.
If adhesive resists, cut behind the board with a multi-tool or ease it free gradually.
Keep removed pieces intact where possible; they can reveal fixing positions.
These removal techniques minimise repairs and support efficient wall preparation before fitting your replacement boards.
Prepare Walls, Floors and Board Lengths
With the old skirting removed, inspect the wall line, floor edge and corners before cutting any replacement boards. Scrape away loose adhesive, filler and paint ridges so each board can sit flat against the surface. Fill deep chips or dents, then sand repairs smooth once dry.
Check for uneven plaster, bowed walls or raised flooring that could create gaps. Wall textures may require light sanding along the lower edge to provide a clean fixing area.
Vacuum dust and debris from the floor perimeter, then confirm the finished floor level is consistent around the room. Measure each wall carefully and record its length, allowing extra material for minor adjustments and damaged ends.
Stack boards flat in the room for at least 24 hours to acclimatise. Check paint colors now, too, so your chosen skirting finish complements the walls.
Cut Skirting Boards for Straight Runs
Measure each straight wall run accurately, allowing for any adjoining joint or return.
Transfer the measurement to the skirting board and mark a clear, square cut line.
Cut on the waste side of the mark, then test-fit the board before fixing it in place.
Measure Wall Lengths
Before you cut any skirting board, measure each straight wall run from finished corner to finished corner using a tape measure. Record every measurement separately, even where walls appear identical, because rooms rarely run perfectly square.
Hold the tape level along the floor line and check for projections, chimney breasts, door linings, or radiator pipes that interrupt the run. Measure twice to confirm the length, then allow a small amount of extra material for final fitting and minor wall irregularities.
Check the wall’s base for dips, bulges, and uneven wall textures, as these can affect how tightly the board sits. Note the profile and thickness of your chosen skirting styles before ordering or cutting material.
Keep measurements clearly labelled by room and wall location, so you can match each board efficiently during installation.
Mark Accurate Cut Lines
Lay the skirting board flat on a stable work surface and transfer the recorded wall length to its back edge with a tape measure and sharp pencil.
Mark from the same reference end used during measuring, keeping the tape straight and taut.
Draw a clear line across the full board width with a combination square so your mark remains perfectly perpendicular to the long edge.
Check the measurement twice before committing, especially where a straight run finishes near a corner joint.
Account for any planned gap or overlap only if your installation layout requires it.
Label each piece with its wall location and orientation to prevent confusion later.
Use light, precise pencil marks rather than deep scoring, which can damage painted finishes or reduce material durability.
Confirm the profile face is correctly positioned before marking both ends.
Cut And Test Fit
Set the saw to a true 90-degree crosscut, align the blade just to the waste side of your pencil line, and cut steadily without forcing the board through.
Support long lengths to prevent splintering or an inaccurate finish. After cutting, place the board against the wall and check that it sits flat along the floor and meets the adjacent surface cleanly.
If the fit is tight, remove small amounts with a block plane or fine sandpaper rather than recutting aggressively. Check for bowed walls, uneven floors, or obstructions before fixing anything permanently.
Different skirting board styles may need careful handling, especially detailed profiles that can chip at cut edges. Keep the face protected while testing.
A precise test fit ensures your wall decoration looks deliberate, with straight runs that create neat, consistent lines throughout the room.
Mitre and Scribe Clean Internal Corners
For a neat internal corner, scribe the face of one skirting board to fit over the profile of the board already fixed rather than relying on a mitre alone. Cut the end at 45 degrees to expose the moulded profile, then trace that outline with a pencil.
Use a coping saw to cut just outside the line, keeping the blade angled slightly back for a tight front edge. Refine the cut with a file or sandpaper, testing the fit repeatedly against the installed board.
Scribed joints cope better with walls that aren’t perfectly square and reduce visible gaps as timber moves. A mitre can still suit square, plain profiles, while Decorative corner designs may require careful template work.
Among alternative joint techniques, a coping cut remains the most reliable choice for detailed mouldings and uneven internal corners.
Fix New Skirting Boards Securely in Place
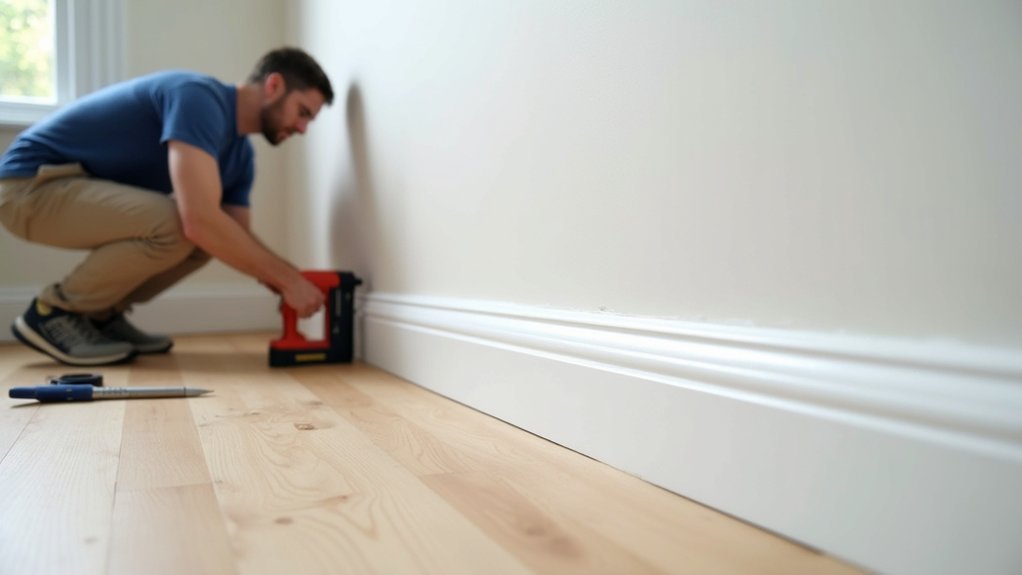
Once you’ve dry-fitted each length and checked the joints, fix the skirting from one end, pressing it firmly against the wall and floor as you work along.
Mark stud positions before fitting, or use suitable wall plugs where you’re fixing into masonry. Apply grab adhesive in continuous beads to the back, keeping clear of cable routes and edges.
Use pins, screws, or a brad nailer to hold the board while the adhesive cures. Choose fixing techniques that suit the wall type and the material: MDF needs neat, controlled nailing, while solid timber may require pilot holes to prevent splitting.
Space mechanical fixings evenly, typically every 400–600mm, and add extra support near joints and ends. Check each board remains level and tightly seated before moving on.
Different skirting board styles may need varied fixing positions.
Fill, Caulk and Paint for a Smooth Finish
After the adhesive has cured and the fixings are secure, fill nail holes, screw heads and small joint gaps with a suitable wood filler. Press it firmly into each recess, allow it to dry fully, then sand with fine-grit paper until the surface feels level. Vacuum away dust before applying paint.
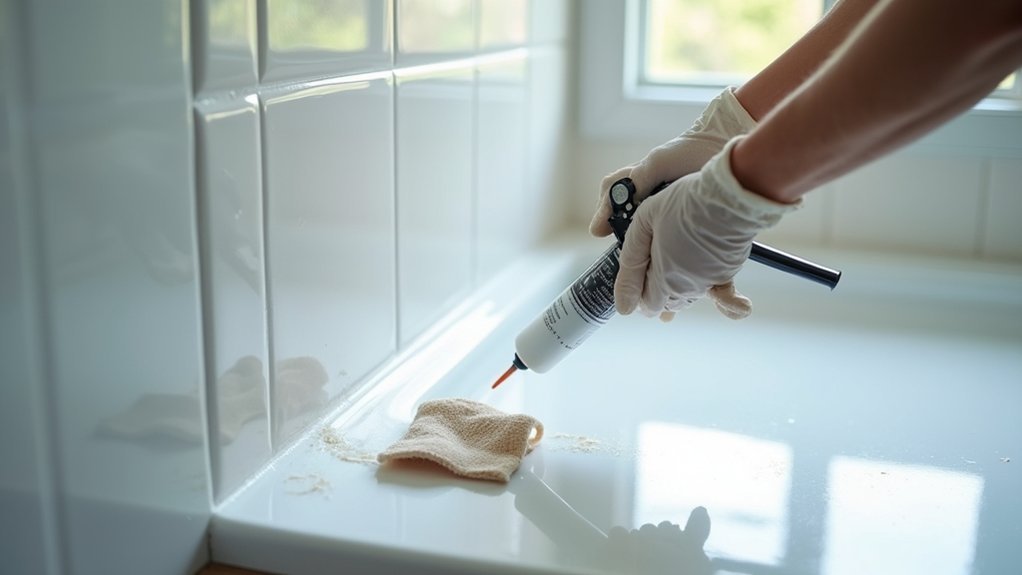
Run a thin, continuous bead of flexible decorator’s caulk along the top edge and where boards meet architraves. Smooth it immediately with a damp finger or profiling tool, wiping away excess. Don’t caulk moving expansion gaps.
Apply a primer suited to your skirting material, then add two thin coats of durable satinwood or eggshell paint, sanding lightly between coats. Crisp paintwork makes even simple boards look refined, while supporting decorative accents and matching historical styles where required.
Frequently Asked Questions
Can Skirting Boards Be Installed Over Existing Carpet?
Yes, you can install skirting boards over existing carpet, but you’ll achieve cleaner results by lifting carpet edges first. Avoid Carpet removal unless necessary, check Floor leveling, and leave a small expansion gap before refitting.
How Long Should New Skirting Boards Acclimatise Before Fitting?
As a rule of thumb, let new skirting boards acclimatise indoors for 48–72 hours before fitting. Check manufacturer guidance for different skirting board types, and keep installation tools ready while boards adjust to room temperature and humidity.
Can Skirting Boards Hide Uneven Floor Gaps?
Yes, you can use taller skirting board styles to conceal minor uneven floor gaps. Don’t rely on them for large voids; pack, level, or seal first. Maintain wall insulation continuity and leave expansion clearance where needed.
Should Skirting Boards Match Door Architraves?
Yes, you should match skirting boards and door architraves for a cohesive finish. Choose complementary Decorative trims and consistent Material options. You can vary profiles slightly, but keep colours, proportions, and overall style aligned throughout.
How Do I Clean and Maintain Painted Skirting Boards?
Use Cleaning techniques like vacuuming dust, wiping with warm soapy water, and drying promptly. For Maintenance tips, touch up chips with matching paint, avoid abrasive cleaners, and inspect joints regularly to prevent grime buildup.