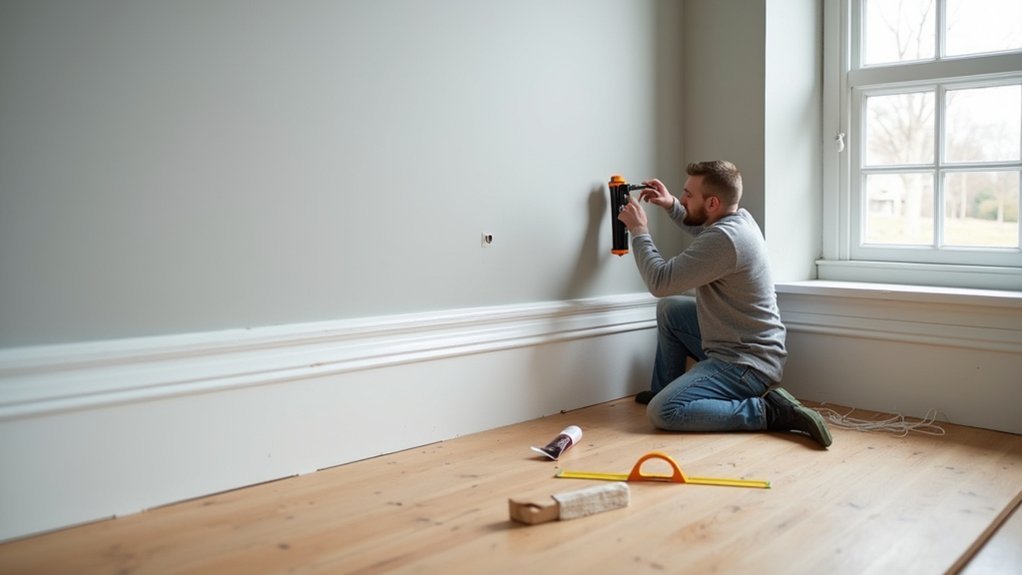
 Andrew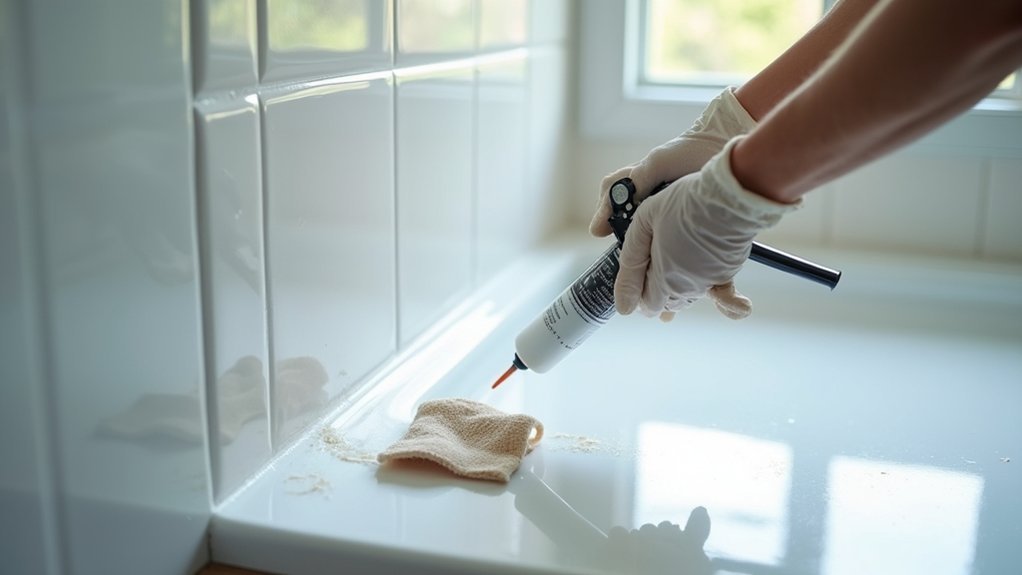
A leaking bath or shower seal can let water travel behind tiles or under flooring long before you notice visible damage. You can prevent costly repairs by spotting failed silicone early, removing it carefully, and applying a clean, waterproof replacement. The key is preparing the joint properly and allowing enough curing time—steps that often determine whether the new seal lasts or fails quickly.
Spot Signs Your Bath or Shower Needs Resealing
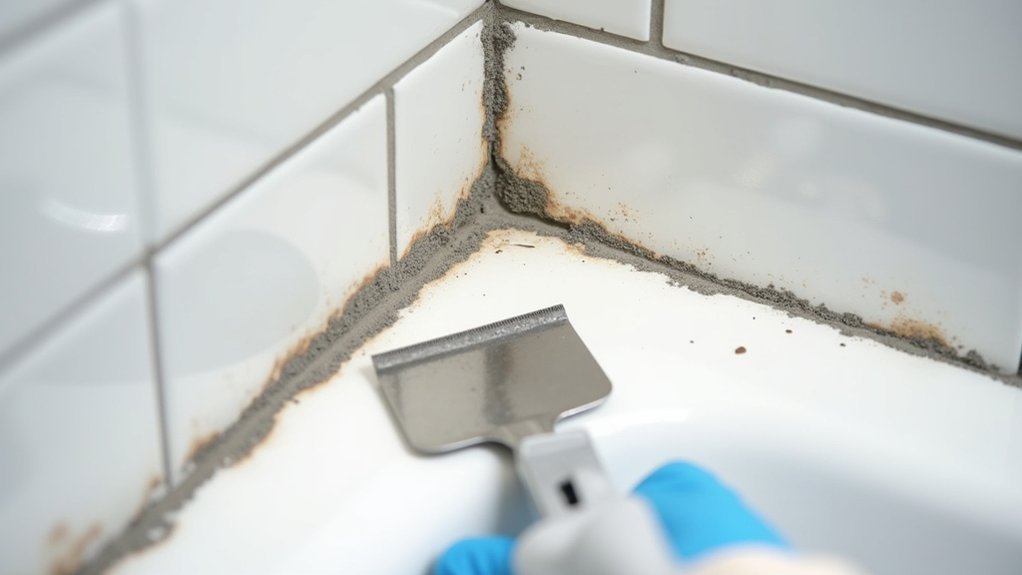
Check the sealant around your bath or shower regularly, as small gaps can let water reach the wall, floor, or subfloor behind it. Look for cracks, shrinkage, peeling edges, discoloration, or sections that feel loose when lightly pressed. Black spots, persistent mildew, or a musty smell may indicate trapped moisture and signal a mold prevention concern.
Also watch for water stains on nearby ceilings, swollen skirting boards, soft flooring, or loose tiles, especially outside the shower enclosure. After bathing, check whether water pools along joints or escapes onto the floor.
Good Bathroom ventilation helps surfaces dry, but it won’t correct failed sealant. Run the extractor fan, open a window when safe, and wipe wet edges dry.
If damage appears beyond the sealant line, limit shower use and arrange a professional inspection promptly.
Gather Tools and Waterproof Bathroom Silicone
Gather a sealant gun, silicone remover, scraper, utility knife, masking tape, cleaning cloths, and gloves before you start.
Choose mould-resistant, waterproof bathroom silicone that suits your bath or shower surface.
Work in a ventilated area, check tool blades are sharp and secure, and keep materials within easy reach.
Essential Resealing Tools
Before you remove the old sealant, set out a sharp utility knife or sealant-removal tool, a scraper, cleaning cloths, rubbing alcohol or mould remover, masking tape, and a caulk gun.
Add disposable gloves, safety glasses, a dustpan or vacuum, and paper towels to keep the work area tidy.
Use a plastic scraper on acrylic baths or shower trays to reduce scratching, and cut away from your body when using a knife.
Check that your caulk gun moves smoothly and has a working release trigger; good tool maintenance prevents uneven application and wasted product.
Keep blades clean and replace dull ones rather than forcing them through hardened sealant.
Although sealant types vary, choose tools that suit the joint material and surface finish.
Ensure the room has ventilation, especially when using cleaning products or mould remover.
Choosing Waterproof Silicone
With your tools ready, choose a waterproof, sanitary-grade bathroom silicone designed for baths, showers, and other high-moisture joints.
Check the label for permanent flexibility, strong adhesion to ceramic, acrylic, glass, and metal, plus resistance to cracking and shrinking.
Select a product marked mould-resistant to support mold prevention in areas exposed to regular splashing and condensation.
Match the silicone colour to your existing fittings, usually clear, white, or a bath-panel shade, so the finished joint looks neat.
Use a sealant intended specifically for sanitary applications rather than general-purpose household caulk.
If your bathroom has limited bathroom ventilation, prioritise a formula with enhanced fungal resistance.
Check the cartridge’s expiry date and storage instructions; old silicone may not cure or bond reliably.
Choose one suitable for the joint width you need to reseal.
Preparing Materials Safely
Set up a clean, well-lit work area so you can handle sealant and cutting tools safely. Gather a caulk gun, waterproof bathroom silicone, utility knife or sealant remover, scraper, masking tape, clean cloths, and rubbing alcohol.
Check that the silicone is in date, unopened or properly stored, and designed for bathrooms.
Follow basic Safety precautions before starting. Wear cut-resistant gloves when removing old sealant and safety glasses if debris may fly. Keep blades retracted or covered when not in use, and store tools away from children and pets. Ventilate the room, especially when using solvent cleaners.
Confirm Material compatibility between the silicone and your bath, shower tray, tiles, grout, and wall panels. Avoid using products that won’t bond to acrylic, natural stone, or certain plastics.
Test cleaners on an inconspicuous spot first.
Remove Old Sealant Without Damaging Surfaces
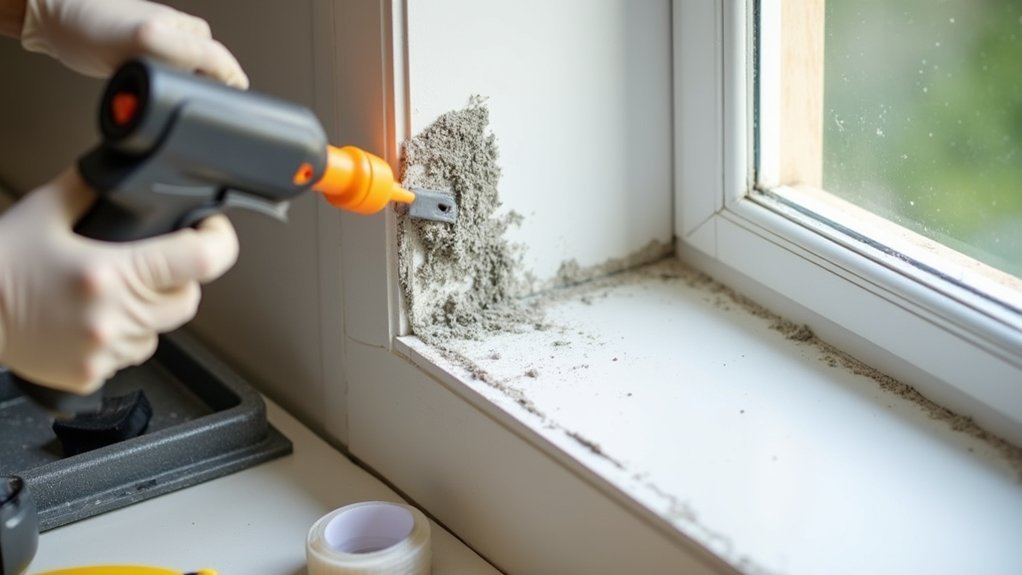
To remove old sealant safely, soften it first with a sealant remover suited to your bath, shower tray, tiles, or glass, and follow the product’s dwell-time instructions. Check Surface compatibility on an inconspicuous area before treating the whole joint, especially on acrylic trays, natural stone, or coated finishes.
Once softened, cut along both edges with a sharp sealant-removal tool or plastic scraper. Keep the blade angled away from the surface and work in short sections to avoid gouging tiles, scratching glass, or tearing acrylic.
Pull away loosened strips by hand rather than forcing them. Use a plastic blade for stubborn residue, applying more remover if needed.
Wear gloves, ventilate the room, and avoid mixing chemicals. Thorough removal improves Sealant durability by giving the new bead a sound, uncontaminated bonding area.
Clean and Dry the Bath or Shower Edges
Remove any remaining sealant residue with a plastic scraper, taking care not to scratch the bath, tray, or wall surface.
Degrease the surrounding edges with a suitable cleaner, then wipe away all cleaner residue with a clean cloth.
Let the joints dry completely before applying new sealant, as trapped moisture can prevent a reliable bond.
Remove Old Sealant Residue
Once the old sealant is off, scrape away any remaining residue with a plastic scraper or a sealant-remover tool, taking care not to gouge acrylic, enamel, or tile surfaces. Work slowly along the joint, holding the tool at a shallow angle and using short, controlled strokes.
Don’t use metal blades on delicate finishes, as they can leave scratches that trap moisture and dirt.
For stubborn fragments, apply a suitable sealant remover according to the label, ventilate the room, and wear gloves. Let it work for the recommended time, then lift softened material with your plastic tool.
These sealant removal techniques help create a clean joint without damaging surrounding surfaces.
Check corners, grout lines, and tap edges carefully, as small remnants can prevent the new bead from bonding evenly. Follow these surface preparation tips before moving on.
Degrease Surrounding Surfaces
Before applying fresh sealant, degrease the bath or shower edges so the new bead can bond securely. Wipe the exposed joint, tile edges, tray, and fixture surrounds with a clean cloth dampened with isopropyl alcohol or a suitable bathroom degreaser.
Remove soap film, body oils, polish, limescale residue, and traces of remover left from stripping the old sealant. Don’t use products that leave a waxy coating, as these can weaken adhesion.
Wear gloves, ventilate the room, and follow the cleaner’s label instructions, especially around painted surfaces or natural stone.
Use fresh lint-free cloths rather than sponges, which can transfer dirt back onto the joint. Pay close attention to corners, taps, and shower-screen channels.
Cleaning grout beside the joint also prevents loose debris from contaminating the sealant line. Careful preparation is essential when sealing fixtures.
Allow Edges To Dry
After degreasing, let the bath or shower edges dry completely so moisture, cleaner residue, and trapped water can’t compromise the new sealant.
Wipe the joint line, tiles, bath rim, and shower tray with clean, lint-free cloths. Pay close attention to corners, grout lines, and gaps around fittings, where water often collects.
Open windows or run the extractor fan to improve ventilation. If needed, use a hairdryer on a low, cool setting, keeping it moving and away from standing water or electrical outlets.
Don’t apply sealant until every surface feels dry to the touch. Good surface preparation helps the silicone bond evenly and reduces the risk of early failure.
Make edge maintenance easier by checking the area for damp patches before proceeding.
Choose the Right Silicone Sealant Colour
Choose a silicone sealant colour that blends with the bath or shower tray, wall tiles and grout rather than trying to match every surface exactly. White suits most white trays and sanitaryware, while clear silicone can work where colours vary, though it may show mould or dirt sooner.
Use ivory, grey, beige or tile-coloured sealant when it creates a less noticeable joint around darker finishes.
For effective color matching, check the sealant against the tiles in natural light and under the bathroom lighting. Small colour differences can look stronger once the sealant cures.
Consider aesthetic considerations alongside maintenance: mid-grey often hides everyday marks better than bright white, but shouldn’t clash with pale grout.
Choose a sanitary, mould-resistant silicone rated for bathrooms, regardless of colour. Don’t use paintable decorator’s caulk, as it can crack or fail in constantly wet areas.
Prepare the Area for a Neat Seal
Cut away all old sealant carefully with a suitable scraper, keeping the blade clear of your hands and bath surface.
Clean the joint thoroughly and let it dry completely, as silicone won’t bond well to damp or greasy areas.
Apply masking tape along both edges of the gap to guide a straight, tidy seal.
Remove Old Sealant
Before you apply fresh sealant, remove every trace of the old bead so the new seal can bond directly to clean surfaces. Score along both edges with a sharp utility knife, keeping the blade angled away from your hands and the bath finish.
Lift the loosened strip with a plastic scraper or sealant removal tool; don’t use metal tools that may scratch acrylic, enamel, or tiles. Work slowly around corners, taps, and joints, removing hidden fragments from gaps.
For stubborn residue, use a suitable sealant remover and follow the product’s ventilation and glove instructions. Different sealant types may need different removers, so check the label first.
Inspect the joint closely under good light. These maintenance tips help prevent failed adhesion, mould growth, and repeat leaks after resealing.
Clean And Dry Surfaces
With the old sealant removed, clean the joint and surrounding surfaces thoroughly so the new bead can adhere properly. Vacuum or brush away loose fragments, dust, and grout debris from the gap. Use a non-abrasive pad with warm water and bathroom cleaner to remove soap scum and body oils.
For stubborn residue, wipe carefully with isopropyl alcohol, following the product label and keeping the room ventilated. Don’t mix cleaning products, especially bleach and ammonia, as dangerous fumes can form.
Effective cleaning techniques leave the bath edge, wall tiles, and joint free of residue. Rinse away cleaner, then inspect the gap for hidden dirt or moisture. Use absorbent cloths to wipe it dry.
For reliable drying methods, leave the area uncovered, run an extractor fan, and allow several hours of drying time before resealing.
Mask Edges For Accuracy
Once the surfaces are fully dry, apply low-tack painter’s tape along both sides of the joint to define the sealant line. Keep the tape parallel and leave a consistent gap that matches the width of the existing joint.
Press each edge down firmly, especially around corners, grout lines, and uneven tile edges, so sealant can’t creep underneath. Use short strips where the bath curves or meets fixtures; long lengths can wrinkle and distort the line.
Mask edges before opening the sealant cartridge, as silicone begins to skin quickly. Check that the tape doesn’t cover areas needing adhesion, and don’t stretch it while applying.
Careful positioning improves sealing accuracy and creates crisp, easy-to-clean borders. Remove loose dust or fibres from the tape before sealing.
Apply a Smooth Bead Around the Bath
Starting at a back corner, hold the sealant gun at about a 45-degree angle and apply steady pressure to lay a continuous bead along the joint. Move at a controlled, even pace so the sealant fills the gap without piling up or leaving thin spots. Good bead consistency depends on matching your speed to the trigger pressure; pause only if you need to reposition safely.
Keep the nozzle tip lightly against both surfaces and guide it around the bath edge in one pass where possible. Use a cartridge sized for the joint, and avoid stretching the sealant across wide gaps.
If the flow becomes uneven, stop, wipe the nozzle, and restart slightly before the break to overlap the fresh sealant. Check that the bead remains continuous, especially at corners, where leaks commonly begin.
Reseal Shower Trays, Screens, and Tile Joints
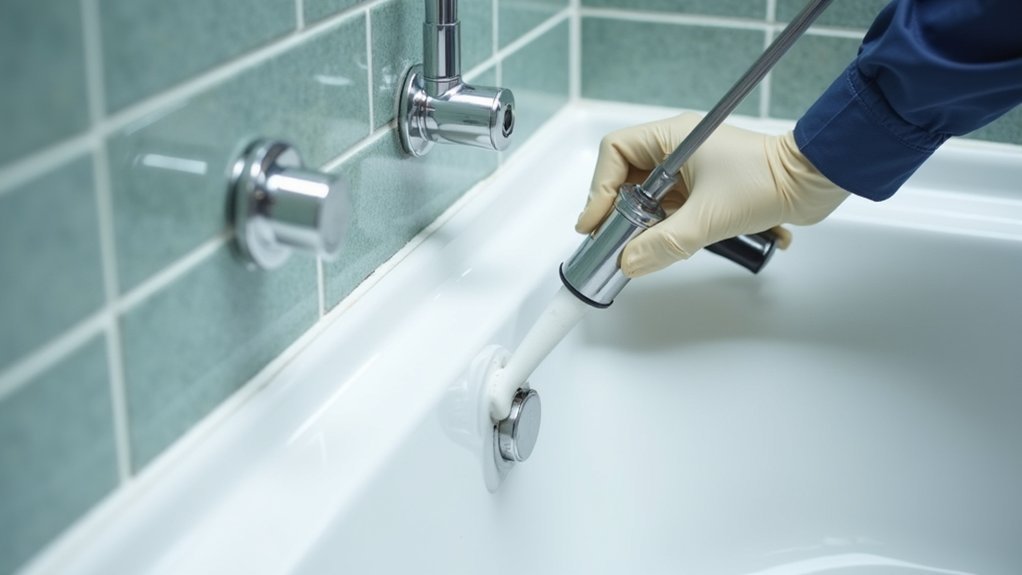
Shower trays, screens, and tile joints need the same careful preparation as a bath, but you must seal the correct side of the enclosure. Seal the inside edge where the screen frame meets the tray, so water runs back into the shower rather than behind the frame. Check the manufacturer’s instructions first, as some framed screens require sealant only on specific edges.
Remove loose Tile grout and damaged sealant around the tray and wall junctions, then clean and dry every surface thoroughly. Apply a continuous, neat bead without gaps, especially around corners and Shower fixtures. Tool it smoothly with a profiling tool, keeping the sealant bonded to both surfaces.
Don’t block drainage channels or weep holes in the frame; they allow trapped water to escape safely. Inspect the enclosure for movement before sealing.
Let Bathroom Silicone Cure Before Using Water
After applying the bead, keep the bath or shower completely dry until the silicone has cured for the period stated on the cartridge, typically at least 24 hours. Don’t shower, run the bath, rinse tiles, or allow splashes from a nearby basin to reach the new sealant. Moisture can weaken the bond before it sets, leaving gaps that allow water behind the tray or bath edge.
Maintain bathroom ventilation during curing by opening a window or using an extractor fan, provided it doesn’t blow dust onto the seal. Keep children and pets away from the area, and avoid touching or cleaning the bead.
If possible, place a clear reminder on the tap controls. Allowing full cure time supports mold prevention by creating a durable, watertight barrier that dries properly and resists damp conditions.
Fix Common Resealing Problems and Prevent Future Leaks
If the new seal develops gaps, lifting edges, bubbles, or poor adhesion, remove the affected section rather than applying fresh silicone over it. Cut it out carefully with a sharp knife, protecting the bath surface and your hands. Scrape away all residue, clean the joint with mould remover, then dry it completely before resealing.
Common sealing problems usually come from trapped moisture, soap film, movement, or applying silicone too thinly. Check that the bath or shower tray is supported and doesn’t flex when you stand in it.
Apply a continuous, even bead and tool it promptly for full contact on both surfaces. Inspect seals regularly, especially around corners, taps, screens, and waste pipes. Wipe away standing water after use and maintain ventilation to limit mould.
Address small defects quickly to prevent hidden water damage behind walls or flooring.
Frequently Asked Questions
Can I Reseal a Bath or Shower Myself if I Am Renting?
Yes, you can reseal it yourself, but check your lease and get written landlord approval first. Use mould-resistant silicone, protect surfaces, and document work. For DIY plumbing concerns or rental property maintenance rules, contact management.
How Much Does Professional Bath or Shower Resealing Typically Cost?
Professional resealing can feel like a small dam protecting your home: expect £100–£300. Your cost estimation depends on sealant removal, mould treatment, and access. Compare insured service providers, confirm warranties, and ask whether materials and VAT are included.
Is Silicone Sealant Safe for Households With Children and Pets?
Yes, you can use silicone safely if you choose Child safe materials and Pet friendly sealants. Keep children and pets away during application, guarantee ventilation, and wait until it fully cures before allowing bathroom access.
Can I Paint Over Bathroom Silicone Sealant?
Painting over bathroom silicone usually won’t last; paint peels like a fragile shell. For Silicone longevity, use paintable sealant instead. Complete Sealant removal with a knife, ventilate well, and wear gloves before resealing.
How Often Should Bathroom Sealant Be Inspected for Damage?
Inspect bathroom sealant every three to six months, and after heavy cleaning or movement. This inspection frequency supports sealant longevity. You should replace cracked, peeling, mouldy, or loose sections promptly to prevent hidden moisture damage.