 Andrew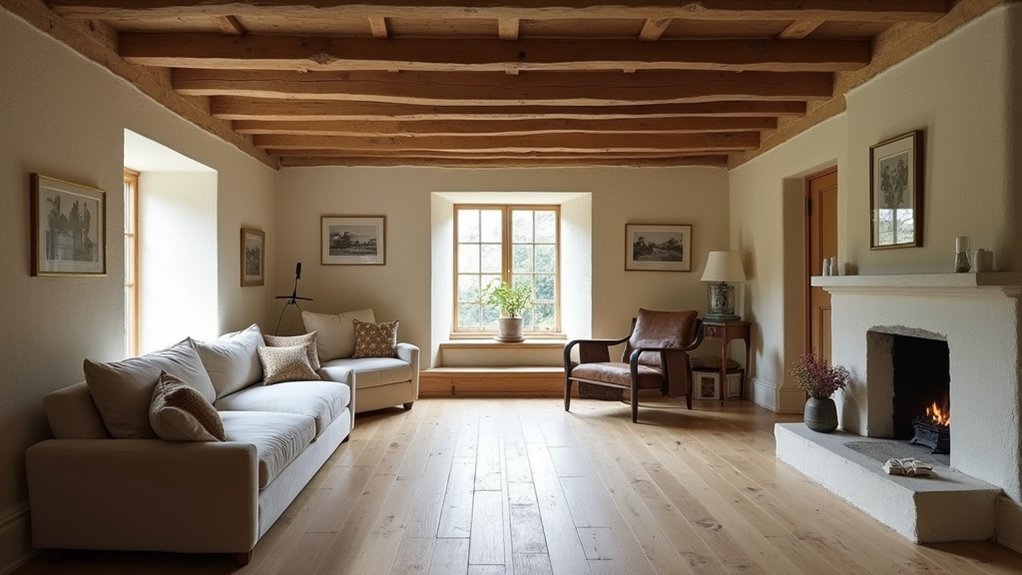
You can restore a cottage interior without turning it into a museum or sacrificing everyday comfort. Start by identifying the features worth preserving, such as beams, fireplaces, floorboards, and original joinery. Then plan upgrades for insulation, heating, lighting, and storage so they sit quietly within the old fabric of the home. The key is knowing where modern changes should disappear—and where they can add useful contrast.
Start With a Cottage Restoration Plan
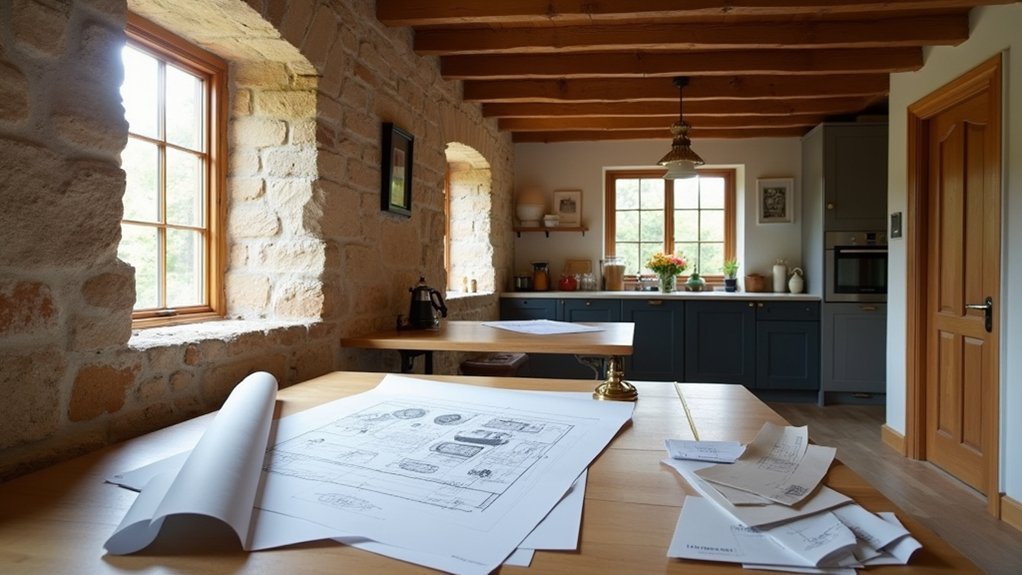
Before you remove finishes or order materials, create a restoration plan that documents the cottage’s current condition, original features, and intended use. Photograph every room, measure walls and openings, and note moisture stains, uneven floors, outdated wiring, and plumbing locations.
List your priorities: improved insulation, safer electrical service, efficient heating, storage, or accessible circulation. Set a realistic budget with contingencies for concealed repairs, permits, and specialist labor.
Develop a phased schedule that limits disruption and coordinates trades. Record paint colors, flooring types, fixtures, and hardware you’ll need to source or replace.
Include exterior decisions that affect interior work, such as roof repairs, exterior paint, drainage, and garden landscaping. Confirm local code requirements before finalizing layouts.
Your plan gives contractors clear direction, controls costs, and helps you make consistent choices throughout the project.
Protect Original Cottage Features First
Before you remove or repair anything, photograph and measure original trim, doors, hardware, flooring, and plaster details. You’ll create a reliable record for repairs and future reference.
Preserve sound original materials whenever possible, since replacements rarely match their age, craftsmanship, or character.
Document Existing Architectural Details
Start by creating a thorough record of every original feature you may preserve, repair, or replicate. Photograph each room in daylight, including walls, ceilings, floors, trim, doors, windows, hardware, built-ins, and fireplaces. Take close-ups and wide shots, then label images by room and location so you can reference them during planning.
Measure ceiling heights, window openings, door profiles, baseboards, moldings, and panel spacing. Sketch simple elevations for unusual architectural detailing, noting dimensions, damage, paint layers, and later alterations. Look for clues such as patched openings, mismatched trim, or concealed beams that reveal earlier layouts.
Research old property records, estate listings, and local archives to understand the cottage’s historical significance. Share your documentation with contractors and designers before work begins, ensuring new systems and updates respect the home’s established character.
Preserve Original Materials First
Treat original materials as assets, not obstacles: retain sound floorboards, plaster, trim, doors, hardware, and masonry whenever repair can restore their function. Test each element before replacing it. Refasten loose boards, patch plaster with compatible lime-based materials, strip paint carefully, and repair damaged joinery with matching wood species.
Preserve patina where it doesn’t compromise safety, sanitation, or durability; uneven wear often gives a cottage its character.
Avoid aggressive sanding, impermeable sealers, and modern cement patches that can trap moisture in older walls. Salvage removed pieces for future repairs, including hinges, knobs, and molding profiles.
Protect antique furniture and vintage textiles during dusty work with breathable covers and off-site storage. When upgrades require openings for wiring or plumbing, use existing chases, closets, and inconspicuous routes to minimize irreversible cuts.
Upgrade Insulation Without Losing Character
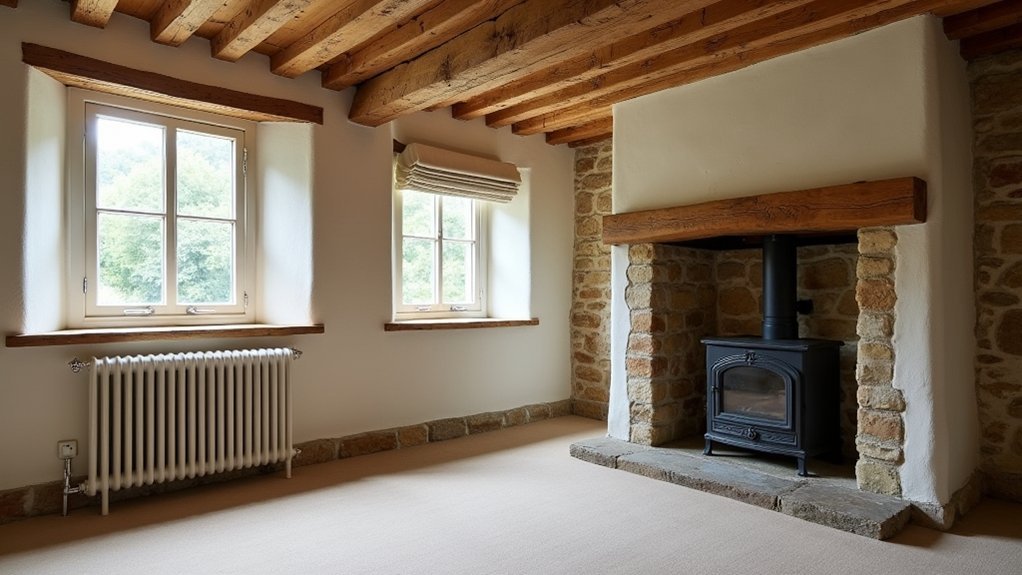
You can improve wall insulation from the interior while keeping original exterior finishes intact.
Use thin, breathable insulation systems where space is tight, and retain trim, paneling, and plaster details whenever possible.
Plan each wall assembly carefully so you don’t trap moisture behind historic materials.
Insulate Walls Discreetly
How can you improve a cottage’s thermal comfort without covering the features that give it character? Start by assessing each wall’s construction, moisture history, and exposure.
You can often add insulation from the interior using thin wood-fiber boards, cork panels, or insulated lime plaster, which suit breathable older walls. Choose materials that create effective thermal barriers while allowing trapped moisture to dry safely.
Avoid standard plastic vapor barriers unless a building professional confirms they’re appropriate; they can trap moisture within solid masonry or timber walls. Instead, use a variable-permeability membrane where needed and seal joints carefully around sockets, window reveals, and floor edges.
Keep wall build-ups as thin as practical to limit changes to room dimensions. Test a small area first, monitor humidity, and address leaks before enclosing any wall cavity.
Preserve Historic Details
Before adding insulation, document the cottage’s original details—mouldings, paneling, window surrounds, exposed beams, and decorative plaster—so you can protect or reinstate them accurately. Photograph each wall, label salvaged pieces, and note dimensions, profiles, and paint layers before removing finishes.
Choose insulation methods that minimize disruption, such as breathable wood-fibre boards, thin internal linings, or carefully packed cavity insulation where appropriate. Keep original trim in place whenever possible; if removal is necessary, pry it off gently, number each piece, and store it flat.
Avoid sealing old walls with impermeable materials that trap moisture and damage timber or plaster.
Match repairs with compatible lime plaster, reclaimed boards, and vintage paint colors. Position antique furniture away from newly insulated exterior walls until moisture levels stabilize.
Use discreet service routes to avoid cutting historic surfaces.
Add Modern Heating to a Cottage Interior
Modern heating can sit comfortably within a cottage interior when you match the system to the building’s insulation, layout, and period features. Start by draught-proofing doors, repairing windows, and insulating roof spaces so your system doesn’t waste energy.
Retain existing fireplaces where possible, but have chimneys inspected before using wood burners or open fires.
Choose compact radiators that fit beneath windows or in unobtrusive wall positions, and use traditional-style covers only if they allow adequate airflow.
Underfloor heating works well beneath stone, tile, or engineered timber floors, providing even warmth without crowding small rooms. Keep it away from vulnerable original floorboards unless a specialist can lift and reinstate them safely.
Install smart thermostats with zoned controls, so you can warm occupied rooms without overheating bedrooms, halls, or rarely used spaces.
Use discreet pipe routes to protect plasterwork and exposed beams.
Plan Cottage Lighting for Comfort and Charm
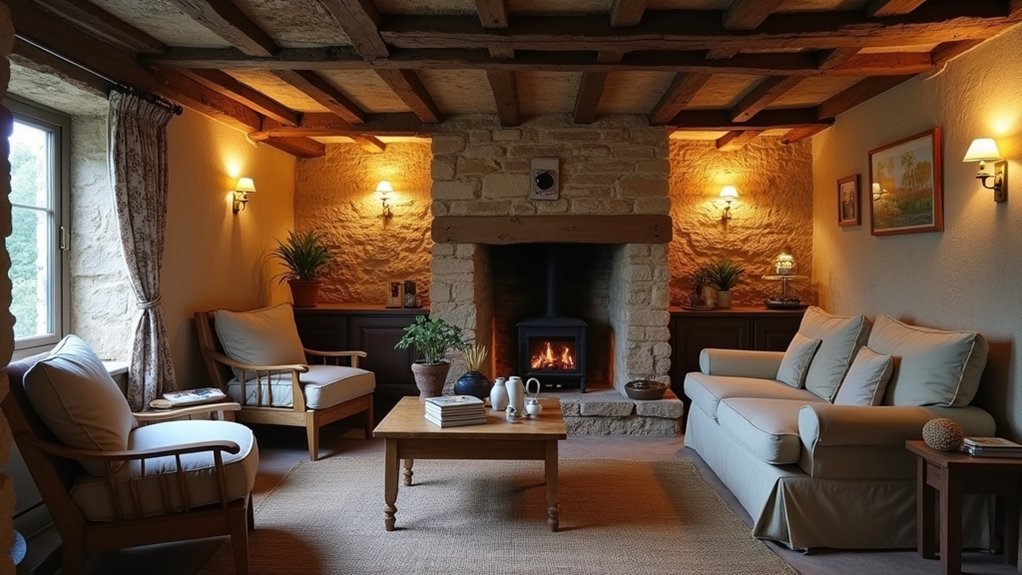
A layered lighting plan makes a cottage feel welcoming while respecting its low ceilings, uneven walls, and original details. Begin with discreet ceiling fixtures or wall-mounted lights that provide safe, even illumination without overpowering small rooms. Choose warm LEDs, ideally 2700K, to create an ambient glow similar to candlelight and older filament bulbs.
Add task lighting where you read, work, sew, or navigate stairs. Adjustable table lamps, swing-arm sconces, and shaded floor lamps let you direct light without drilling into fragile plaster unnecessarily. Use dimmers on major circuits so you can alter brightness through the day.
Layer accent lights near beams, alcoves, artwork, or stonework to reveal texture gently. Keep fittings modest in scale, and select aged brass, ceramic, or dark metal finishes that suit the cottage’s character. Separate lighting layers on individual switches for flexible control.
Update the Kitchen With Period-Friendly Details
Start by preserving the kitchen’s original proportions and features, then introduce upgrades that look at home rather than newly installed. Repair exposed beams, original floorboards, and chimney breasts before choosing finishes.
Select period specific cabinetry with framed doors, inset panels, and painted timber finishes that suit the cottage’s age. Use simple iron or wooden knobs instead of oversized modern handles.
Choose durable worktops such as honed stone, timber, or muted composite materials with a low-sheen finish.
Fit vintage inspired fixtures, including bridge taps, ceramic sinks, and aged-brass hardware, but guarantee valves, drainage, and electrical connections meet current standards.
Keep appliances discreet with integrated fronts or freestanding models in restrained colours.
Match wall tiles, paint, and grout to the home’s existing palette, avoiding stark white surfaces or glossy finishes that can make the room feel newly built.
Create Practical Storage in Small Cottage Rooms
Once the kitchen’s finishes feel true to the cottage, extend that same restraint to storage throughout the smaller rooms. Measure every alcove, chimney breast recess, and awkward corner before choosing furniture. You’ll gain useful capacity by fitting shallow shelves beside beds, above doorways, or within unused wall niches.
Creative shelving works best when it follows room proportions and keeps frequently used items within easy reach. Choose benches with lift-up seats for linens, ottomans for throws, and bedside tables with drawers rather than open legs. In compact bedrooms, use under-bed drawers or low rolling boxes to store seasonal clothing without crowding the floor.
Hidden compartments inside window seats, stair treads, or fitted cabinetry can protect valuables and reduce visual clutter. Keep storage grouped by task, and leave clear walking paths.
Choose Finishes That Blend Old and New
When you introduce new materials, let their texture, sheen, and color relate to the cottage’s original surfaces rather than competing with them. Match warm oak trim with muted paint tones, honed stone, or brushed metal hardware instead of glossy, high-contrast finishes.
Use low-luster paint on plaster walls to preserve their soft, uneven character, and select grout colors that echo aged mortar rather than stark white lines.
Reserve Contemporary accents for elements that improve function, such as slim black light fixtures, induction cooktops, or streamlined faucets. Keep their finishes restrained and repeat them in small details throughout the room.
Avoid Faux finishes that imitate wood, stone, or patina poorly; authentic, simple materials age more gracefully. Before committing, test samples beside existing floors, beams, and windows in daylight and evening light.
Frequently Asked Questions
Do I Need Planning Permission for Cottage Restoration Work?
You may need planning permission, especially for extensions, structural changes, or listed cottages. Check local rules before work begins. Historic preservation requirements and renovation permits often apply; your planning authority can confirm exactly what you’ll need.
How Can I Identify Hazardous Materials Like Asbestos or Lead Paint?
Identify hazardous materials by hiring accredited inspectors to test suspect paint, insulation, tiles, pipe lagging, and floor coverings. Don’t sand, drill, or disturb samples yourself. Follow safety precautions, isolate areas, and use licensed removal contractors.
What Insurance Should I Arrange During a Cottage Renovation?
Insurance coverage acts as your renovation safety net. Arrange renovation policies covering builders’ risk, public liability, existing structures, theft, and contractor damage. Tell your insurer about vacancy, structural work, and project timelines before work starts.
How Do I Find Contractors Experienced With Historic Cottages?
Find specialists through preservation societies, local heritage offices, and architect referrals. Review portfolios for Restoration techniques and Historical accuracy, verify licenses and references, visit completed projects, and ask how they’ll handle original materials and approvals.
Can I Restore a Cottage Interior on a Limited Budget?
Yes, you can restore a cottage interior affordably by prioritizing repairs, preserving original features, and tackling simple projects yourself. Use Budget friendly upgrades and DIY restoration tips, such as refinishing floors, repainting trim, and sourcing salvaged materials.