 Andrew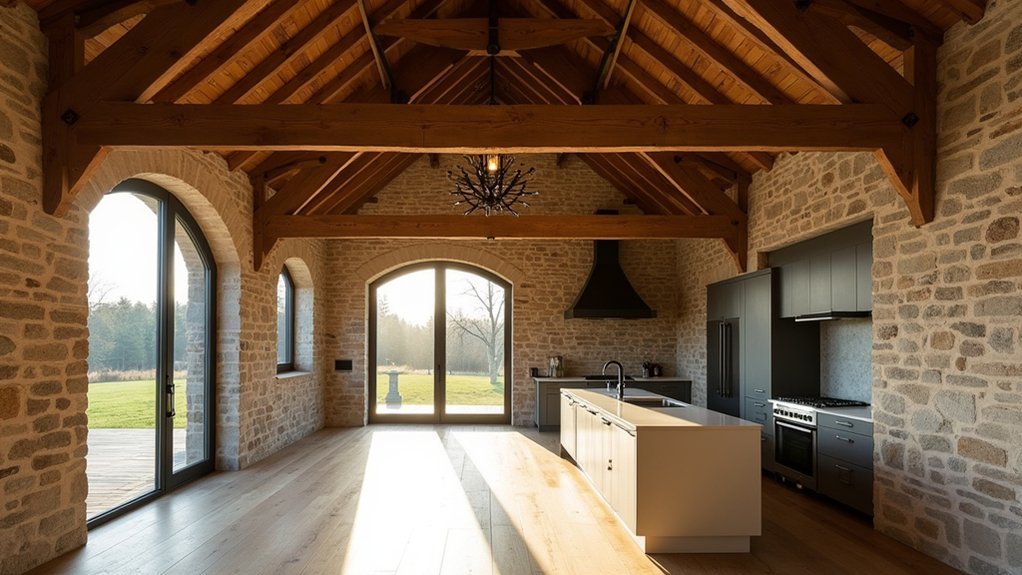
Like a careful restoration of an old timber-framed hall, your barn conversion should reveal its history rather than erase it. You’ll need to assess the frame, stonework, roof, and original openings before planning new layouts or services. Repair comes before replacement, and every modern addition should respect the building’s existing rhythm. The key decisions begin with what you choose not to alter…
Assess the Barn’s Original Structure First
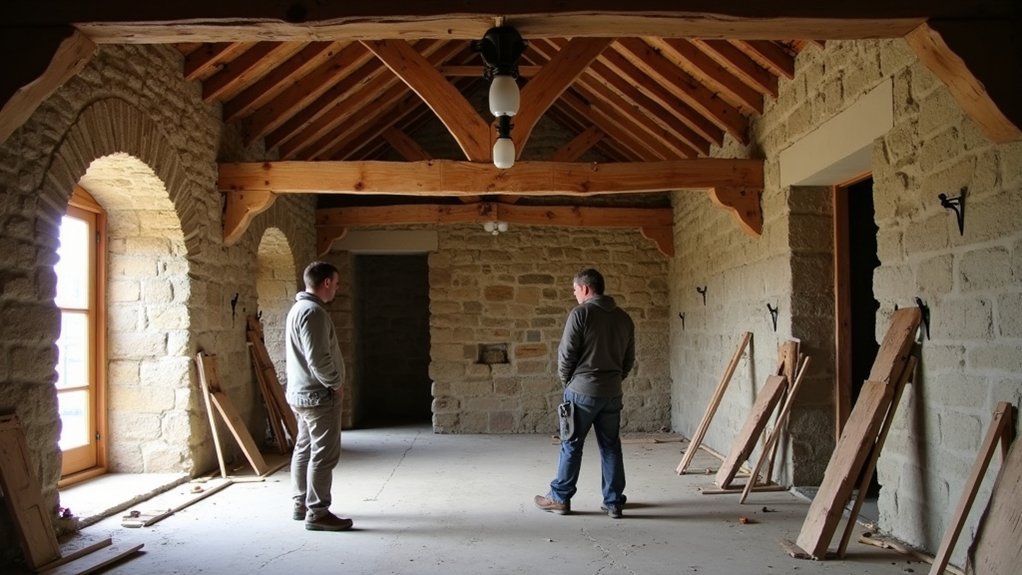
Before you plan layouts or finishes, commission a thorough survey of the barn’s frame, foundations, roof, masonry, and drainage. Ask a conservation-minded structural engineer to identify movement, rot, insect damage, failing mortar, roof spread, and water ingress. Document each elevation with photographs, measurements, and notes, then prioritize urgent repairs that protect the building from further deterioration.
Test for hazardous materials where relevant, including lead paint, asbestos, and contaminated ground. Preserve sound original fabric rather than replacing it unnecessarily, and use compatible repair materials, such as lime mortar for historic masonry.
Check how exterior water flows before developing landscaping design, since poor grading can undermine walls and floors. Review daylight openings and existing electrical conditions early, so interior lighting can be improved without cutting unnecessary channels into timbers or masonry.
Plan a Barn Conversion Around Existing Features
Map your layout around sound timber frames, stone walls, original openings, and roof trusses before adding new partitions. You’ll protect the barn’s character by retaining visible structural elements and making repairs that match their original materials and proportions.
Let these features guide room placement, lighting, and services so the conversion feels authentic rather than imposed.
Assess Structural Features
Start by surveying the barn’s load-bearing frame, roof structure, foundations, openings, and floor levels so you can design around what’s sound and historically important. Hire a structural engineer to identify movement, rot, insect damage, cracked masonry, and undersized connections before you finalise plans.
Map original posts, trusses, braces, doorways, and ventilation gaps, then position rooms and services to avoid unnecessary cuts or drilling. Check whether the existing slab can support new partitions, insulation build-ups, and finished floors.
Record roof spans and head heights to guide safe loft or mezzanine options. Use openings strategically for interior lighting rather than enlarging walls without evidence or approval.
Plan external landscaping around drainage routes, foundation clearances, and historic access points. You’ll protect the barn’s working structure while limiting costly, irreversible alterations later.
Preserve Original Character
Let the barn’s surviving fabric shape the conversion: retain exposed timber posts, trusses, stonework, original doors, and distinctive ventilation openings wherever they remain sound. Repair rather than replace, using matching species, mortar, and traditional finishes so new work doesn’t overpower historic material.
Plan rooms around structural bays instead of cutting unnecessary openings through load-bearing walls. Position kitchens, bathrooms, and storage within less significant areas, preserving double-height spaces and visible roof structure.
Use discreet interior lighting to wash beams and stone without concealing their texture; avoid recessed fittings that require extensive drilling.
Extend this approach outside. Let existing thresholds, trackways, and mature trees guide landscaping design. Choose permeable paths, restrained planting, and drainage solutions that protect foundations.
Document retained features before work begins, and label salvaged materials for careful reuse throughout the project.
Get Permissions for a Historic Barn Renovation
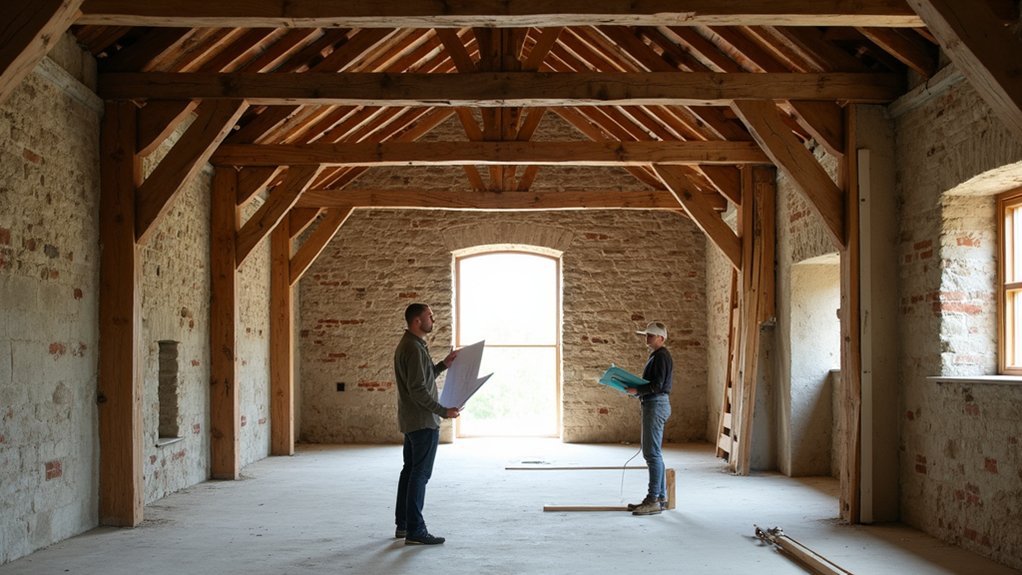
Before you finalize plans, confirm which approvals apply to your barn’s age, location, and historic status. Contact your local planning authority, building department, and preservation office to determine whether you need zoning, building, change-of-use, or listed-building consent. Ask for written guidance on permitted materials, exterior alterations, roof changes, windows, drainage, and access requirements.
Document the barn thoroughly before submitting applications. Include measured drawings, photographs, a site plan, and a statement explaining its Historical significance. Show how your proposal retains defining features and limits unnecessary intervention.
Your architect or preservation consultant can prepare specifications that support legal compliance and address structural, fire, energy, and accessibility codes. Don’t begin demolition or order custom materials until approvals are issued.
Keep permits, correspondence, and inspection records organized, since they’ll protect you during construction and future resale.
Repair Beams, Stonework, and Original Openings
With approvals in hand, assess the barn’s beams, masonry, and original openings before any finishes conceal their condition. Photograph each area, note movement, moisture staining, insect damage, loose mortar, and previous unsympathetic repairs.
Hire a structural engineer or conservation carpenter to determine which timbers need beam restoration, splicing, reinforcement, or careful replacement with matching species and dimensions. Retain sound tool marks and aged surfaces rather than planing everything smooth.
For stone cleaning, use the gentlest suitable method, such as soft brushing and low-pressure water, after testing an inconspicuous patch. Repoint failed joints with compatible lime mortar, not hard cement.
Preserve original doorways, vents, and window openings, even when adapting them for modern use. Repair lintels, jambs, and thresholds before fitting frames, and avoid enlarging openings unless approvals specifically allow it.
Add Insulation Without Hiding Barn Character
Insulation should improve comfort without trapping moisture or covering the features that give the barn its identity. Use breathable, vapour-open materials such as wood-fibre boards, sheep’s wool, or cork where the existing wall construction allows.
Fit insulation between rafters or within discreet internal linings, but keep principal beams, stone walls, trusses, and original brickwork visible. Leave small inspection zones around vulnerable timbers so you can monitor dampness and insect activity.
Prioritise the roof and floor first, since these areas often reduce heat loss without altering historic elevations. Detail junctions carefully to prevent cold bridges, and use lime-compatible finishes on older masonry.
Plan interior lighting around exposed structure rather than concealing it behind new ceilings. Coordinate landscaping design with drainage levels outside, ensuring soil and paving don’t direct moisture into insulated walls.
Modernize Services With Minimal Structural Change
Modern services can make a barn conversion comfortable without cutting into historic fabric if you plan routes around existing voids, secondary spaces, and less significant walls. Map every cable, pipe, and duct before work begins, then use cupboards, utility rooms, floor build-ups, and attic zones to conceal runs. Avoid chasing original masonry or drilling through principal beams unless a structural engineer approves it.
Place Modern plumbing near existing drainage points to reduce excavation and pipe lengths. Use accessible service panels so you can inspect valves, joints, and wiring without reopening finished surfaces.
For Interior lighting, favor surface-mounted fittings, discreet track systems, or wiring routes along rafters and concealed edges. Keep penetrations small, reversible, and carefully documented. You’ll protect the barn’s frame while meeting current safety, comfort, and maintenance needs.
Choose Materials That Suit the Original Barn
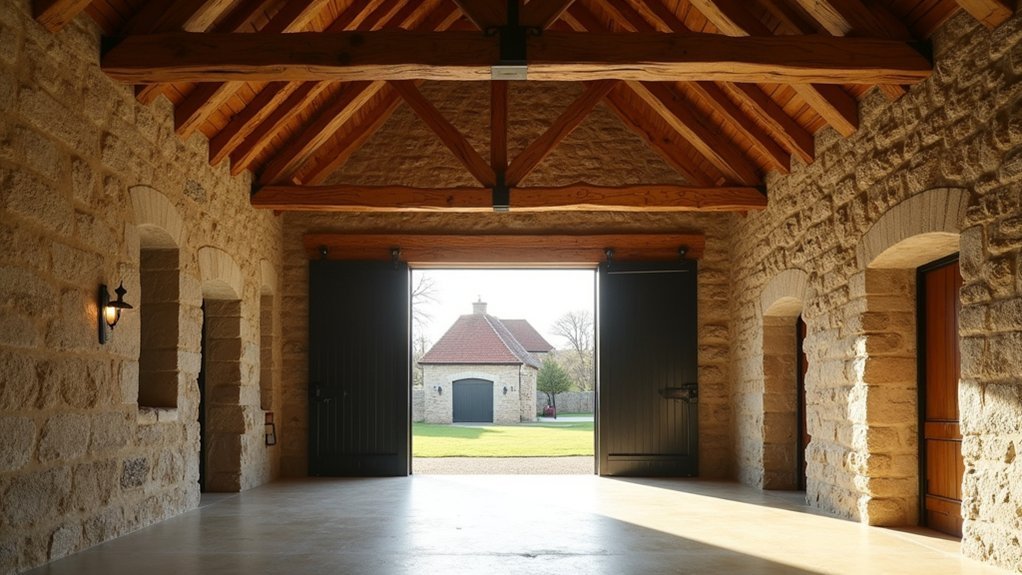
Choose reclaimed timber and locally matched stone to repair features without disrupting the barn’s established character.
You’ll achieve more convincing results when new materials match the original size, texture, and construction details.
Use breathable lime mortar, plaster, and paint so historic walls can release moisture rather than trap it.
Reclaimed Timber And Stone
Reclaimed timber and stone help you preserve a barn’s character when their species, texture, colour, and scale match the original structure. Salvage beams, floorboards, and cladding from local agricultural buildings where possible, checking each piece for insect damage, rot, splits, and previous treatments before installation.
Keep saw marks, peg holes, and weathered edges visible when they don’t compromise strength or safety.
For repairs, match new stone features to the existing walling by comparing bed depth, coursing, mineral colour, and surface finish. Reuse sound original stones first, then source reclaimed pieces with compatible dimensions.
Avoid mixing overly uniform masonry with irregular historic walls. Set replacement lintels, quoins, and thresholds carefully so they read as repairs, not imitations. You’ll retain the barn’s visual rhythm while ensuring additions support its continued use.
Breathable Traditional Finishes
Because historic barn walls need to release moisture, use breathable finishes that work with their original masonry and timber rather than sealing them behind dense coatings. Choose lime mortar for repointing, lime plaster for internal walls, and limewash or mineral paint for decoration. These materials allow vapour to pass through, reducing trapped damp, salt damage, and timber decay.
Match new finishes to the barn’s existing fabric. Test small areas first to identify original mortar colour, aggregate, and texture. Remove failed cement repairs carefully, avoiding unnecessary loss of historic stone or brick.
Use hand-applied coats where appropriate, since they follow uneven surfaces better than rigid modern systems. Protect exposed timber with vapour-permeable oils or paints, not plastic-forming varnishes. Breathable finishes support traditional craftsmanship, preserve character, and help your barn manage moisture naturally over time.
Frequently Asked Questions
How Much Does a Barn Conversion Typically Cost per Square Metre?
You’ll typically pay £1,500–£3,000 per m², a range that can double your budget unexpectedly. Historical preservation and Structural reinforcement raise costs; obtain surveys, itemised quotes, and contingency funds before committing to your conversion plans.
Can I Convert a Barn Into a Holiday Rental Property?
Yes, you can convert a barn into a holiday rental if planning rules allow it. Check zoning, access, drainage, fire safety, and insurance. Balance Historical preservation with Modern amenities, and obtain permissions before starting work.
How Long Does a Typical Barn Conversion Project Take?
By candlelight standards, you’ll typically spend 6–18 months on a barn conversion. You’ll need surveys, planning approval, Historic preservation reviews, and structural repairs to protect Structural integrity before fitting utilities, insulation, and finishes.
What Insurance Is Needed During a Barn Renovation?
You’ll need Insurance requirements such as builders’ risk, public liability, employer’s liability, and renovation coverage. Make sure policies cover structural damage, theft, weather, and heritage materials, while contractors provide current liability certificates before work starts.
Are Barn Conversions More Difficult to Finance Than Standard Homes?
Barn conversions can be harder to finance; lenders see them as a tighter needle to thread. You’ll need detailed valuations, Historic preservation plans, and Building regulations evidence. Specialist lenders may offer flexible terms for structural uncertainty.