 Andrew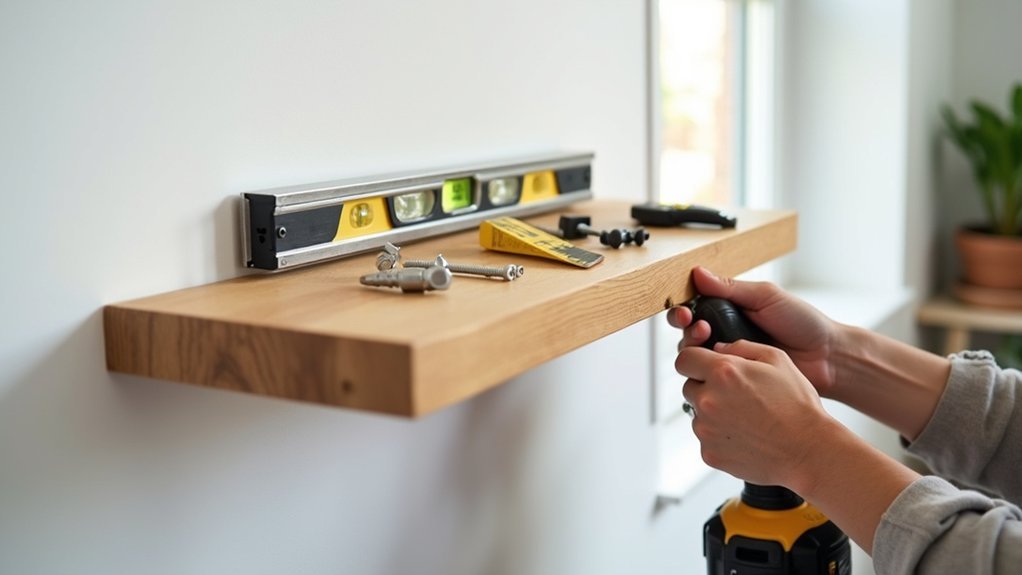
A floating shelf can hold 20 to 50 pounds or more when you anchor it correctly, but a poor installation can fail without warning. You’ll need to take into account the shelf’s load, wall type, stud locations, and bracket design before drilling. Use a level, proper fasteners, and secure mounting points to prevent sagging or pullout. A few careful checks now can determine whether your shelf stays flush—or becomes a safety hazard.
Plan Your Floating Shelf Placement and Load
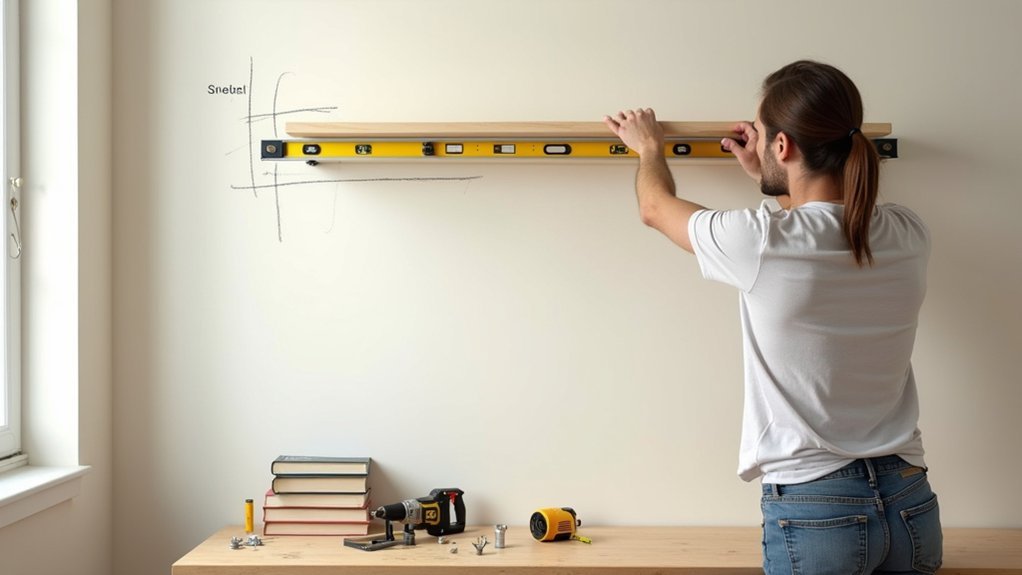
Before you drill, decide exactly where each floating shelf will sit and what it needs to support. Measure the wall area, shelf length, and clearance above furniture, doors, switches, and trim. Mark the planned height with painter’s tape so you can judge sightlines and everyday reach. Keep frequently used items within comfortable reach, and place fragile objects where they won’t be bumped.
Calculate the total intended load, including books, storage bins, planters, and Decorative accents. Don’t rely only on a shelf’s empty appearance; dense items add weight quickly. Consider Shelf customization features, such as deeper boards or longer spans, because they can change how weight is distributed.
Leave enough space between shelves for taller items, but avoid overcrowding. A balanced layout helps prevent overloading one section and keeps the installation practical, stable, and safe.
Find Studs and Choose the Right Anchors
Use a stud finder to locate and mark the center of each wall stud along your shelf line, since studs provide the strongest support for floating-shelf brackets. Confirm each mark by scanning from both directions, and check for consistent stud spacing.
Mount bracket hardware into studs whenever possible, using screws long enough to penetrate solid framing without risking hidden wiring or plumbing.
If no stud aligns with a bracket location, match anchor types to your wall material and the shelf’s expected load. Toggle bolts provide strong holding power in hollow drywall, while threaded drywall anchors suit lighter displays.
Don’t rely on plastic expansion anchors for heavy books, dishes, or décor. Check each anchor’s weight rating, remembering that ratings can decrease when loads pull outward.
Distribute weight across multiple brackets, and inspect the wall for cracks or damage before mounting.
Gather Tools for Secure Floating Shelf Installation
With your stud locations and anchor choices marked, gather the tools that match your wall and bracket hardware. You’ll typically need a drill, correctly sized drill bits, a screwdriver or driver bit, tape measure, pencil, and safety glasses. Keep a stud-rated screw set and the anchors’ installation instructions nearby, since pilot-hole sizes vary by material.
For masonry, add a hammer drill and masonry bit; for drywall, use the bit specified for toggle or expansion anchors. Inspect bracket rods, mounting plates, screws, and shelf hardware for damage or missing parts before starting. Use a small socket set or wrench if your brackets include nuts or lag bolts.
Protect finished surfaces with a drop cloth, especially when Shelf customization includes painted edges or delicate Decorative accents. Charge cordless tools fully, clear the work area, and keep children away from loose fasteners.
Install Floating Shelves Level and Flush
Position the mounting plate on your pencil marks, then hold a level along its top edge and adjust it until the bubble centers. Confirm the plate aligns with your stud locations or approved anchors before driving screws.
Tighten each screw evenly, keeping the bracket flat against the wall without overdriving fasteners or crushing drywall.
Slide the shelf onto its mounting rods slowly, supporting its full length with both hands. Push it back until it sits flush against the wall, leaving no visible gap.
Check the shelf again with your level from side to side and front to back. Secure any provided locking screws from underneath according to the manufacturer’s instructions.
A level, flush fit protects Shelf aesthetics and keeps Decorative accents from appearing crooked. Wear safety glasses while fastening hardware.
Fix Loose, Sagging, or Uneven Floating Shelves
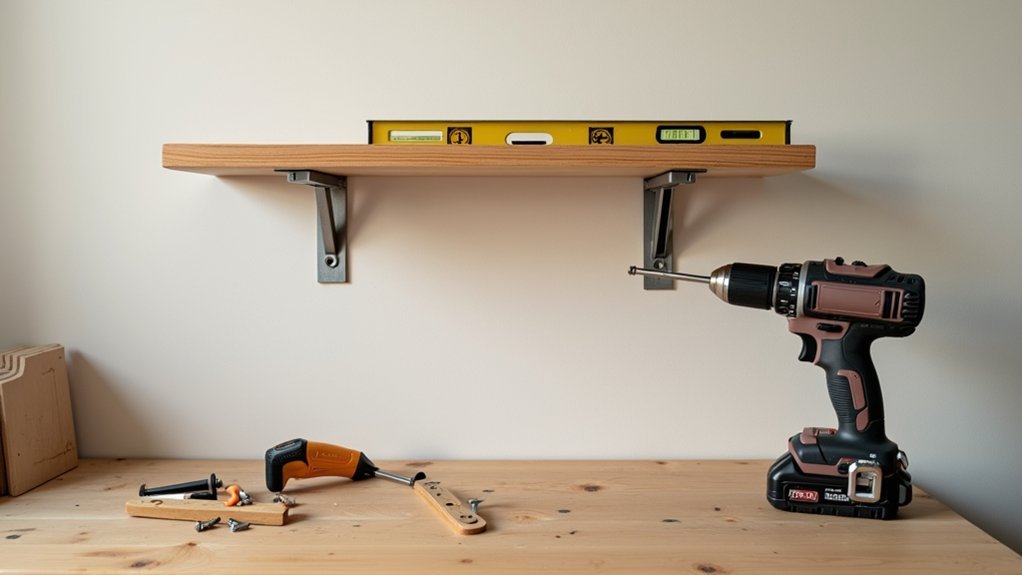
If your floating shelf feels loose, sags under light weight, or sits out of level, remove its contents immediately and inspect the mounting hardware before it fails. Check for stripped screws, loose brackets, cracked drywall, or anchors that have pulled free.
Tighten screws only if they still bite firmly; otherwise, replace them with longer screws driven into studs or install correctly rated toggle anchors.
Use a level to confirm the mounting plate is straight, then reposition it if needed. If the shelf droops, verify that its support rods fully engage and that the shelf’s weight rating matches its intended load.
Don’t conceal damage with Shelf styling or Decorative accents. Repair the attachment point first, patch weakened drywall, and reload the shelf gradually.
Test stability by pressing down gently before returning fragile items.
Frequently Asked Questions
Can Floating Shelves Be Installed on Tile or Brick Walls?
Yes, you can install floating shelves on tile or brick walls. For tile installation, drill slowly with a masonry bit. For brick mounting, anchor into solid brick, not mortar, and confirm load capacity.
How Long Should I Wait Before Placing Items on New Shelves?
Wait 24 hours before loading new shelves, especially if you’ve used adhesive or anchors. Check installation tools and fasteners first. Add shelf weight gradually, confirming brackets stay level, secure, and free from movement.
Can I Paint or Stain Floating Shelves After Installation?
Yes—paint or stain installed shelves; about 80% of finish failures come from poor surface preparation. Protect walls, remove items, and ventilate. Shelf materials affect primers; use careful Painting techniques, thin coats, and let finishes cure fully.
Are Floating Shelves Safe to Install Above a Bed?
Yes, you can install floating shelves above a bed, but choose lightweight Shelf styles, anchor brackets into studs, avoid heavy Decorating ideas, and position shelves high enough that you won’t hit them when sitting up.
How Do I Hide Cords on a Floating Shelf?
Use Cable management clips beneath the shelf, then route cords through adhesive channels. For wall concealment, install a paintable cord cover. Don’t pinch cables, overload outlets, or run power cords inside walls without code-approved wiring.