 Andrew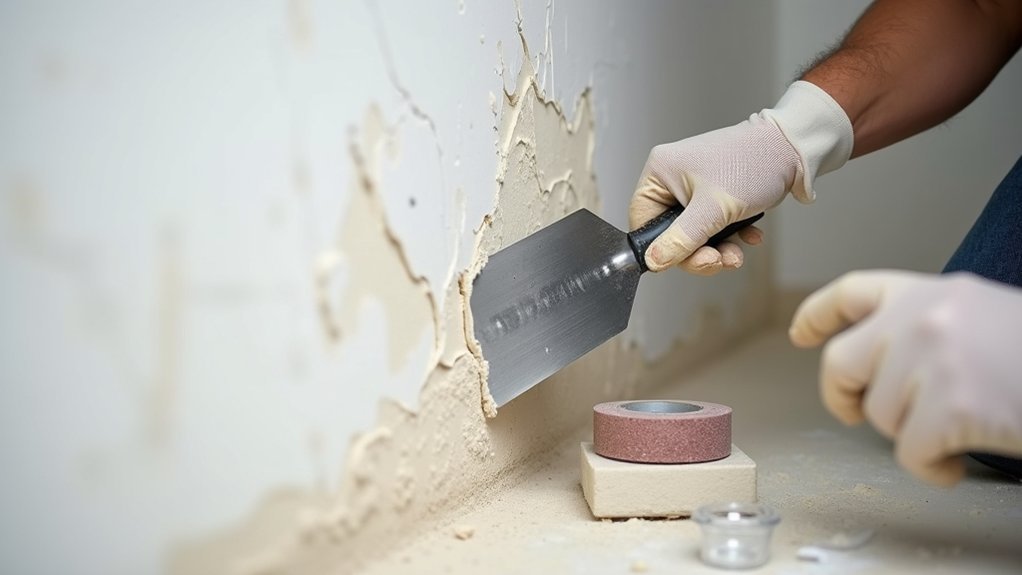
Many plaster cracks form because the plaster has separated from its wood lath, not simply because the surface coating failed. You can’t achieve an invisible repair by filling a moving or loose area with compound alone. By checking the crack type, securing unstable plaster, and building thin finish layers, you’ll create a patch that blends with the surrounding wall—and avoid the failures that often appear after the paint dries.
Determine Whether Your Plaster Cracks Need Repair
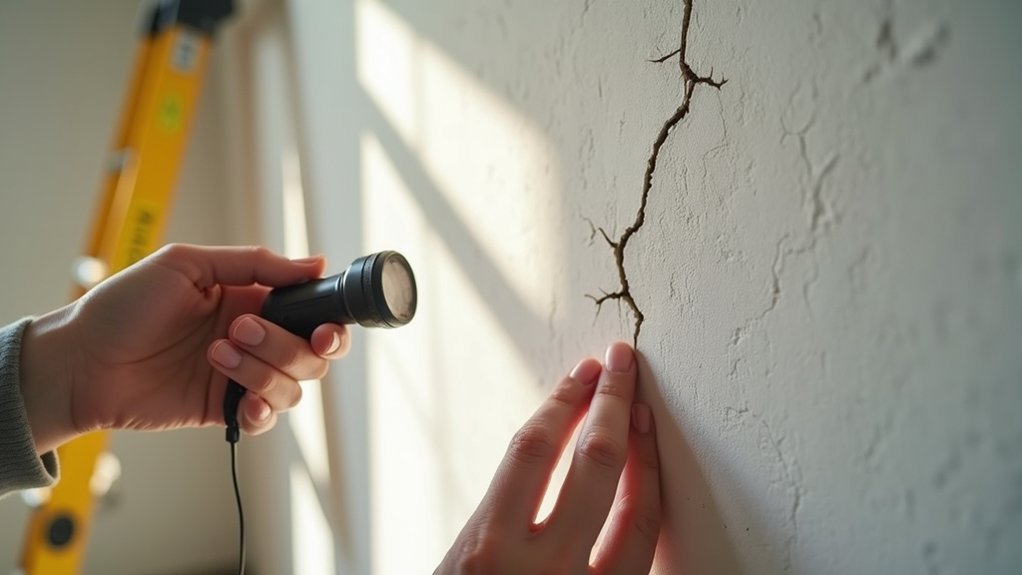
Before you repair a plaster crack, assess its size, pattern, and movement to determine whether it’s cosmetic or a sign of a larger problem. Hairline, stable cracks often result from normal drying, seasonal movement, or aging plaster. Monitor them with dated pencil marks or photographs for several weeks.
Wider cracks, stair-step patterns, recurring separations, or cracks near doors and windows can indicate settlement, framing movement, or failed plaster keys. Press gently around the crack; hollow, loose, or bulging areas suggest the plaster has detached from its lath backing.
Consider Plaster material properties: older lime plaster remains more flexible and vapor-permeable than modern gypsum-based compounds. In historical restoration, preserve sound original plaster whenever possible.
If cracks grow, doors bind, or ceilings sag, seek a qualified plaster specialist or structural professional before proceeding.
Gather Tools and Materials for Plaster Wall Repair
Assemble your supplies to match the crack’s severity and the wall’s plaster type, since lime plaster, gypsum plaster, and modern joint compound don’t behave the same way. For basic repairs, gather a stiff putty knife, 4- and 6-inch taping knives, a plaster hawk, mixing bucket, drill with paddle, utility knife, sanding block, and dust mask.
Add fiberglass mesh tape or plaster washers when cracks show movement or loose areas. Choose a setting-type joint compound for gypsum repairs, patching plaster for traditional surfaces, or compatible lime-based material for historic lime walls.
Tools selection should favor clean, flexible blades and a reliable straightedge for checking flatness. During Material sourcing, buy small quantities first and confirm product compatibility on the label.
Keep clean water, disposable gloves, drop cloths, and a vacuum nearby to control dust and protect finished surfaces.
Prepare Cracked Plaster Walls for a Lasting Patch
Although a crack may look superficial, you need to confirm that the surrounding plaster is firmly attached before applying any patch. Inspect the area under bright, angled light and mark the full length of each crack with a pencil. Look for staining, crumbling edges, or hairline branches that indicate moisture movement or broader stress.
Address active leaks, condensation, or structural movement first; a patch won’t last if the cause remains.
Protect nearby trim, flooring, and decorative finishes with drop cloths and painter’s tape. Use a utility knife to gently open the crack into a shallow V-shaped channel, removing weak paint, dust, and friable material. Vacuum the groove thoroughly, then wipe it with a barely damp sponge.
In older homes, preserve original textures and details carefully; thoughtful preparation supports historical preservation and produces a cleaner repair.
Secure Loose Plaster Before Filling Cracks
Before you fill any crack, press around it to locate plaster that flexes, sounds hollow, or has separated from the lath. Mark these loose areas, then secure them with plaster washers and screws driven into solid framing or lath.
Don’t apply patching compound until the surrounding plaster feels firm and stable.
Identify Loose Plaster Areas
Start by checking the wall for plaster that has separated from its lath backing, since filling a crack won’t hold if the surrounding material moves. Tap around the crack with your knuckles or a wooden tool handle. Solid plaster produces a sharp, firm sound; loose sections sound hollow or dull. Mark questionable areas lightly with pencil, extending your inspection several inches beyond visible damage.
Look for bulges, sagging, crumbling edges, or fine cracks that radiate from the main split. Press gently with your fingertips; movement, flexing, or a gritty response signals failed adhesion. Inspect corners, ceilings, and areas near doors or windows especially carefully, as vibration often loosens plaster there.
Note changes in wall texture and protect any decorative finishes while testing. Don’t mistake superficial paint cracks for loose plaster underneath.
Reattach Plaster Securely
Once you’ve marked the loose areas, reattach them to the lath before repairing any visible cracks. Drill small holes through the plaster, spacing them about two inches apart along the loose section. Use a vacuum to remove dust, then inject plaster adhesive through each hole until it reaches the lath.
Press the surface gently to seat the plaster without widening the damage.
Secure the area with plaster washers and drywall screws driven into solid lath, stopping when the washer sits flush. Don’t overtighten; excessive pressure can crush fragile plaster and distort the Plaster wall texture.
Allow the adhesive to cure fully, following the manufacturer’s timing. Remove or countersink washers only if your repair system requires it.
This careful approach supports historical preservation and creates a stable base for patching.
Repair Hairline Cracks With Joint Compound
For shallow, stable hairline cracks, you can use setting-type joint compound to create a smooth, paint-ready repair. First, brush away dust and lightly widen the crack with a utility knife so the compound can grip.
Mix a small batch according to the manufacturer’s directions, then press it firmly into the crack with a flexible putty knife. Scrape excess material flush with the surrounding plaster.
Let the compound set completely, then sand it gently with fine-grit sandpaper until the repair disappears into the wall.
Apply a second thin coat only if the crack remains visible after sanding.
For texture matching, mimic nearby stipple or brush marks before the final coat hardens.
Prime the repaired area, then complete your paint touch up with the same sheen and color as the existing finish.
Patch Deep Cracks and Missing Plaster Areas
Deep cracks, loose plaster, and missing sections need more than a skim coat: they require a stable backing and a patch material that can rebuild the wall’s thickness. Remove all weak material until you reach firm plaster edges and solid lath. Vacuum debris, then dampen the exposed area so the old plaster won’t pull moisture from the repair too quickly.
For gaps wider than a quarter inch, secure fiberglass mesh or metal lath behind the opening, fastening it to sound framing where possible. Pack a setting-type patching plaster or base-coat plaster into the void, pressing firmly to lock it through the backing. Build deep repairs in thin lifts, allowing each layer to set before adding the next.
Match the original thickness carefully, especially near Decorative finishes. For historical preservation, use compatible lime-based materials when repairing older walls.
Sand, Prime, and Blend the Repaired Surface
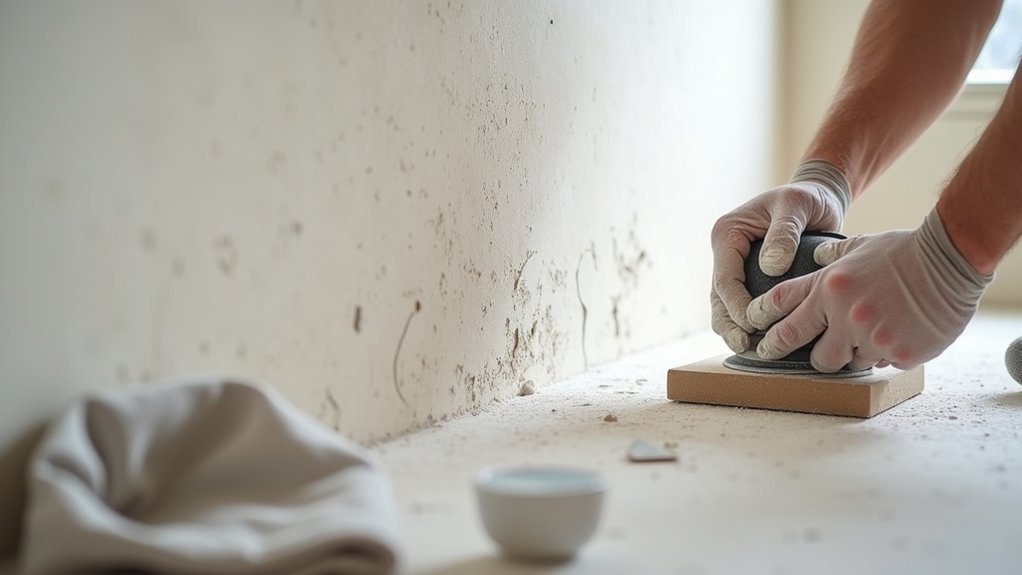
Once the patch cures fully, sand it flush with the surrounding plaster using fine-grit sandpaper and a sanding block.
Prime the repair to seal the new material and prevent uneven paint absorption.
Match the existing paint color and sheen, then feather the edges so the repair blends into the wall.
Sanding for a Smooth Finish
After the repair compound has dried completely, sand it with 120- to 150-grit sandpaper on a sanding block, using light, even strokes to level the patch without gouging the surrounding plaster. Keep the block flat and feather the edges several inches beyond the repair so the gradation disappears.
Check your progress by running your fingertips across the area and viewing it from the side under a work light. If you find ridges, apply a thin skim coat, let it dry, and sand again rather than forcing the surface flat.
For Texture matching, lightly recreate nearby patterns with a damp sponge or matching tool before the final sanding. Remove all dust with a vacuum and tack cloth.
Careful sanding supports Crack prevention by avoiding thin, weakened edges that can chip or separate.
Priming and Color Blending
With the patch smooth and dust-free, apply a high-quality drywall or plaster primer to seal the repair and create an even base for paint. Use a brush to cut in along edges, then roll a thin, uniform coat across the patched area. Let the primer dry fully, and inspect it under angled light for missed imperfections.
For accurate color matching, take a small paint chip or leftover paint to a supplier and test the match on a concealed section first. Paint rarely blends perfectly when applied only over the repair.
Extend your paint application outward, feathering the new paint into the surrounding wall with a lightly loaded roller. Apply a second coat if needed, maintaining consistent roller pressure and stroke direction. This technique reduces visible sheen differences and helps the repair disappear.
Prevent New Cracks in Plaster Walls
Preventing new plaster cracks starts with controlling the movement and moisture that stress the wall system. Keep indoor humidity stable, repair roof or plumbing leaks promptly, and maintain gutters so water doesn’t saturate exterior walls. Use exhaust fans in kitchens and bathrooms, especially in older homes with limited ventilation.
Watch for structural movement around doors, windows, and ceiling lines. If cracks repeatedly reopen, have a qualified professional assess framing, foundation settlement, or loose lath before making cosmetic repairs. Don’t apply rigid patching compounds over active movement; use appropriate reinforcement and flexible caulk at trim joints.
Maintain consistent room temperatures to reduce expansion and contraction. Before repainting, inspect repairs for adhesion and match the surrounding surface texture carefully. Choose breathable primers and paints when needed, and avoid heavy decorative finishes that can conceal early warning signs.
Frequently Asked Questions
Can Plaster Cracks Indicate Foundation Problems?
Yes, plaster cracks can indicate Foundation issues, especially when you notice wide, diagonal, or recurring Stress cracks near doors and windows. You should monitor changes, check for sticking doors, and consult a structural professional promptly.
How Much Does Professional Plaster Repair Cost?
Professional plaster repair typically costs you $300–$1,500, while extensive damage can exceed $3,000. Want a flawless finish? For Cost comparison, DIY versus professional work saves labor costs, but professionals guarantee durable, matched repairs.
Can I Paint Over Repaired Plaster Immediately?
No, you shouldn’t paint immediately. Follow Painting preparation steps and respect drying time considerations: let patching compound cure fully, sand it smooth, remove dust, apply primer, then paint for an even, durable finish.
Is Plaster Repair Safe in Homes With Lead Paint?
Plaster repair can be safe around lead paint if you follow renovation safety practices. You’ll need testing, containment, wet methods, HEPA cleanup, and certified professionals for extensive damage. Don’t sand, scrape, or create dust without precautions.
When Should I Hire a Structural Engineer?
Hire a structural engineer if cracks widen, doors stick, or floors slope. For example, a diagonal crack above a window warrants a structural assessment. You’ll use crack monitoring to document movement and guide safe repairs.