 Andrew
You don’t get stable groundworks by running a roller until it “feels tight.” You match compaction machinery to soil type, moisture, and lift thickness, then hold consistent passes and edge control so density builds uniformly. You verify results with field tests, not assumptions, and you maintain the machine so vibration and amplitude stay on spec. The difference between a durable base and future settlement often comes down to a few choices you make next.
What Does Compaction Achieve on Site?
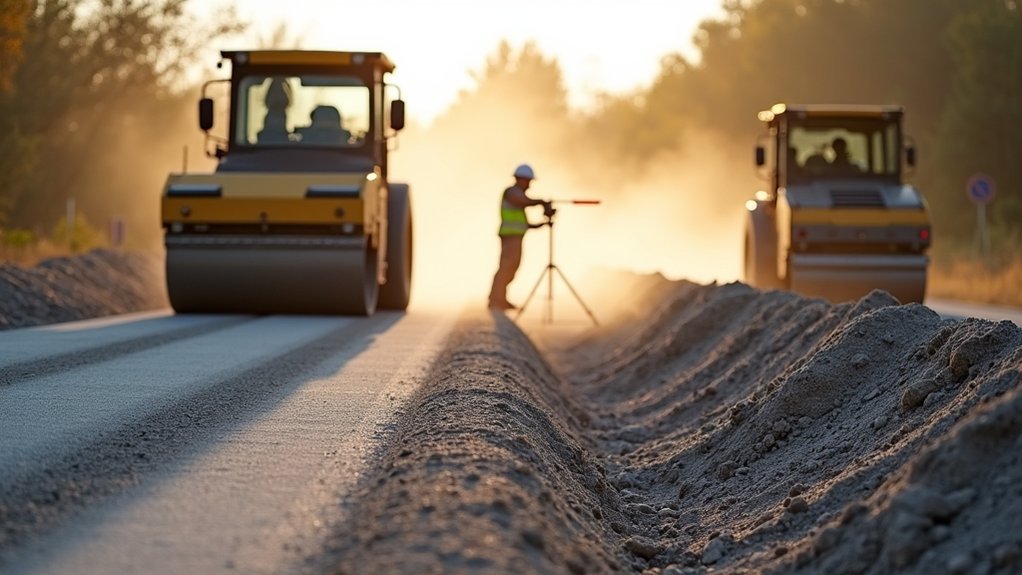
Before you pour concrete, lay asphalt, or place pavers, compaction densifies the soil or aggregate by driving out air voids and reducing excess moisture, so the material behaves as a stable, uniform load-bearing layer.
You’ll raise shear strength, limit settlement, and improve Soil stability, which keeps slabs, base courses, and utilities from drifting out of grade. You also reduce permeability, so water can’t pump fines or trigger frost heave, and you create predictable stiffness for proof-rolling and density testing.
Proper compaction supports edge restraint, prevents rutting under construction traffic, and improves long-term performance by minimizing differential movement. You’ll only achieve these outcomes if you control lift thickness and moisture and verify coverage patterns.
Schedule equipment maintenance so vibration frequency, drum amplitude, and plate wear stay within spec.
Match Compaction Machinery to Soil Types
Because soil behavior changes with gradation and plasticity, you need to match the compactor’s energy type—static weight, kneading, impact, or vibration—to the material you’re densifying.
For well-graded gravels and sands, use vibration to reorient particles; control amplitude and frequency to avoid segregation and loss of confinement.
For silts and low-plasticity fines, rely on impact or low-amplitude vibration and compact near optimum moisture to limit pumping.
For clays, choose kneading and static weight to expel air without fracturing the soil fabric; work in thin lifts and verify moisture conditioning as part of Soil stabilization.
Calibrate passes with field density testing, and schedule Equipment maintenance so excitation systems, drums, and tires deliver consistent compactive effort.
When to Use Plate Compactors vs Rammers
Although both machines target confined areas where rollers can’t work, you should choose a plate compactor when you need shallow, uniform densification over a broader footprint (e.g., granular base, sand, and well-graded aggregate in 100–200 mm lifts).
Switch to a rammer when you need concentrated, high-impact energy to drive compaction deeper in cohesive or mixed soils (e.g., silty sand, trench backfill, and clayey materials in 75–150 mm lifts) where kneading action and reduced surface “bridging” matter.
For soil stabilization, verify moisture content: plates lose efficiency on wet fines, while rammers tolerate higher plasticity if you control lift thickness.
Track passes by density testing, not feel. Keep machinery maintenance tight—inspect exciter mounts, clutch wear, and air filters daily.
Choose the Right Roller Compaction Machinery
To choose the right roller, you’ll match the machine to your soil type—vibratory rollers for granular soils and kneading action for cohesive mixes.
You’ll then select the drum configuration (single, tandem, or padfoot) to control contact pressure, traction, and finish requirements across lifts.
Finally, you’ll evaluate operating weight because it governs compactive effort and achievable density without overworking the base or risking deformation.
Match Roller To Soil
When you match the roller to the soil’s gradation, moisture condition, and lift thickness, you control density gain, minimize rework, and avoid over- or under-compaction.
For clean granular soils, you’ll prioritize high-frequency vibration to seat particles and achieve target relative density; verify moisture stays near optimum to prevent pumping.
For cohesive clays and silts, you’ll use higher contact pressure and kneading action to expel air and tighten structure, while managing water content to avoid laminate shear planes.
In mixed fills, you’ll validate lift thickness against the roller’s effective depth, then adjust pass count based on proofing and density tests.
Support Soil stabilization by conditioning material, correcting moisture, and removing oversized debris.
Keep Equipment maintenance tight—inspect drums, vibration systems, and scrapers—so delivered energy matches your compaction plan.
Consider Drum Configuration
Matching the roller to the soil sets the compaction mechanism, then drum configuration determines how effectively you deliver that energy into the lift.
Start by selecting smooth drums for granular bases and asphalt, where uniform contact and amplitude-driven densification matter.
Use padfoot drums for cohesive clays and silts; their knobs create higher contact pressures and kneading that breaks down clods and expels air.
For variable sections, consider combination drums or removable shells so you can adapt without changing machines.
Validate your drum configuration against target lift thickness and moisture condition to avoid bridging or surface laminations.
Then tune vibration settings: higher frequency improves production in thin lifts, while higher amplitude drives deeper rearrangement in thicker, looser granular layers.
Track response and adjust passes accordingly.
Evaluate Operating Weight
Because operating weight controls both static line load and how much vibration energy actually couples into the mat, you can’t size a roller by drum type alone. Match machine mass to lift thickness, material type, and target density, then verify the roller can deliver adequate contact pressure without overstressing the subgrade.
For granular fills, higher operating weight improves particle rearrangement and reduces pass counts, but only if the base has enough bearing capacity to prevent rutting.
For cohesive soils, too much weight can cause pumping or shear, degrading soil stability and trapping moisture. Review manufacturer charts for amplitude, frequency, and centrifugal force at your chosen weight class, and confirm you’re within safe slopes and transport limits.
When in doubt, trial-strip different weights and validate with density testing.
Set Lift Thickness and Moisture Before Compaction
Before you compact, you’ll set lift thickness targets that match the material type, roller class, and required density, because overthick lifts won’t achieve uniform compaction through the full depth.
You’ll also control moisture content to stay near optimum, adding water or aerating as needed to keep the soil workable and responsive to kneading and vibration.
When you lock in both lift thickness and moisture, you reduce rework, prevent pumping and rutting, and hit spec density with fewer passes.
Lift Thickness Targets
How thick should each lift be to hit density targets without wasting passes? Set lift thickness to match your compactor’s energy reach, then verify with test strips.
For granular soils, start at 200–300 mm loose; for silts and clays, target 150–200 mm to prevent a dense crust over a soft core.
Tune thickness to Vibration frequency: higher frequency favors thinner lifts, while lower frequency with higher amplitude can drive deeper.
Account for Soil permeability: free-draining sands transmit pore pressures quickly, tolerating thicker lifts; low-permeability fines trap pressures, demanding thinner lifts and slower progression.
Keep lifts uniform, trim windrows, and avoid overbuilding edges.
Confirm achieved lift thickness after grading and before rolling.
Moisture Content Control
Where most density plans fall short is moisture—not roller size—so set lift thickness and water content as a single control point before you ever start rolling. You’ll hit target density only when the lift is within spec and moisture sits near optimum for that soil’s gradation and plasticity.
Run quick field checks (speedy moisture or microwave) and adjust with measured water additions or aeration passes, not guesswork. If you’re doing soil stabilization, verify moisture against binder requirements so hydration and mixing energy stay consistent through the full lift.
Don’t compact when free water pumps or the surface crusts; rework first. Keep equipment maintenance tight: clogged spray bars, leaking drums, or worn pads skew moisture distribution and drive density scatter.
Plan Compaction Passes for Even Density
Although the compactor’s settings matter, you’ll only get uniform layer density when you plan your passes as a controlled, repeatable pattern across the full width of the lift. Set a lane width based on drum or plate contact area, then run straight, parallel passes with consistent speed.
Overlap each pass 150–300 mm to eliminate skip zones and reduce differential settlement risk. Keep vibration on and amplitude consistent within a lift, and don’t change gear mid-pass.
Track pass counts with paint marks or GPS and match them to your target density and Soil stabilization specification.
You’ll also protect results through Equipment maintenance: verify tire/drum pressures, scraper function, and vibration frequency before each shift, so planned passes deliver repeatable compactive effort across the workface.
Compaction Machinery Tips for Trenches and Edges
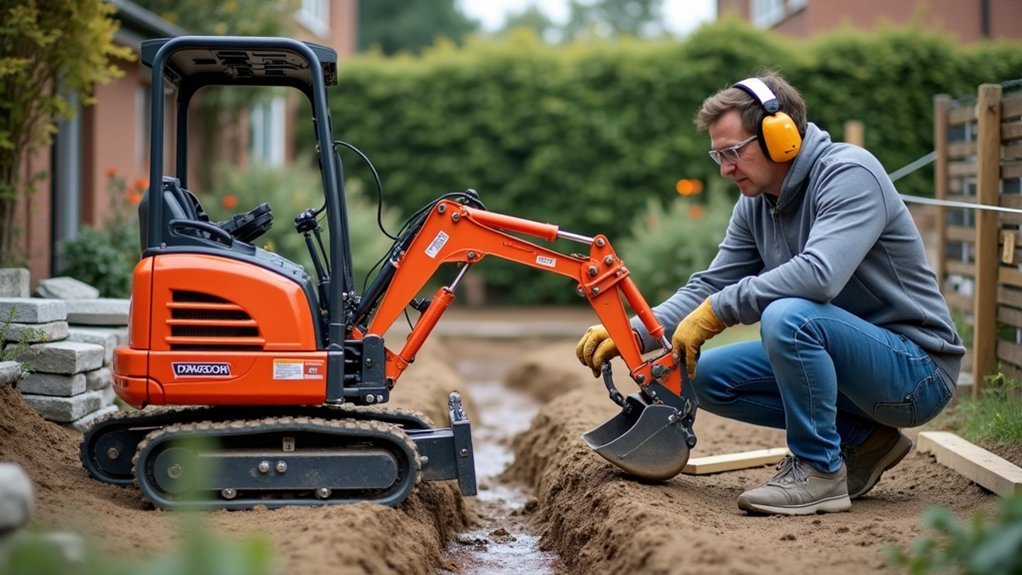
Because trenches, shoulders, and slab edges restrict roller access and amplify confinement effects, you need compaction machinery that fits the geometry and delivers controlled energy without damaging the cut or structure. Use trench rollers or reversible plate compactors where width is limited; use walk-behind vibratory rollers along shoulders for longer runs.
Keep lift thickness conservative and match frequency/amplitude to soil type so you don’t over-vibrate near forms, pipes, or retaining elements. Work from the edge back toward the centerline to avoid sloughing, and offset passes so you don’t create a hard ridge at the boundary.
For Soil stabilization, blend and precondition additives uniformly, then compact immediately to lock in moisture.
Reduce Environmental impact by minimizing rework, controlling runoff, and avoiding excessive vibration near sensitive utilities and habitats.
Hit Spec With Field Density Compaction Testing

To hit spec, you’ve got to verify compaction in the field with the right density test for your material and lift conditions, whether that’s nuclear gauge, sand cone, or balloon.
You then compare in-place dry density and moisture to the lab Proctor curve and required percent compaction.
You also check for red flags like high density at the wrong moisture or inconsistent readings across the lift.
When results miss target, you adjust roller selection, pass count, lift thickness, or water conditioning and retest until you document compliance.
Choosing The Right Test
How do you know you’ve actually hit spec after the roller passes? You choose a field density test that matches your material, lift thickness, and production constraints.
Use a nuclear gauge for rapid, repeatable readings on granular fills and stabilized subgrades, but confirm licensing, standard count checks, and safe standoff distances.
Choose sand cone where radiation controls aren’t feasible and the surface can be excavated cleanly without sloughing.
Use rubber balloon when the hole geometry must stay tight in coarse, angular aggregate.
For soil stabilization with lime or cement, pair density with moisture verification so you don’t chase compaction on a drying mix.
Plan test locations around rolling patterns and machinery maintenance access so results reflect in-service conditions.
Interpreting Density Test Results
Where do most “failed” compaction tests really go wrong—at the roller, or in the numbers? Start by confirming the target: percent compaction versus the correct Proctor curve and moisture window.
Compare field dry density to maximum dry density, and check if the lift thickness, roller passes, and pattern match the plan.
If density is low but moisture is high, you’re kneading water, not soil; aerate or rework before adding passes.
If density is low and moisture is low, add controlled water and remix.
Review Soil stabilization additives separately; lime or cement shifts optimum moisture and requires updated lab data.
Finally, validate Equipment calibration for nuclear gauge, sand cone, and scales, and re-test adjacent points to confirm uniformity.
Avoid the Most Common Compaction Failures
Even when you’ve chosen the right compaction machine, preventable field mistakes can still leave you with soft spots, rutting, settlement, and premature pavement or slab cracking. You’ll avoid failure by matching lift thickness to the machine’s effective depth and keeping moisture near optimum; too dry bridges, too wet pumps.
You should proofroll and undercut unstable pockets before you place new fill, then compact in uniform passes with controlled overlap to eliminate striping. Don’t chase density by adding passes on marginal material; recondition moisture or change gradation instead.
Manage drainage to prevent soil erosion and post-compaction softening at edges and trenches. Finally, schedule equipment maintenance so drums, pads, and vibration systems deliver consistent energy and frequency across the entire work area.
Run Compaction Machinery Safely and Efficiently
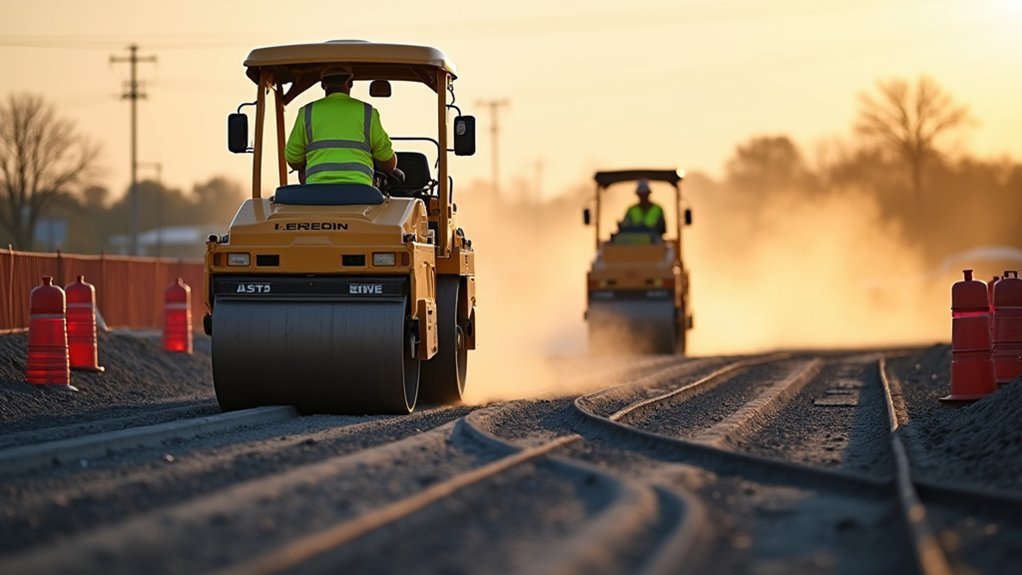
Before you make the first pass, lock in a safe, efficient operating routine that delivers consistent compactive effort without exposing crews or equipment to rollover, pinch-point, or underground-utility hazards. Verify lift thickness, moisture range, and travel pattern, then establish exclusion zones and spotter signals. Keep speed steady, overlap passes, and avoid abrupt turns on slopes to prevent loss of traction and drum walk.
Maintain vibration settings matched to material and proximity to structures, and stop immediately if you detect pumping, cracking, or utility markers.
Prioritize Equipment maintenance: inspect drums, pads, scrapers, fluids, ROPS, alarms, and emergency stops each shift. Reinforce operator training on slope limits, reversing procedures, and lockout/tagout so you don’t trade production for incidents.
Frequently Asked Questions
How Do I Estimate Compaction Machinery Rental Costs for My Project?
Estimate rental by matching machine type, size, and duration; rentals can be 20–30% of purchase annually. Include Rental cost factors: delivery, fuel, wear, insurance, operator. Compare Equipment leasing options and weekly/monthly discounts.
What Maintenance Schedule Keeps Compactors Reliable During Long Jobs?
You’ll keep compactors reliable by doing daily pre-start checks, weekly lubrication, and 250-hour service intervals. Verify Equipment calibration monthly. You’ll inspect belts, hydraulics, and filters each shift, and enforce Operator safety lockout.
Which Compaction Machines Are Best for Cold-Weather or Frozen-Ground Work?
On ice-hard ground, you’ll get best results with vibratory plate compactors and trench rollers using frost resistant equipment and heated compaction tools; you’ll maintain amplitude in cold soils, reduce bounce, and achieve denser lifts.
How Do I Transport and Store Compaction Equipment Safely Between Sites?
Secure machines on rated trailers using tie-down points, chock drums, and lock controls for transportation safety. For Equipment storage, drain fuel if required, disconnect batteries, clean debris, cover units, and store level, dry, tagged.
What Certifications or Training Are Required to Operate Compaction Machinery?
You’ll need recognized plant-operator training plus proof of competence: follow local Certification requirements (e.g., OSHA, CPCS/NPORS). Like a gatekeeper, Operator safety demands induction, machine-specific instruction, refresher assessments, and documented authorization before work.